Blacksmithing Projects: Forged Letter Opener in 5 Steps
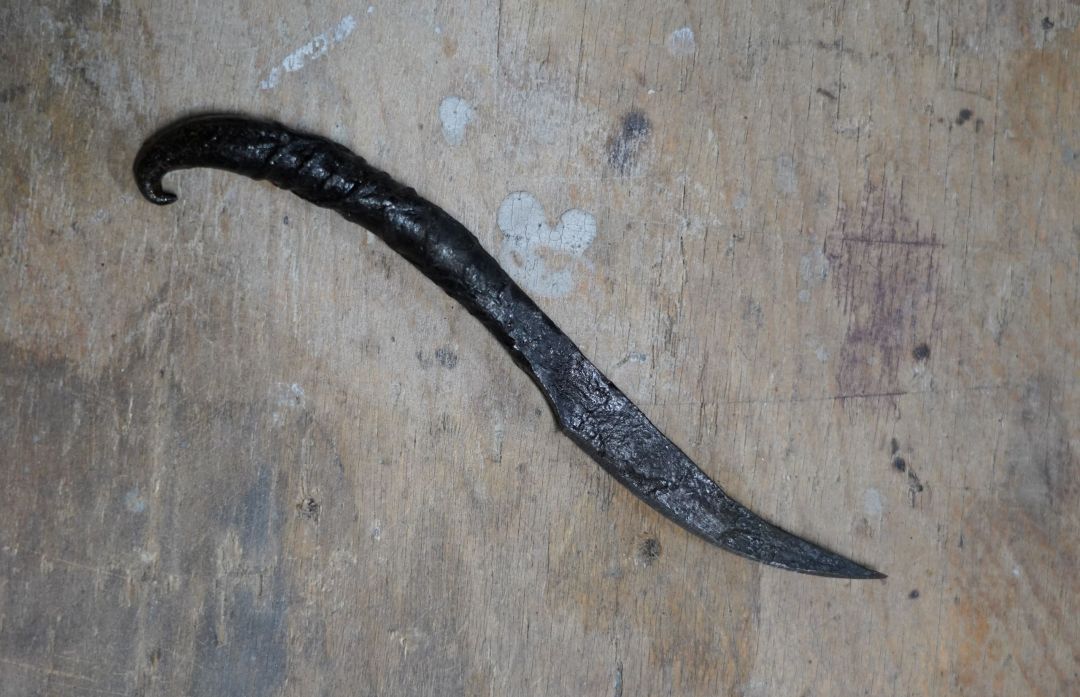
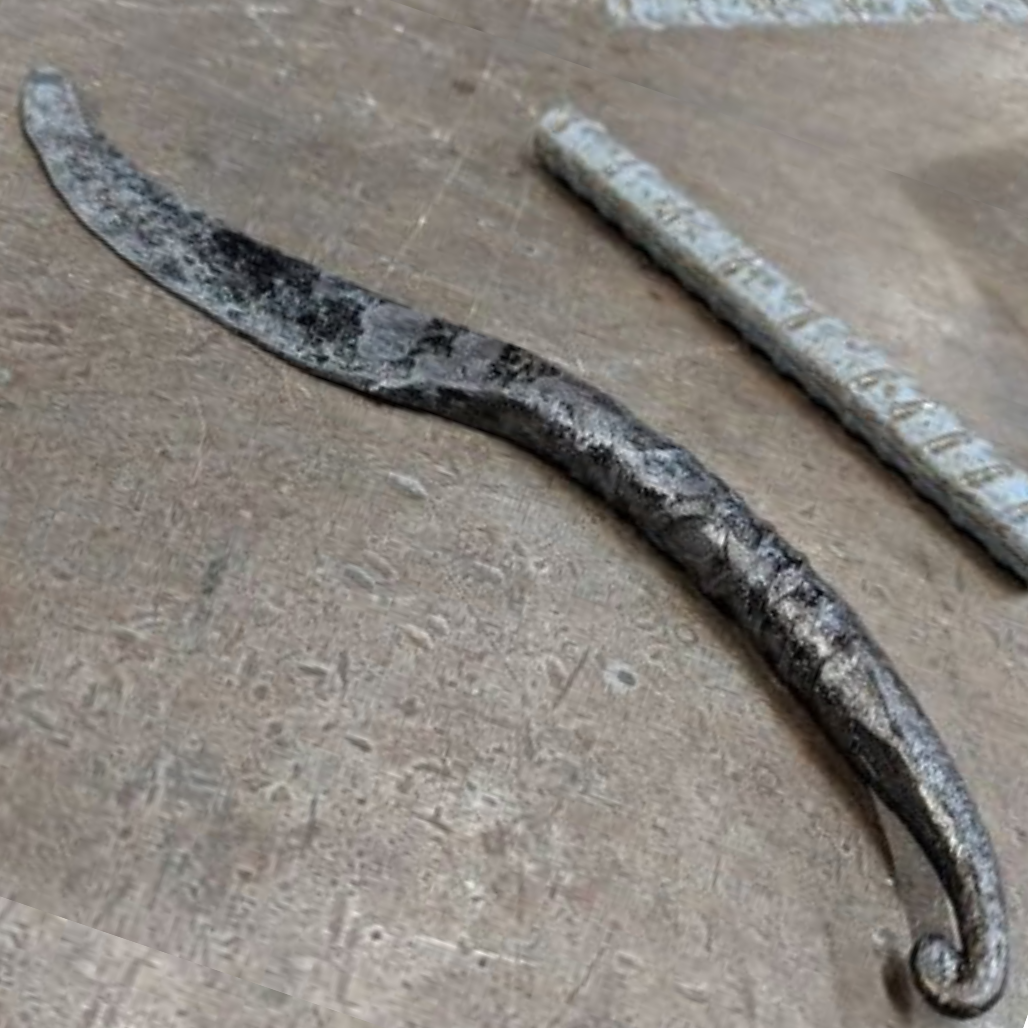
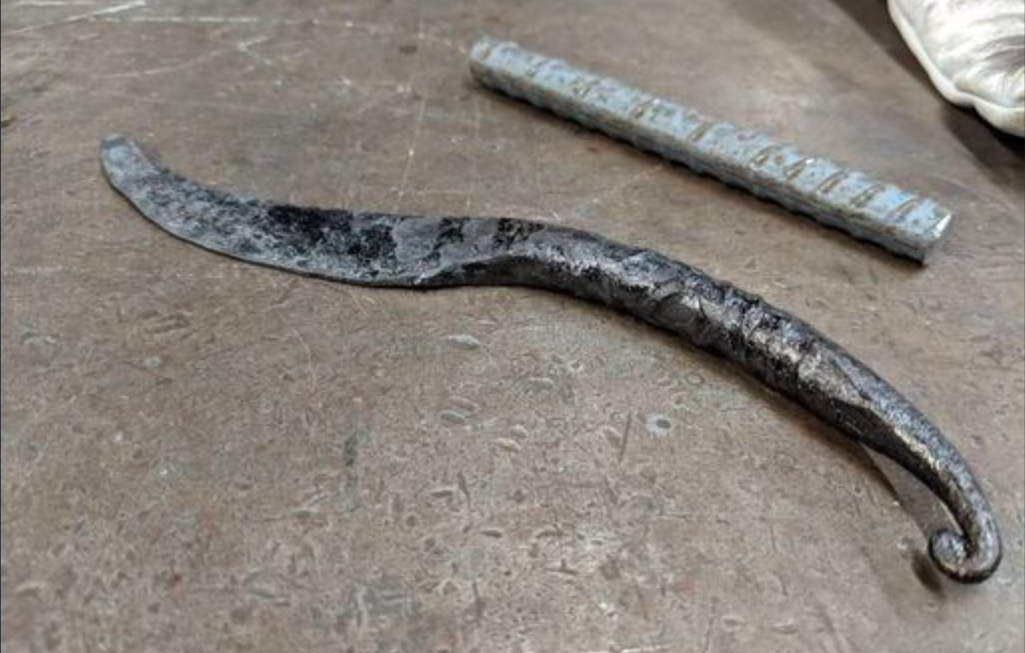
Did you know that you can forge a letter opener from a simple piece of rebar? Here, we will walk you through everything you need to forge your own letter opener, from the tools to each step you will take. The forged letter opener is a fantastic project to get started with blacksmithing. As a bonus, you get to make a practical utensil for your kitchen while you’re at it. This is one of our favorite beginner blacksmithing projects–so much so that students learn how to forge their own cutlery set in The Crucible’s Blacksmithing I. Before you pick up the hammer, see the steps below to get started forging your own letter opener from rebar.
Beginner’s Guide To Forging A Letter Opener From Rebar
Tools required:
Step one: Taper the edges
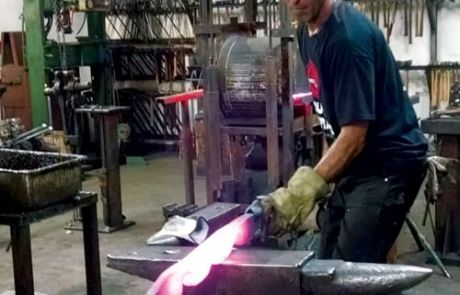
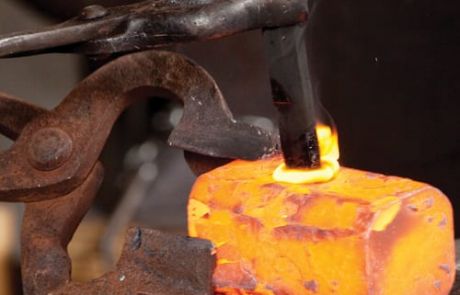
Heat the rebar and taper one edge. The taper should be at least one inch long. Place the rebar at an angle on the far side of the anvil. Strike with angled blows. Check the tip for shallow space. If there is space, drive your piece on the anvil face to flatten. Continue tapering.
Heat the other end of your piece in the forge. Begin tapering this side by squaring off four flat sides. Once there are four flat sides, flip your piece again and place the taper in the forge. After it comes up to heat, secure the taper in the vise. Set the twisting wrench at the bottom of the flattened section and twist the handle one full turn. Place it in the forge.
Round off the taper. All tapers start square. To round the square, place the piece on its edge and strike until it is an octagon. Use hammer blows until all edges are gone. Flip the piece and place the squared side in the forge. Once hot, taper the squared side for 3 ⅓ inches to a point of 1/16 of one inch.
Step two: Flatten the taper
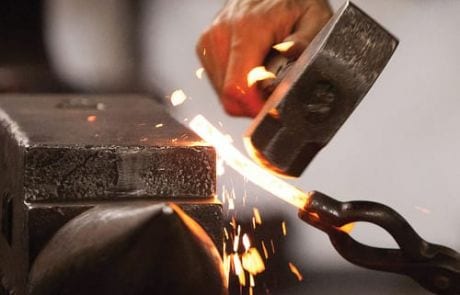
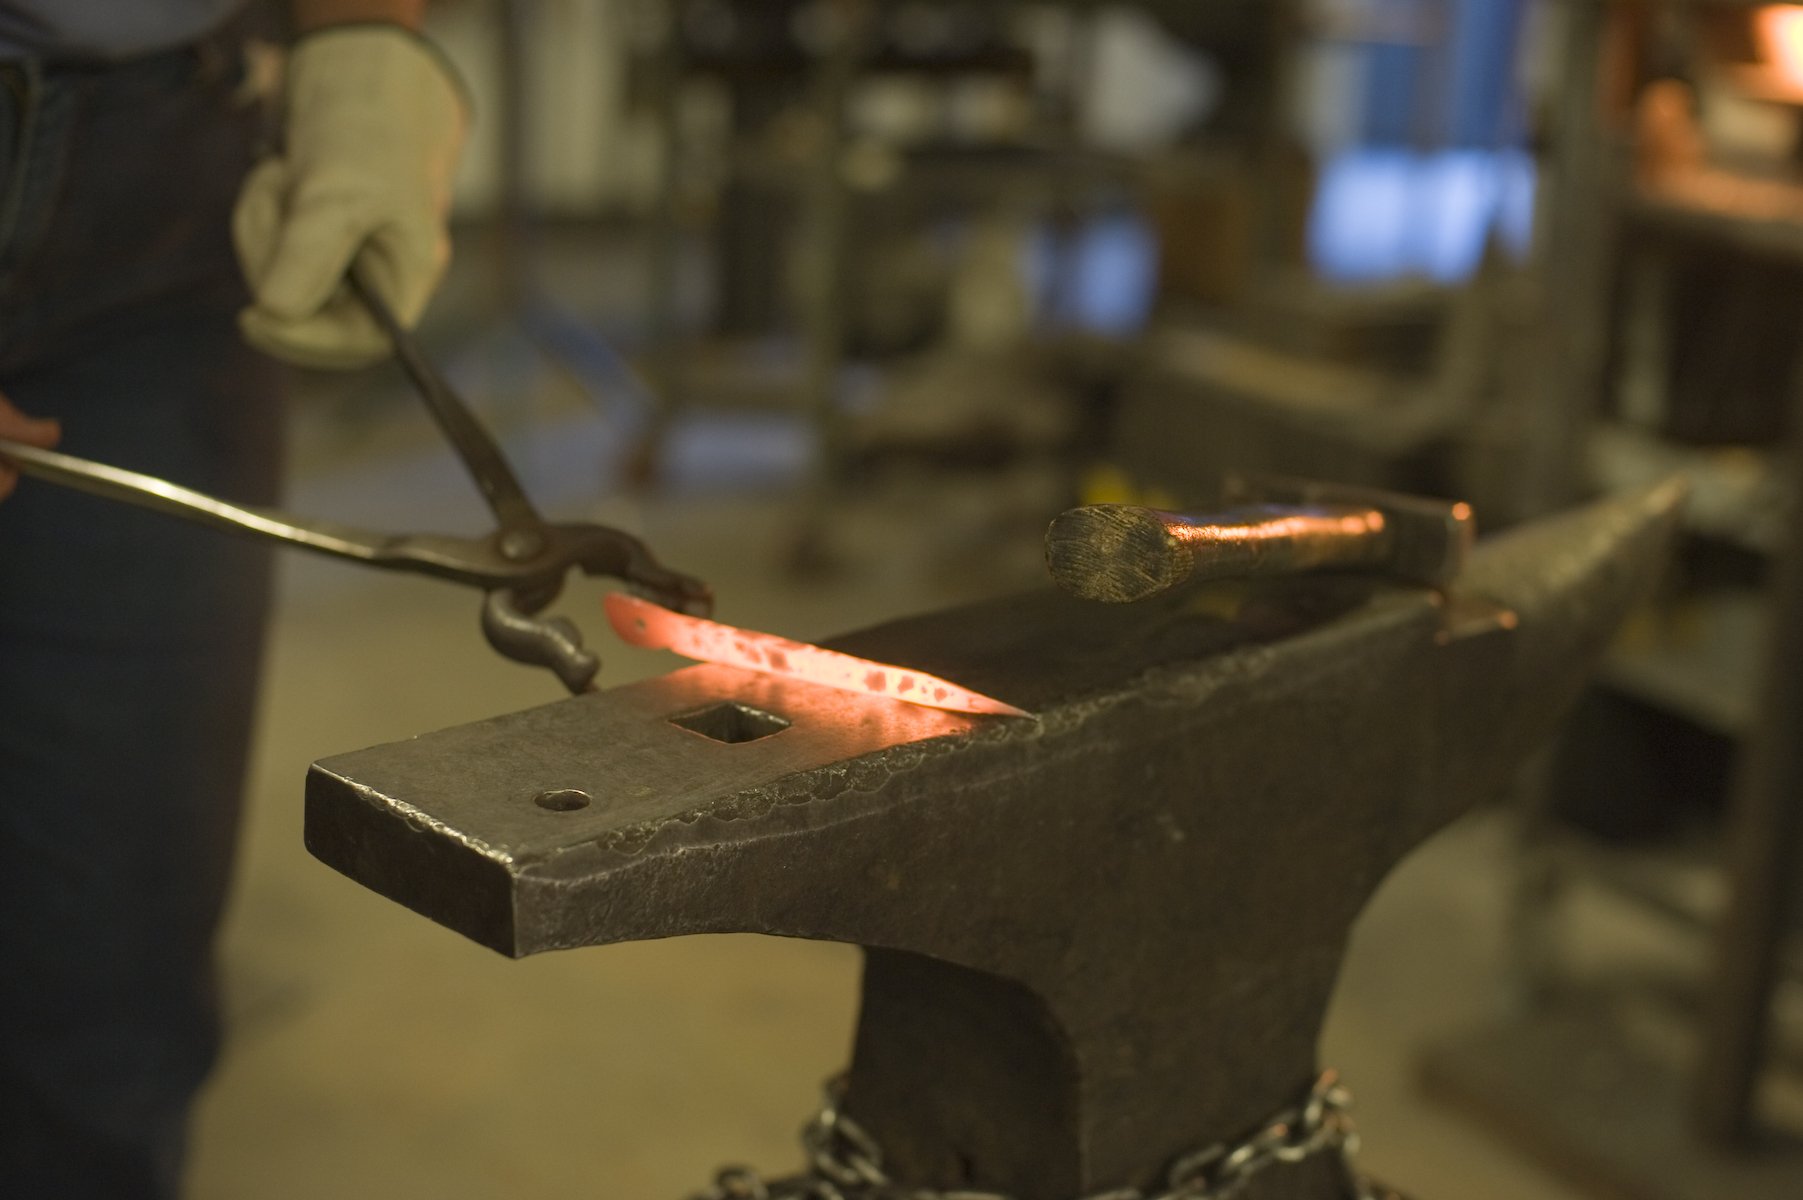
Work both sides and along the edge with consistent overlapping blows. Pay attention to the thickness. It should not become thinner than 3/16 of one inch. It is helpful to have a sample letter opener nearby to compare. Use a flat-faced hammer to take out the hammer marks.
Step three: Bevel the blade
Hold the piece at a consistent angle close to the edge of the anvil. Strike with angled blows, consistent and overlapping. Position yourself at the back of the anvil so you can work each side of the blade at each edge of the anvil.
If the blade slips, stop hammering and reposition the blade. Return the blade to the forge when it is cold. A note about heat: It is ideal to work the blade at orange to red color. Do not leave your blade in the forge too long. It is easy to lose thickness and scale.
At each pass, create a bevel line. The blade is curving, so you must rotate the blade to keep the edge close to the edge of the anvil. Make sure the bevel is at least ¼ of one inch wide. Once it is formed, you should work the backside over the horn with a ball-peen hammer.
Step four: Shape the handle
Place the handle in the forge. When it is hot, grasp the full thickness of the handle with your tongs. Place the handle in the pritchel hole of your anvil and pull it in the direction of the blade edge in small increments.
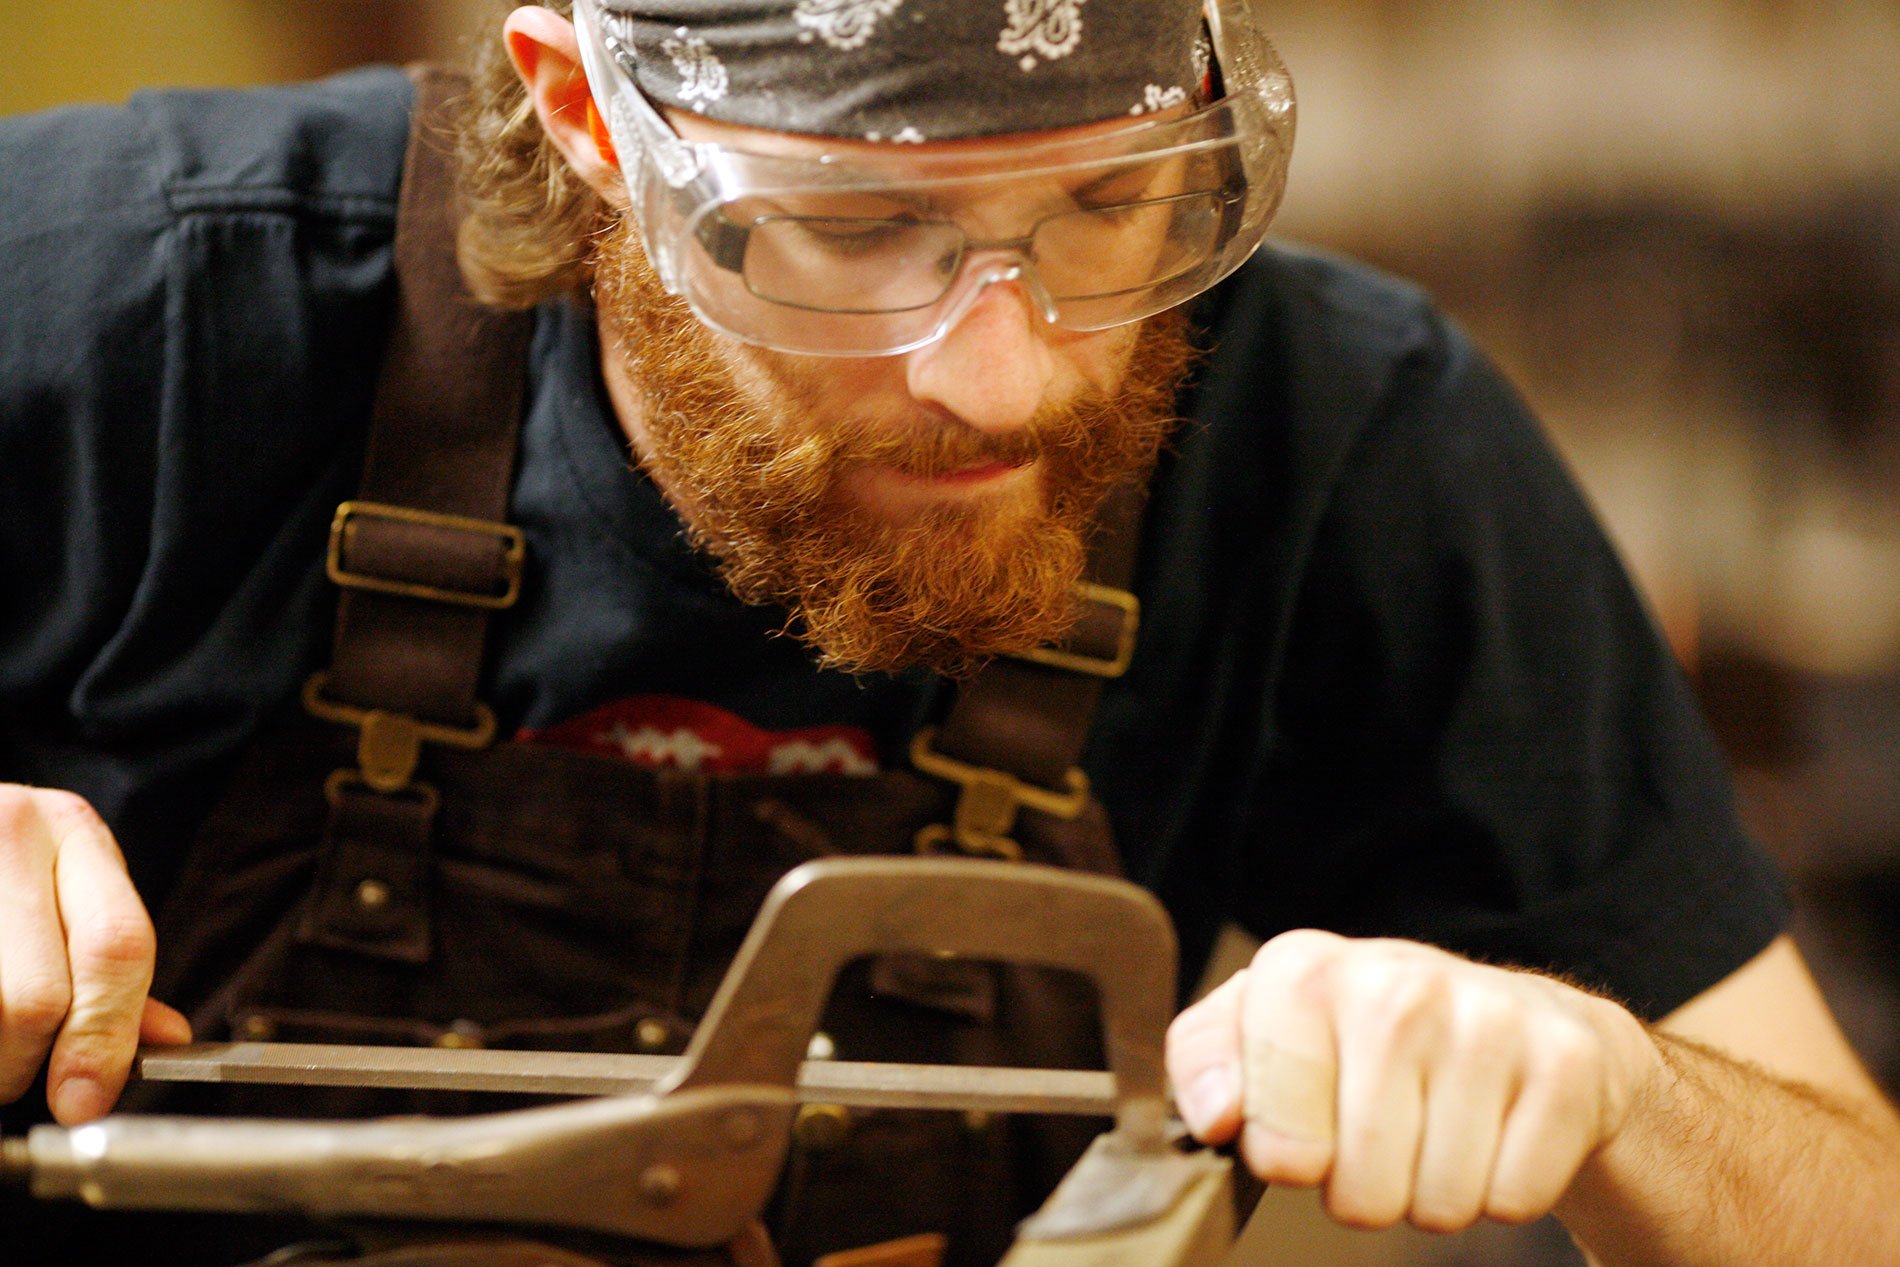
Step five: Finishing
Reheat your piece in the forge. Use a metal wire brush to scrape off the slag, the scale that forms from repeatedly heating steel. Directly after removing the slag, repeatedly dip your forged letter opener in a bucket of oil to protect it. Once completely covered, if necessary, hold your piece next to the forge until it turns a matte black.
Show off your beautifully forged letter opener, and all of your incredible projects made in blacksmithing! Looking for more project inspiration? Check out Crucible instructor Celeste Flores‘ incredible forged tables, gates, and more!
