
How do you like your coffee? How about steaming hot in a ceramic mug and pour over set you hand-built yourself?
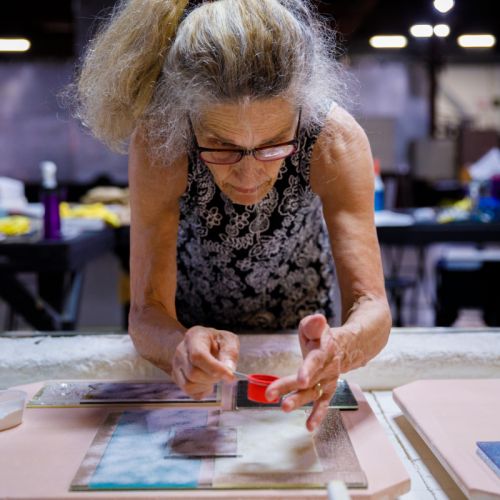
This is one of our favorite projects that students make in Ceramics I. In our introductory Ceramics course, which runs both Tuesday and Thursday evenings throughout the year, students make sculptural and functional forms in clay, covering traditional hand-building and surface treatment techniques. Ceramics I culminates in an exciting raku fire on the last day of class, and students leave with a solid foundation in working with clay and the ability to apply your new skill set to other 3-D work and materials.
We met up with Ceramics Department Head Rosa Dorantes and faculty member Lilliana to go over this fun project step-by-step.
Tools You Will Need

- 1.5 pounds of BMIX clay
- Pen tool
- Scoring tool
- Paint brushes
- Slab roller and canvas sheets
- Banding wheel
- Texture mat
- Brayer
- Templates
- Rubber rib
- Fettling knife
- Spray bottle
Step 1
Prep The Clay
- Roll out clay on slab roller between two sheets of canvas.
- Bring the slab over to your work table and mist it with a spray bottle to keep it moist.
- Smooth out the slab with a rubber rib.


Step 2
Cut The Clay
- Lay out the templates, then trace and cut the mug and pour over sections.
- Choose a texture mat, lay it face down on the smooth clay, then roll the mat with a brayer to impress the texture into the mat.


Step 3
Hand-Build The Mug
- Angle the edges of the mug by rolling them out with a brayer along the side of the table. Slip and score the edges of the mug. Pro-tip: To attach the two ends, insert a cardboard tube to support the clay as you attach the edges.
- Trace the connected walls of the mug to create the base. Slip and score the traced area and attach the base.
- Using the banding wheel, smooth out the lip of the mug with a brayer. This tapers the edge and makes it easier to drink out of.
- Once the walls and base of the mug have fully connected, tap the base of the mug so it is slightly concave. This prevents the mug from being wobbly!


Step 4
Hand-Build The Pour Over
- Angle the edges of the pour over with the brayer as you did to the mug.
- Slip and score the edges of the pour over, then attach the base. The base should be slightly wider than the diameter of the mug.


Step 5
Make the Mug Handle
- Cut the edges of the clay at an angle so there is more surface area on the handle where it attaches to the mug wall. Slip and score the edges of the handle and surface of the mug, then attach it in the position you desire.


Step 6
Finishing Touches
- Add the holes to your pour over. Anywhere from one to three holes will do, the less holes you make the stronger your coffee.
- Use a sgraffito tool to add texture to the inside of your pour over so the water flows easily.


Step 7
Glaze and Fire!

Keep reading…
April-June Classes Open For Members On February 6—Get Your Guide!
Get ready to make this spring! April-june classes open for Early Member Registration this Tuesday, February 6. If you haven’t secured your Crucible membership, now is the time....
Plan for a Creative 2024: January-March Classes Open 10/31
This Tuesday, October 31, over 150 January-March classes open for early member registration. 2024 marks The Crucible's 25th Anniversary and there's no better way to ring in a...
Check Out Your September-December Classes In Our Latest Member Guide
Are you ready to shape glass, forge metal, and mold clay this fall? September–December classes open this Tuesday, July 11 exclusively for Crucible members. And with more than 200...
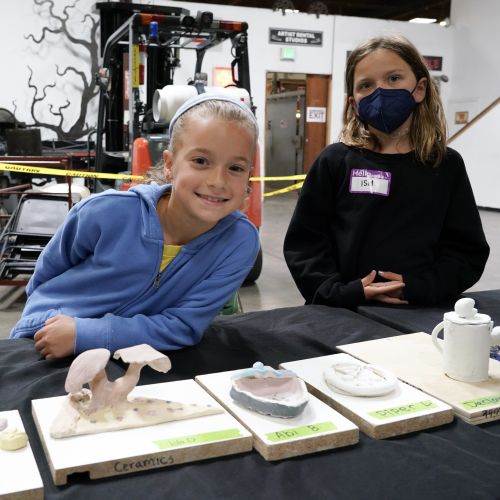
It’s Officially 2023 Summer Camp Season–See All The Pics!
No corner of the imagination went unexplored during the first week of 2023 Crucible Youth Summer Camp. From friendly robots to glistening glass creatures, we were blown away by the...

Your Summer Plans Just Landed: July-August Class Guide
Summer is synonymous with good times, and what could be more fun than exploring a new creative hobby? This Tuesday, May 2, our July-August 2023 classes will open for early member...
Plan The Best Summer With Our 2023 Youth Summer Camp Guide
2023 Youth Summer Camp registration is nearly here. With so many offerings we thought you might like a little help finding the perfect fit for your kiddo. Behold, our 2023 Youth...