Blacksmithing Projects: Forged Bracelet in 5 Steps
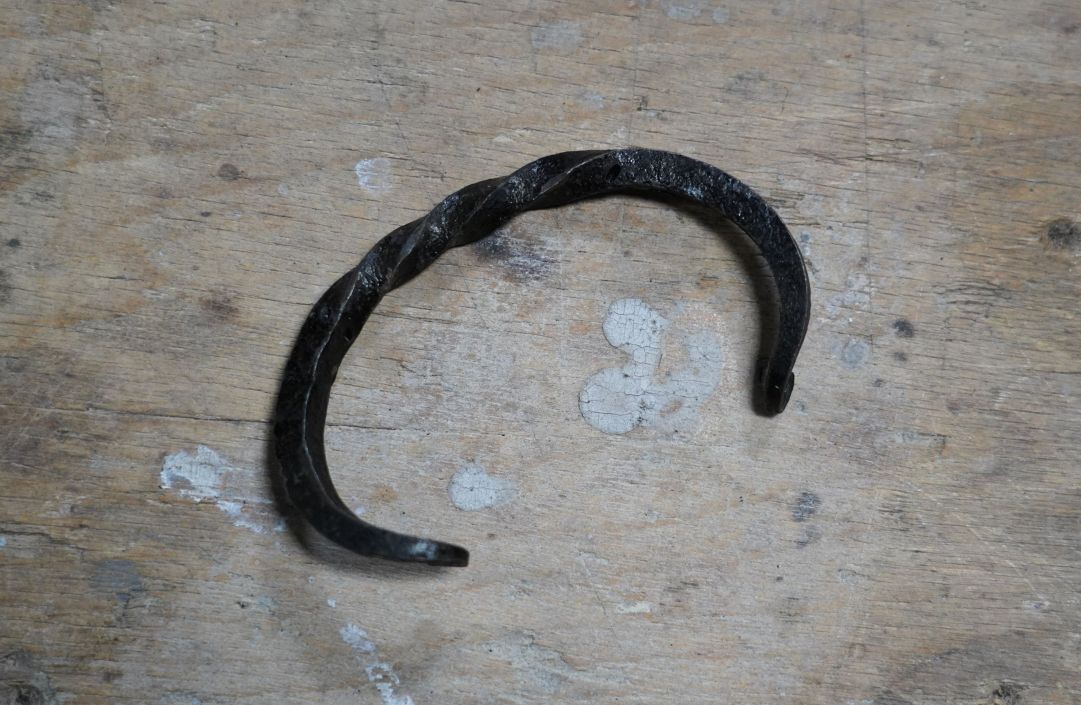
Make your own simple, unique forged bracelet in the smithy using a steel bar and heat from your forge. A hand-forged bracelet is one of the easiest beginning blacksmithing projects. It makes a wonderful gift, keepsake, and family heirloom. Forging the bracelet teaches you several basic techniques that every blacksmith uses, and offers a great introduction to the tools in the smithy. This is one of the first projects that you will learn in The Crucible’s Blacksmithing I. Before you start forging, read on to learn how to make a twist-forged bracelet.
Twist-Forged Bracelet in 5 Steps

Tools required:
Step 1: Taper the edges
Using tongs made for ¼ inch material, grasp your steel stock firmly. Then, place the material into the forge until it is a high orange color. Taper the hot end to 1/16 inch over 1 ½ inch by placing the steel on the anvil. Strike the end of the bar with angled blows, turning the piece 90 degrees (one face) after every blow. After six to eight blows, rotate 180 degrees (2 faces) until the tip is close to ¼ inch. Lay the piece flat to the anvil and strike with flatter blows until the taper is 1 ½ inch long.
Place the other end in the forge until it is a high orange color. Repeat step one on this side to taper the edge. Lay the piece flat and strike with flat blows until the taper is 1 ½ inch long. Straighten, quench, and dry.
Step 2: Twist the center
Measure the entire length of the steel bar and mark the center of the bar. Make a center punch mark in the middle and mark one inch from the center on each side.
Place the whole piece in the forge until it is a high orange color. While the piece is heating make sure the vise is close to the right size and the twisting tool is set so that you can work quickly.
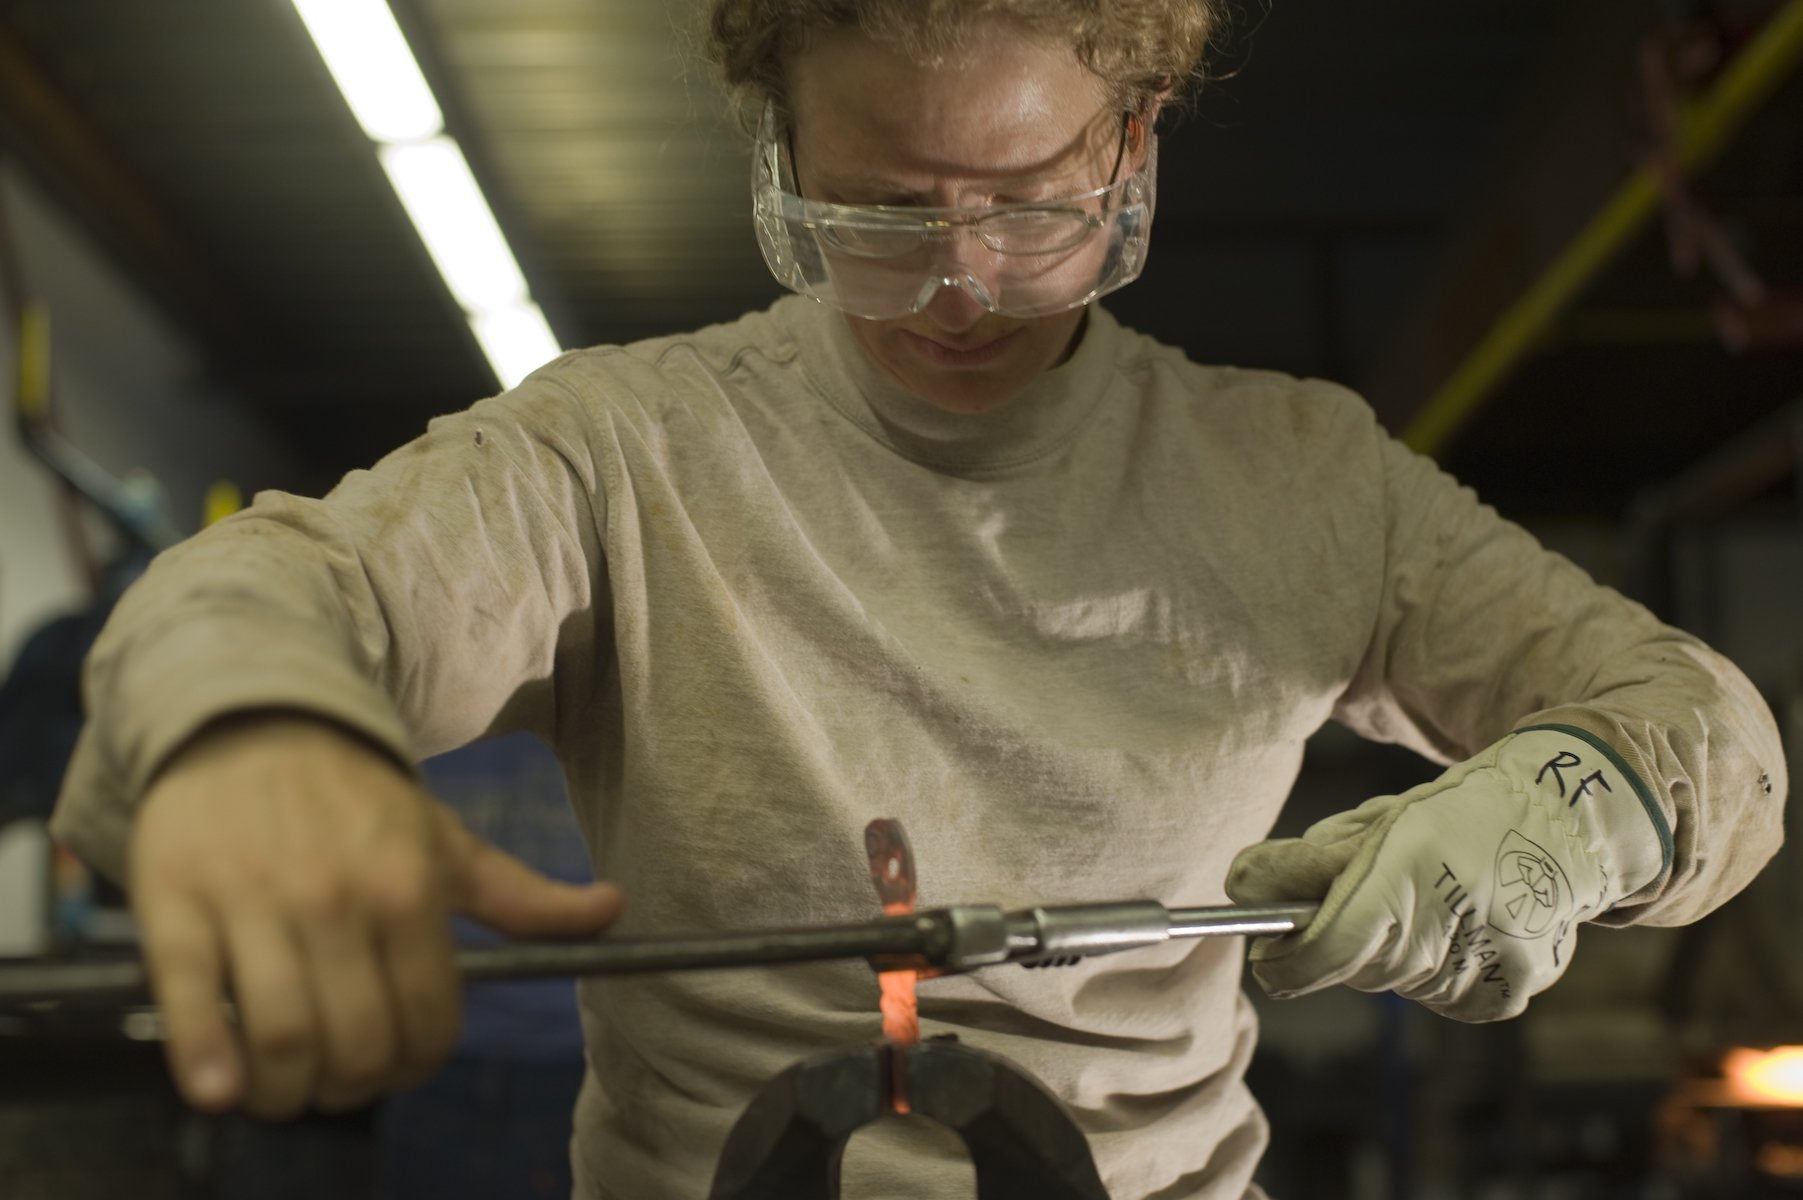
When your piece is a high orange, quickly remove it and place one point into the vise up to the center punch marks. Secure it in the vise.
Place the twisting wrench on the other end down to the other punch marks. Make sure to hold both handles level with the floor and twist one turn. Return to forge until high orange.

Step 3: Create small scrolled points
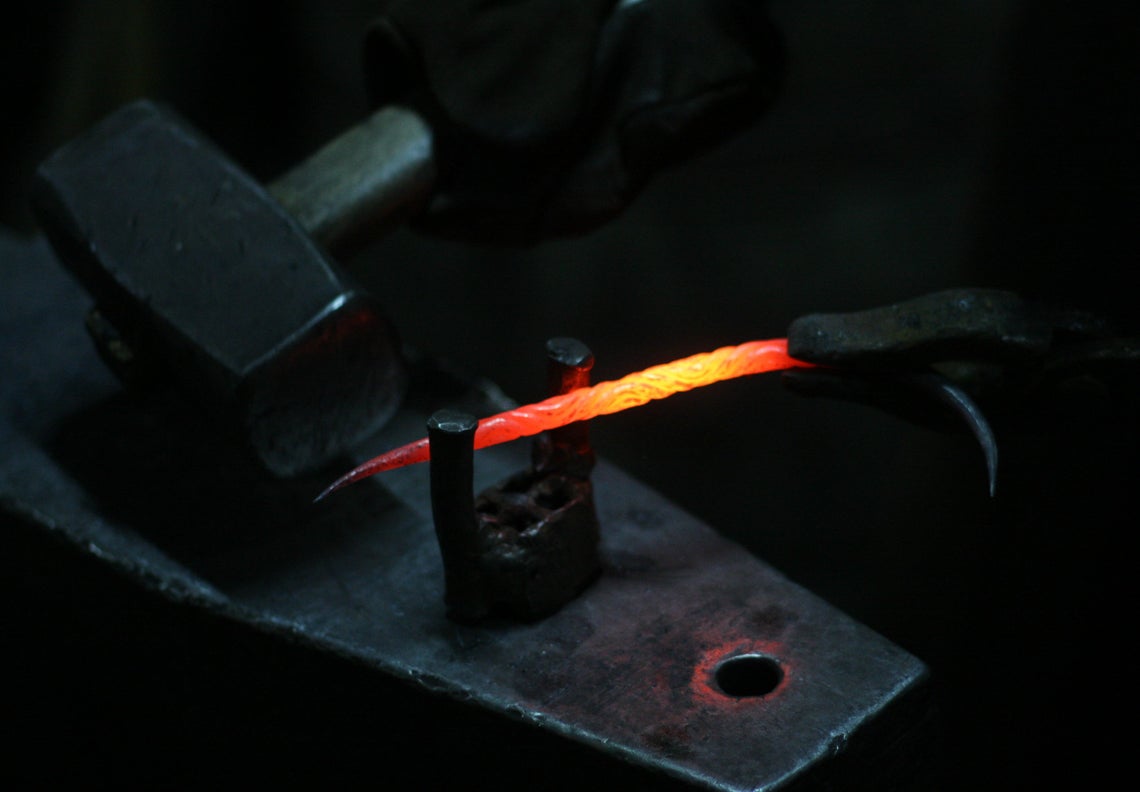
Place the metal flat to the anvil with ½ inch hanging off the edge and strike to bend it into an “L” shape. Rotate 180 degrees so the “L” faces upwards) with blows towards you to create a small scroll with the tip. Place the other end in the forge until high orange.
Hold the metal in your tongs so that the scroll points upwards and place ½ inch off the face of the anvil. Repeat the previous step with the other end. You are on your way to a beautiful forged bracelet!

Step 4: Shape the forged bracelet
Grasp your metal with the tongs so that the scrolls are level with the floor. Hold it on the tip of the horn with just the scroll hanging off. Strike what is hanging over the anvil horn.
Move forward ¼ inch at a time and continue to strike what is hanging over the anvil horn. Stop when you reach the twist and the scroll is about one inch from the center. Place in the forge and heat until high orange. Repeat on the other side.

Step 5: Finishing
Reheat your forged bracelet in the forge. Use a metal wire brush to scrape off the slag, the scale that forms from repeatedly heating steel.
Directly after removing the slag, repeatedly dip your forged bracelet in a bucket of oil to protect it. Once completely covered, if necessary, hold your piece next to the forge until it turns a matte black.
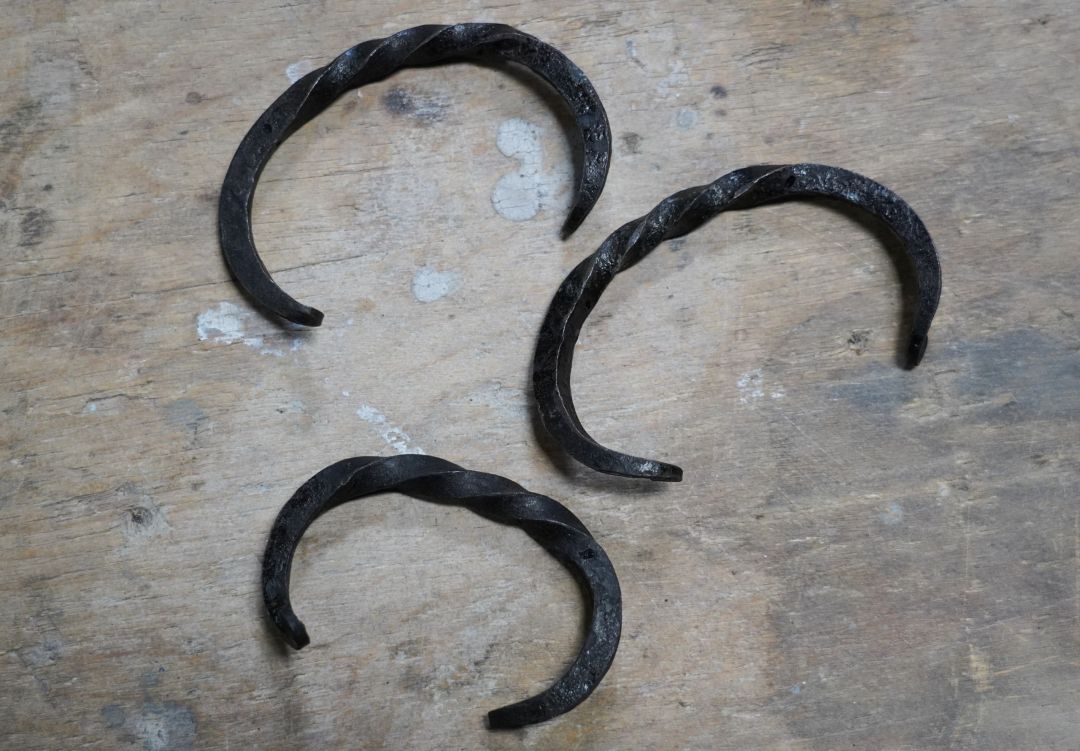
Congratulations! You have just finished your forged bracelet. Wear your bracelet with pride or gift it to a loved one.


