Blacksmithing Projects: Forged Spoon In 5 Steps
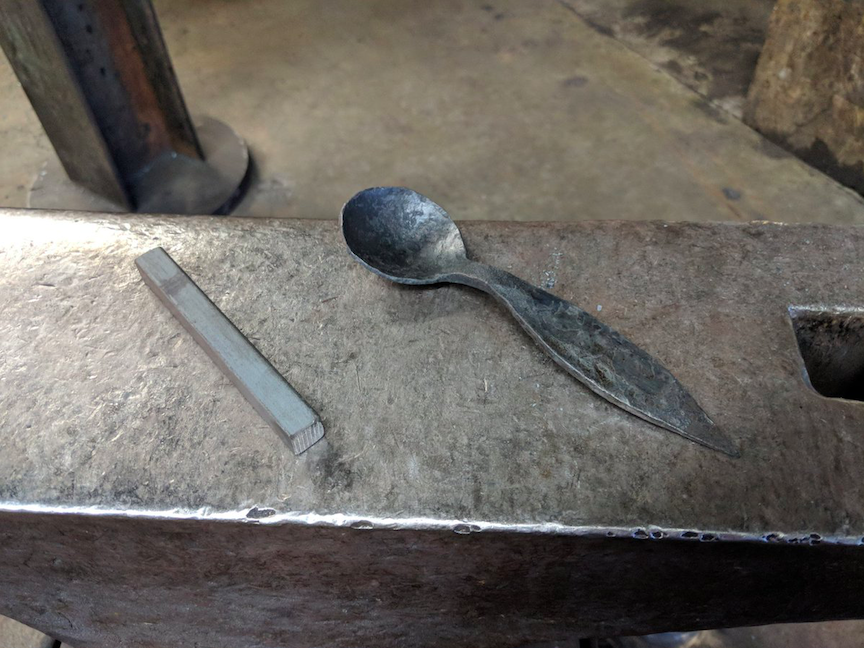
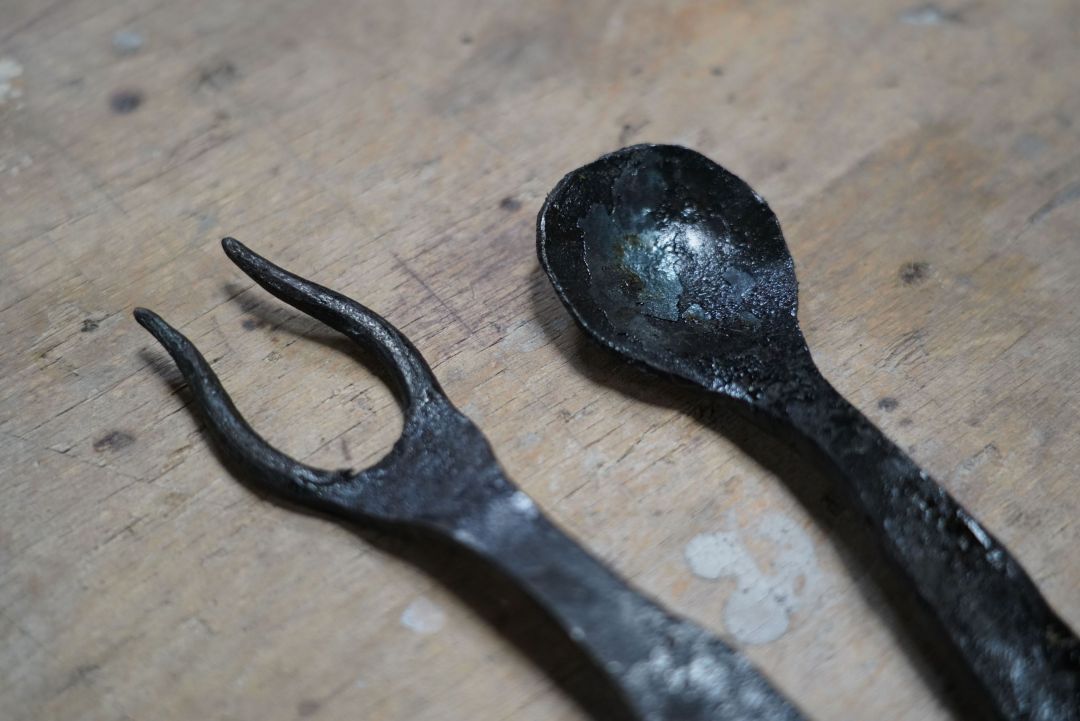
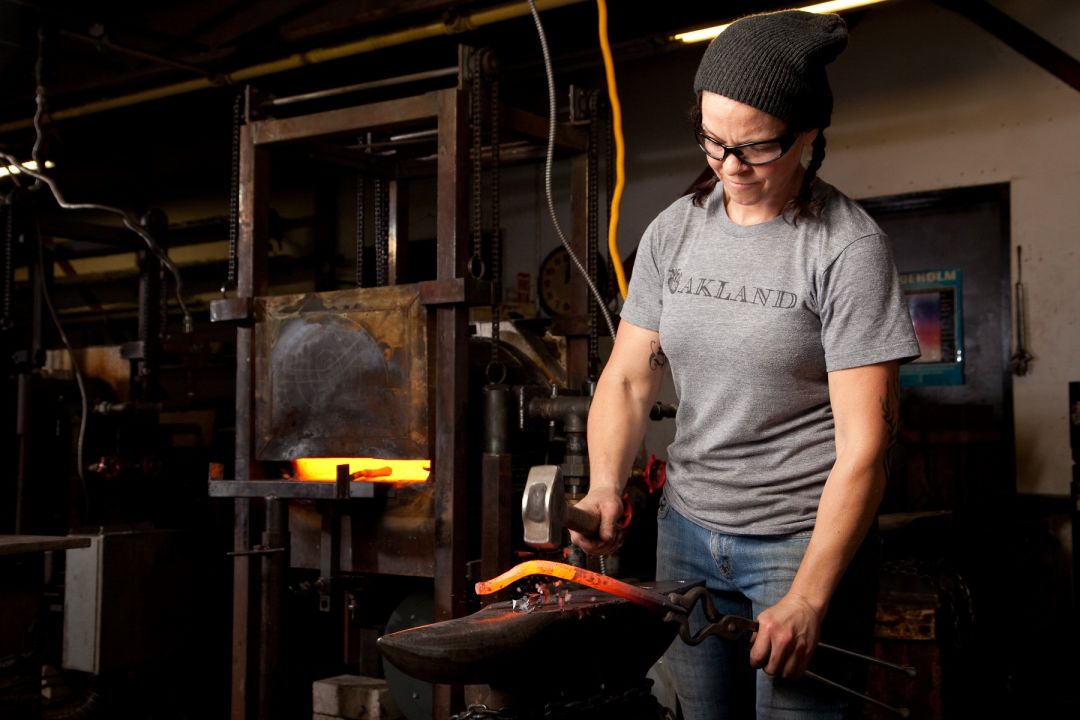
Would you have guessed that forging a spoon is one of the most straightforward blacksmithing projects for beginners? Forging a spoon in the blacksmith shop teaches you several basic techniques that every blacksmith uses. As a plus, you end up with a tool that you can use in your own home. This is a classic beginning blacksmithing project, and one you will learn in The Crucible’s Blacksmithing I. Here, we will show you exactly how to forge a spoon in five steps.

Beginning Blacksmithing: Forged Spoon In 5 Steps
Tools required:

Step one: Upsetting your piece
Hold your steel stock at an angle at the far edge of the anvil and hammer to taper. Place your piece in the forge so that only one half of your steel is heating. Remove it from heat and quench your piece up to the tongs.
With the hot end of your piece on the anvil, strike the cold end until it cools to red or bends. Straighten, chamfer, flatten, rollover, and reheat in the forge. Then, continue upsetting with hard hammer blows.
Straighten your piece by holding the bar from one end. Place only the curve, high side up, on the anvil. Strike the high spot with measured blows. Continue upsetting until the piece is ¾ inch at the widest spot.
Step two: Draw out your metal
Shape the edges into an octagon. Remember there are two angles on each edge. Flatten and roll your piece over. Using a round-face hammer and anvil horn, reduce the neck to ⅜ inch at the thinnest point.

Step three: Shape the spoon handle
Reheat your piece and hammer to flatten the middle. Continue to work both sides until they are ¼ inch thick. Spread the edges with overlapping blows to shape the handle. When you strike the face, rotate contact to have the anvil under the blow. Thin to 3/16 of one inch and your desired shape.
Chamfer by placing the edge on the anvil and rotating contact for overlapping blows. Clean all faces with a flat-faced hammer. Reheat your piece in the forge. Spread the edges of your handle with consistent, overlapping blows. Flatten to ⅜ of one inch. With the thin edge while rotating contact. Make sure to work any high spots.

Step four: Shape the bowl and neck
Spread the edge with constantly overlapping blows, flattening and shaping until it is no more than ⅛ of one inch thick. Shape the neck of the spoon over the anvil horn. Place the flattened section over the hardy hole. Sink it with a ball-peen hammer to a depth of ⅓ to ⅜ of one inch. Strike between the two points of contact.
Work the back and the edge of the spoon over a ball anvil in the vise. Make an offset bend in the neck. Place the spoon concave-down over the edge of the anvil. Strike the materials off of the anvil to make a small bend. Rotate 180 degrees and place over the horn perpendicular to the taper. Strike the material off until the spoon sits well.
Step five: Finishing
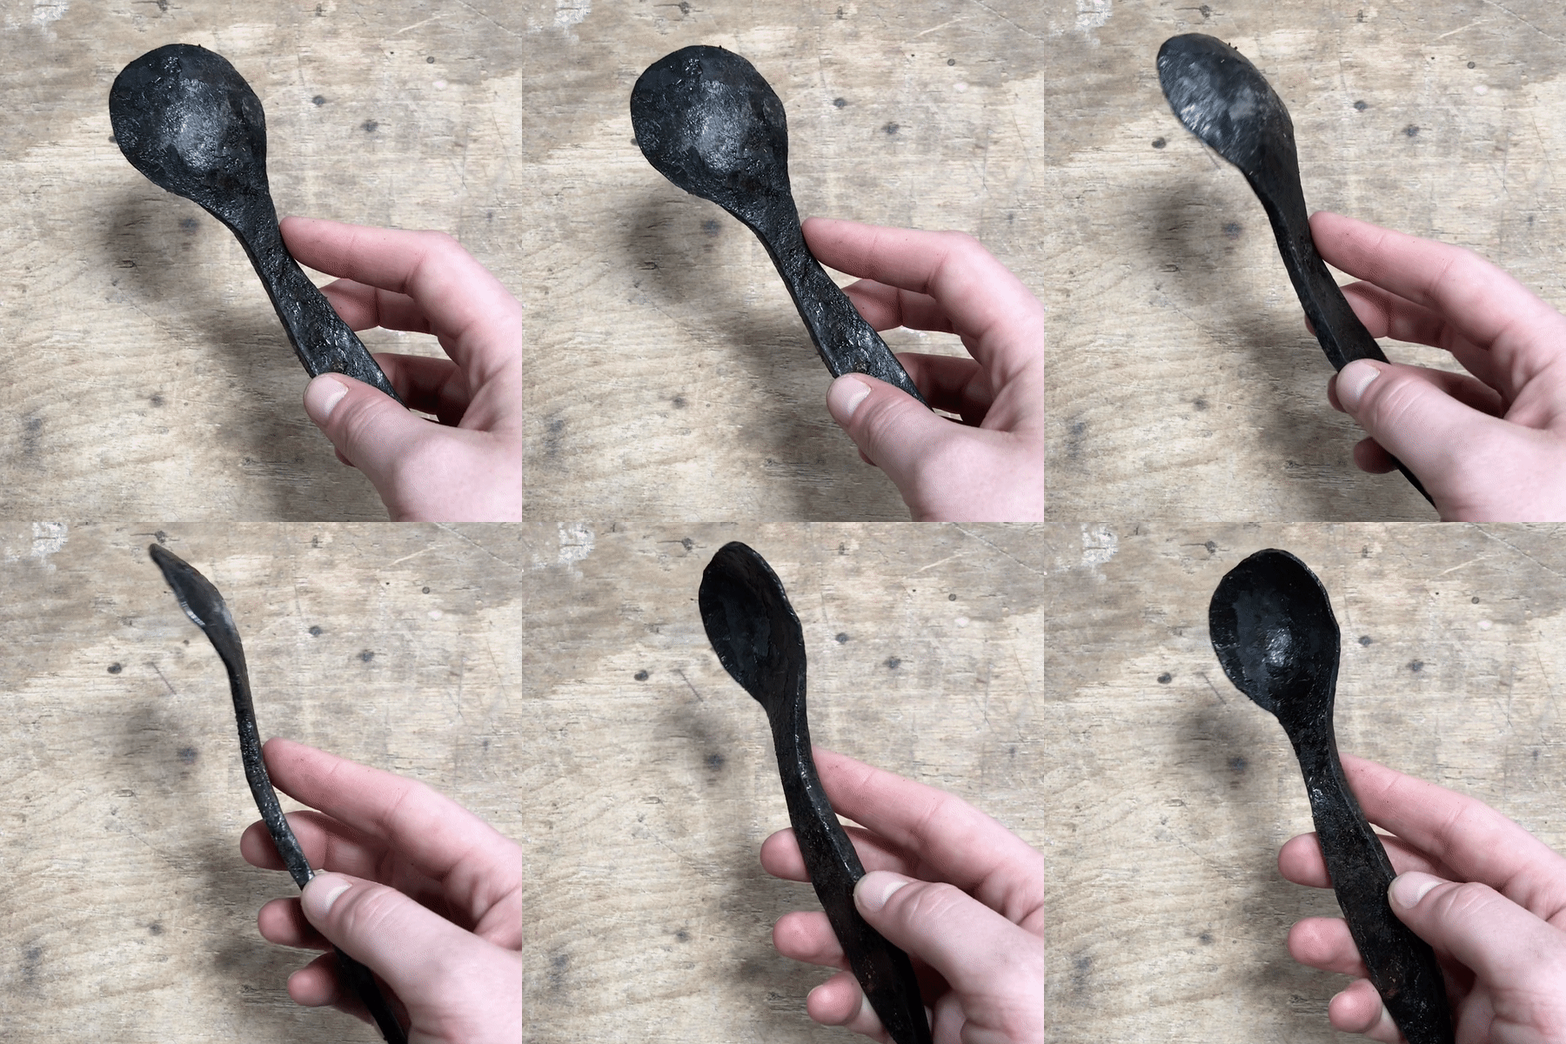
Reheat your piece in the forge. Use a metal wire brush to scrape off the slag, the scale that forms from repeatedly heating steel. Directly after removing the slag, repeatedly dip your forged spoon in a bucket of oil to protect it. Once completely covered, if necessary, hold it next to the forge until it turns a matte black.


