BladesmithingMetal
Guide To Sword Making: Learn How To Forge A Sword
By Kristin Arzt
Overview of forging swords
Swordsmithing is a craft rooted in bladesmithing and forging techniques that span thousands of years. Swordsmiths specialize in forging blades that are over 24 inches long to craft swords from steel. Swordsmiths use a variety of steels to forge swords, such as high carbon steels and different types of pattern-welded steels, commonly called Damascus steel. It takes years to master swordsmithing and is one of the more dangerous weapons a smith can make. Because of the inherent danger, it is recommended that you take a class and learn from a professional bladesmith.
Forging swords throughout history
Pattern welded steel swords date back to the first millennium B.C., with Celtic, African, Germanic, and Roman swords first exhibiting the method. Layered Damascus steel, which is a form of pattern welding, was also used in South Asia, and the Middle East during the Middle Ages.
Chinese swordsmiths are credited with creating the technology that made its way to Korea and Japan, where swordsmiths developed innovative techniques and new weapons such as the katana. Between 1185–1333 A.D., Japan was under military rule. This became known as the “Golden era” of Japanese bladesmithing, as they became quick to develop new technology and mastery around swordsmithing out of the necessity of defense.
With the Industrial Revolution came the development of advanced machines and swordsmithing technology. Traditional smithing methods became less common until resurging fairly recently. By the mid 20th century, bladesmithing had become a niche industry, kept alive by a small pool of bladesmiths.
In the 1960s, bladesmith William Moran began to revive the ancient pattern welding process of forging Damascus steel. While the exact traditional methods were not recorded, Moran managed to teach himself the process and published a free booklet detailing the process. Ultimately, Moran made the swordsmithing process accessible to anyone who wanted to learn. He founded the American Bladesmith Society in 1976, further expanding the network and resources of both professional and hobbyist bladesmiths.
How to forge a sword in 11 steps
Forging a sword can be dangerous, and it is up to you to decide how sharp your sword will be. Before you start, plan out your project in great detail, down to your intention for making the sword. Is it an ornamental piece that will hang on your wall, or will it be functional and sharp? After doing ample research and finding a master swordsmith to learn from, you can start to make your own sword.
Step 1: Prepare your tools and materials
Step 2: Design your sword
After you have gathered the materials, you can start to plan out the design of your sword. We recommend starting with a simple design to master the fundamentals. Research traditional swords from history to gather inspiration and draw out your design on paper. Start your project with stock steel that is roughly the length of your final design.
Step 3: Heat until yellow
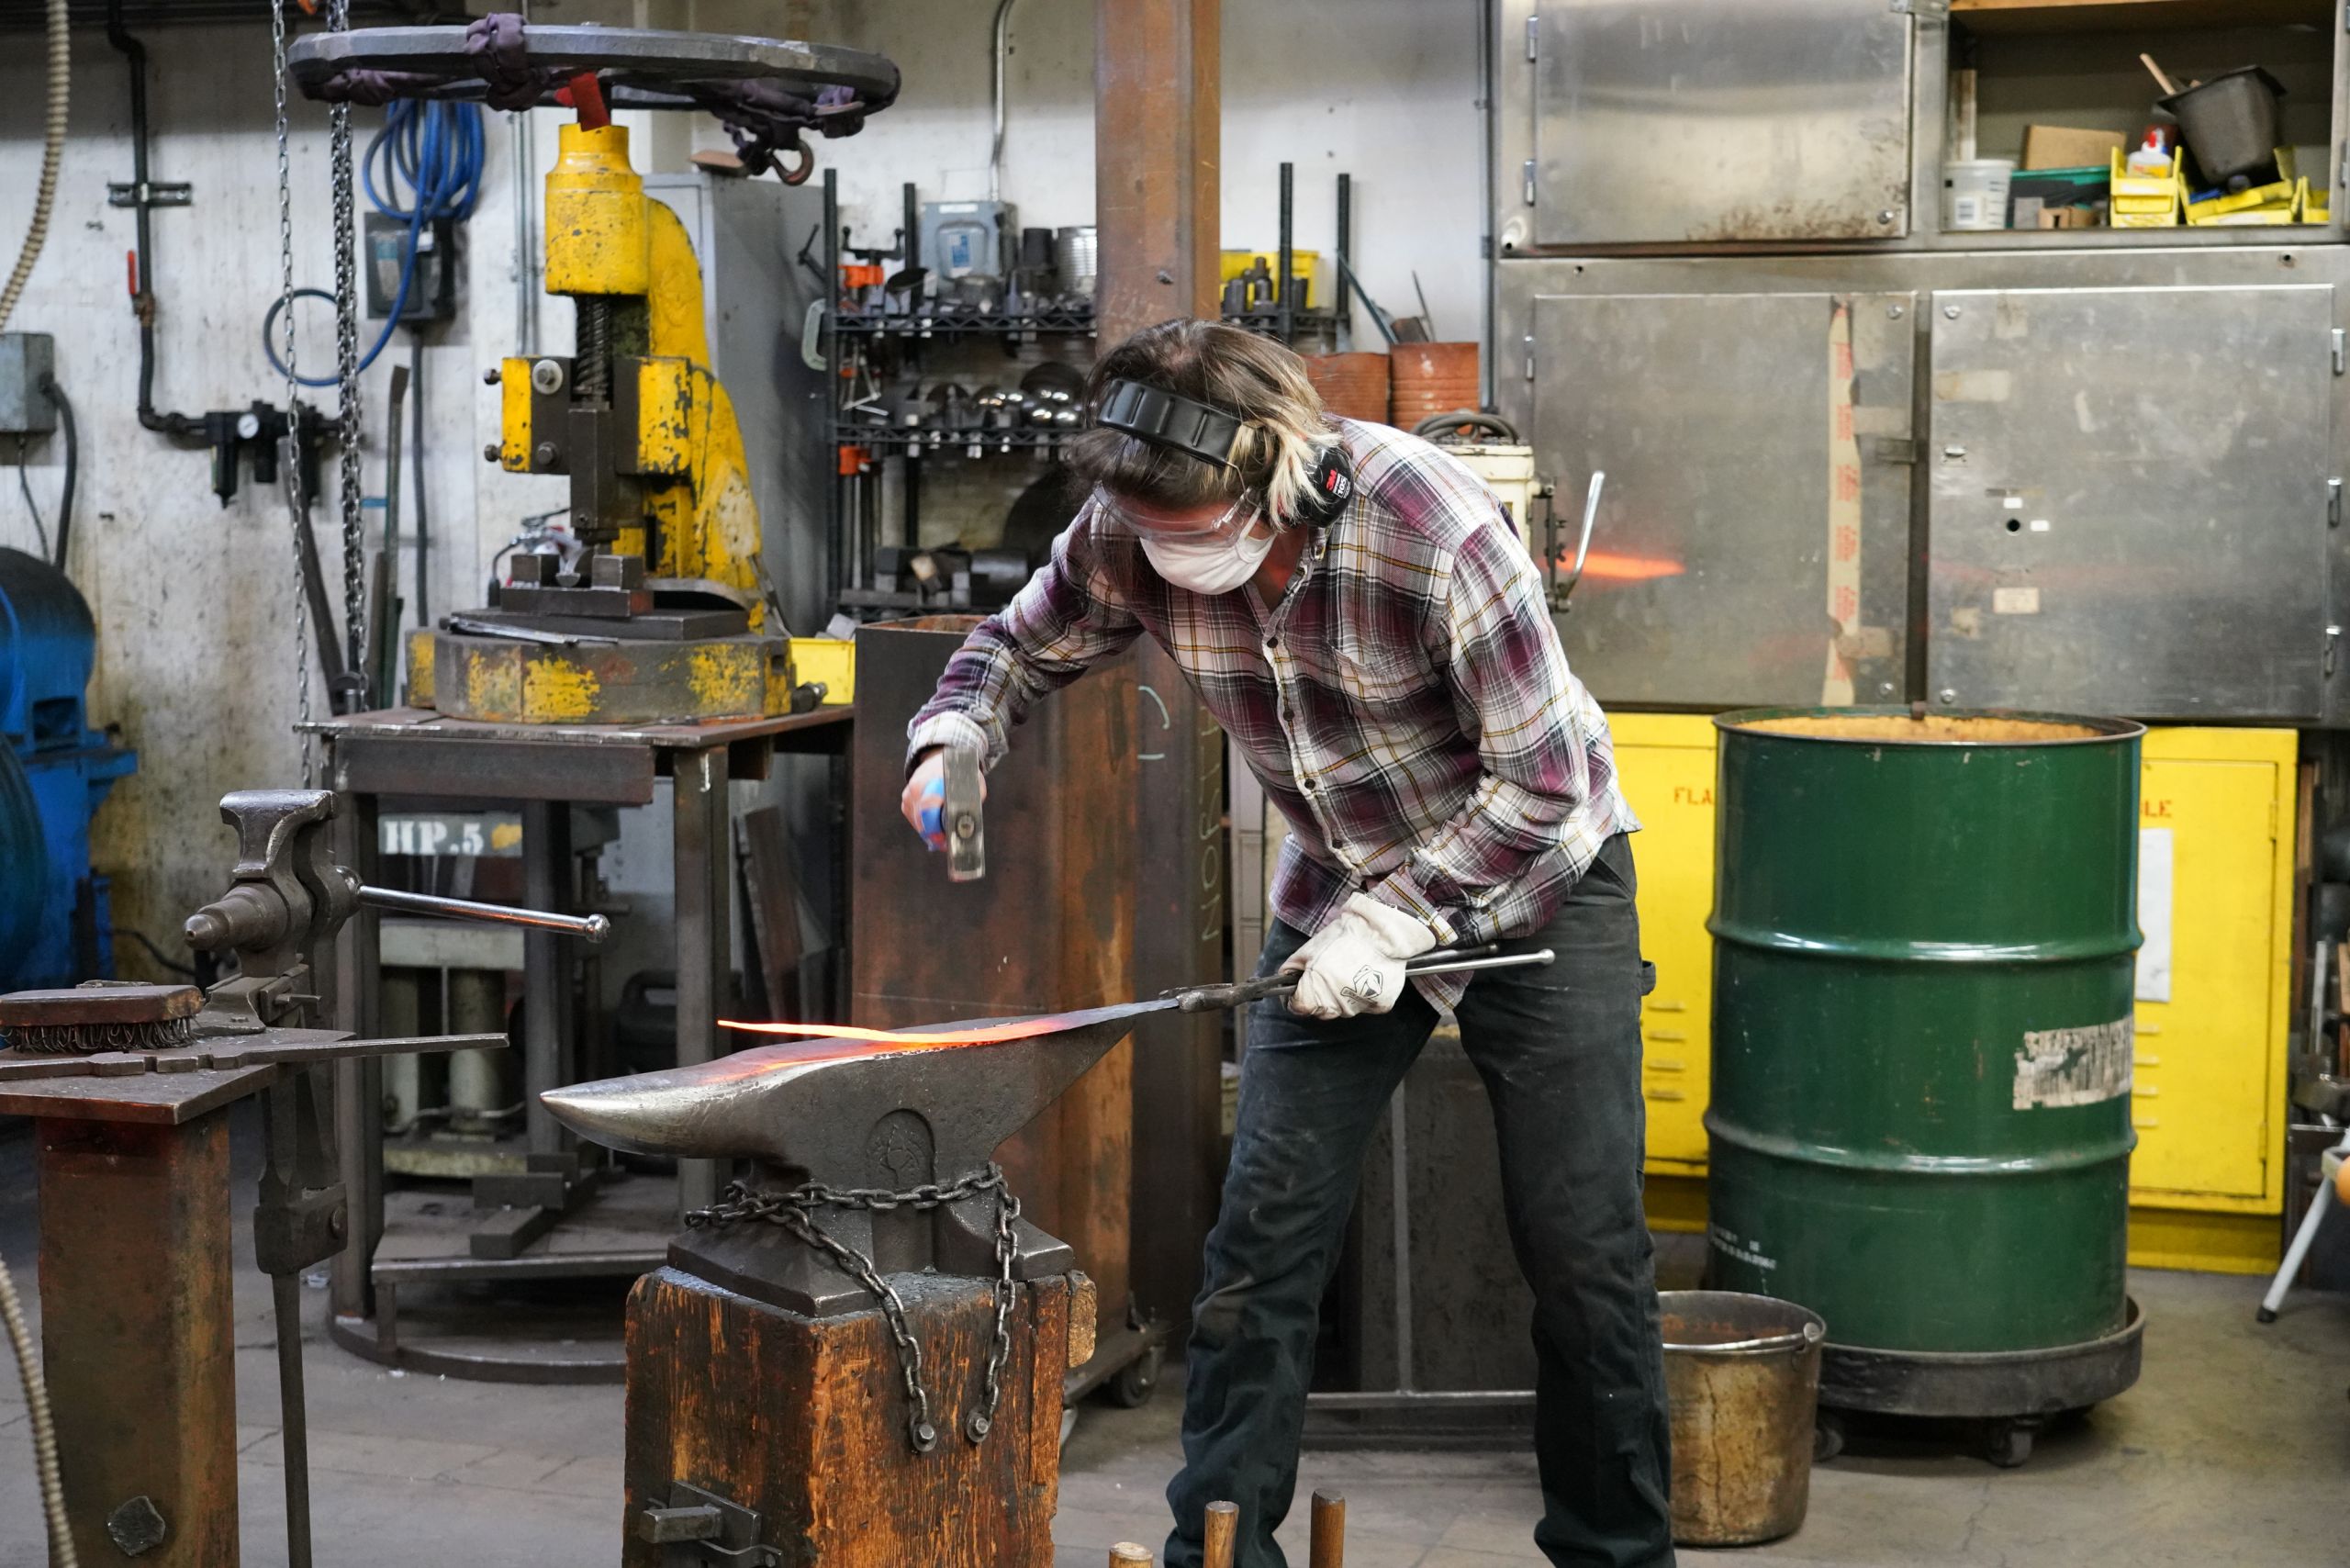
Grip the steel with a pair of tongs and heat it in a forge until the color of the steel turns yellow. This will mean the material has reached around 2,100 to 2,200 degrees Fahrenheit.
Step 4: Shape the Material
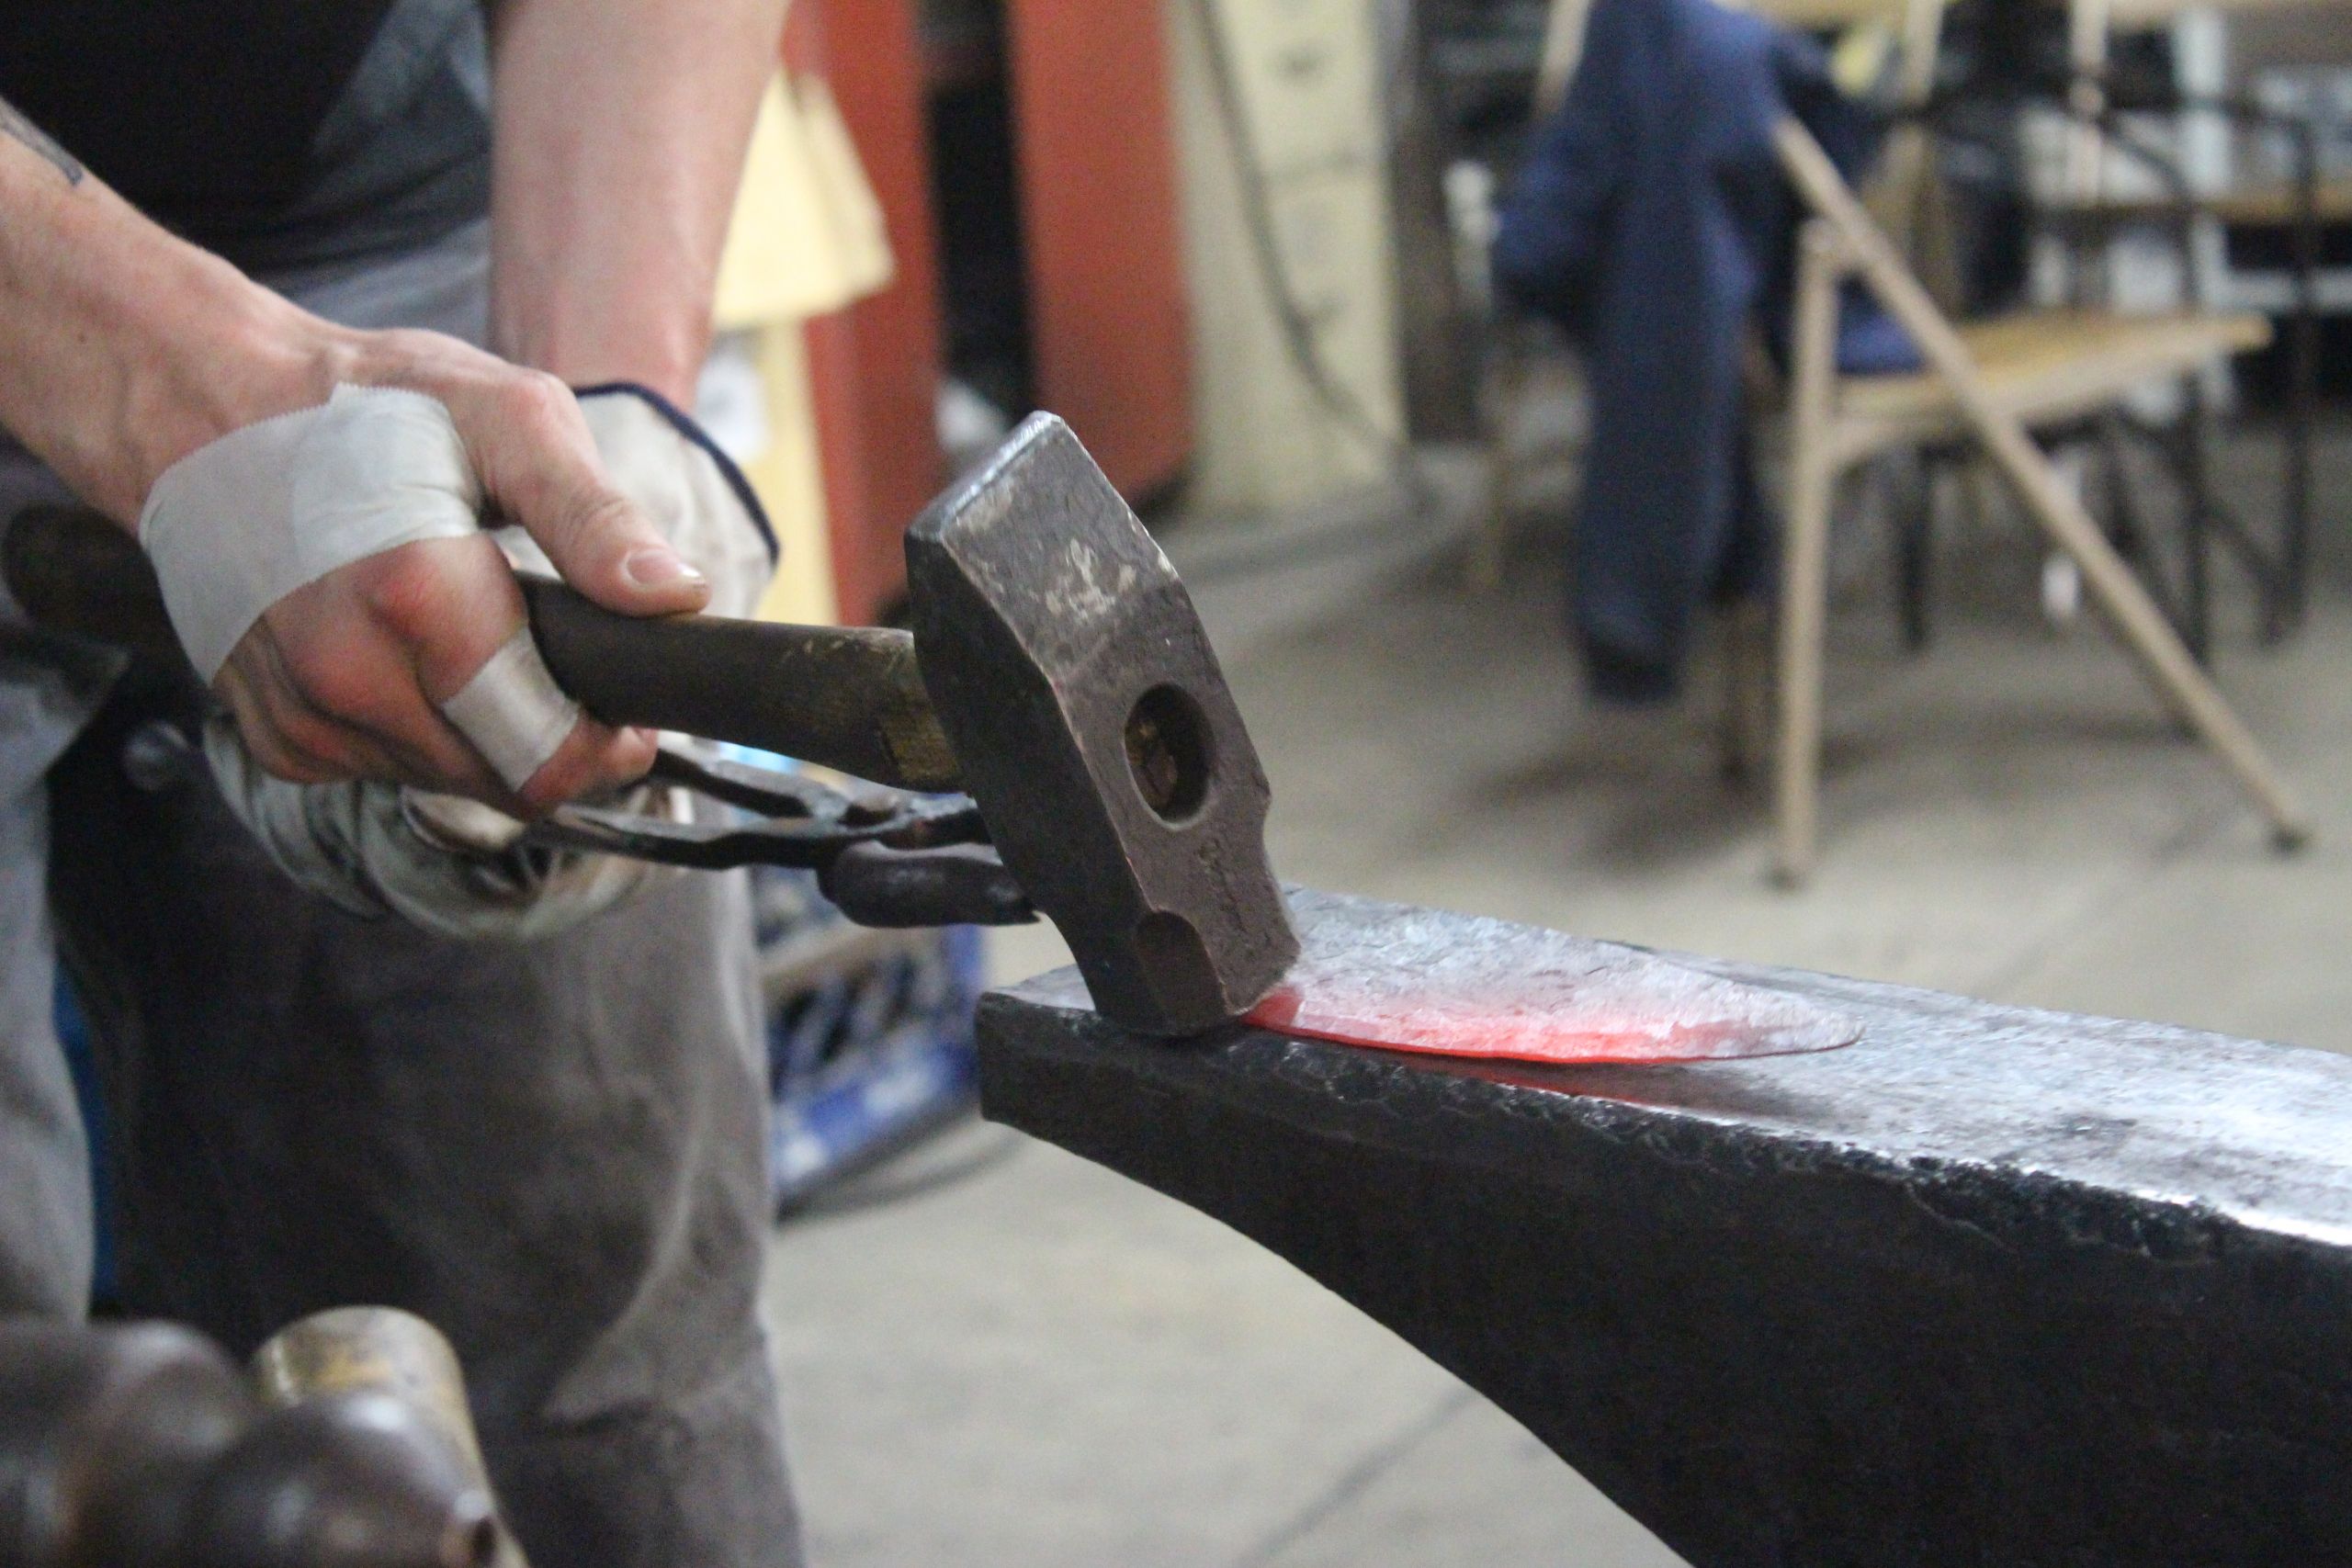
Once it has reached temperature, remove your steel from the forge. Set the stock flat on your anvil and shape the corner into the shape of a sword using a hammer. Make sure to taper both sides of the steel evenly.
Step 5: Flatten the Sword Blade
Bevel the edges of your steel with a hammer to create a cutting edge on either side of the sword. Once you have hammered one side, flip the sword on the anvil and hammer the other side until both are even.
Step 6: Heat and cool
Once you have the shape of your sword established, reheat it to normalize the steel. Grip the steel with your tongs and bring it up to non-magnetic temperature (about 1420 degrees Fahrenheit). Let it cool off at room temperature. Once all the red color has left the steel, place it back in the forge and repeat this process three times.
Step 7: Sanding
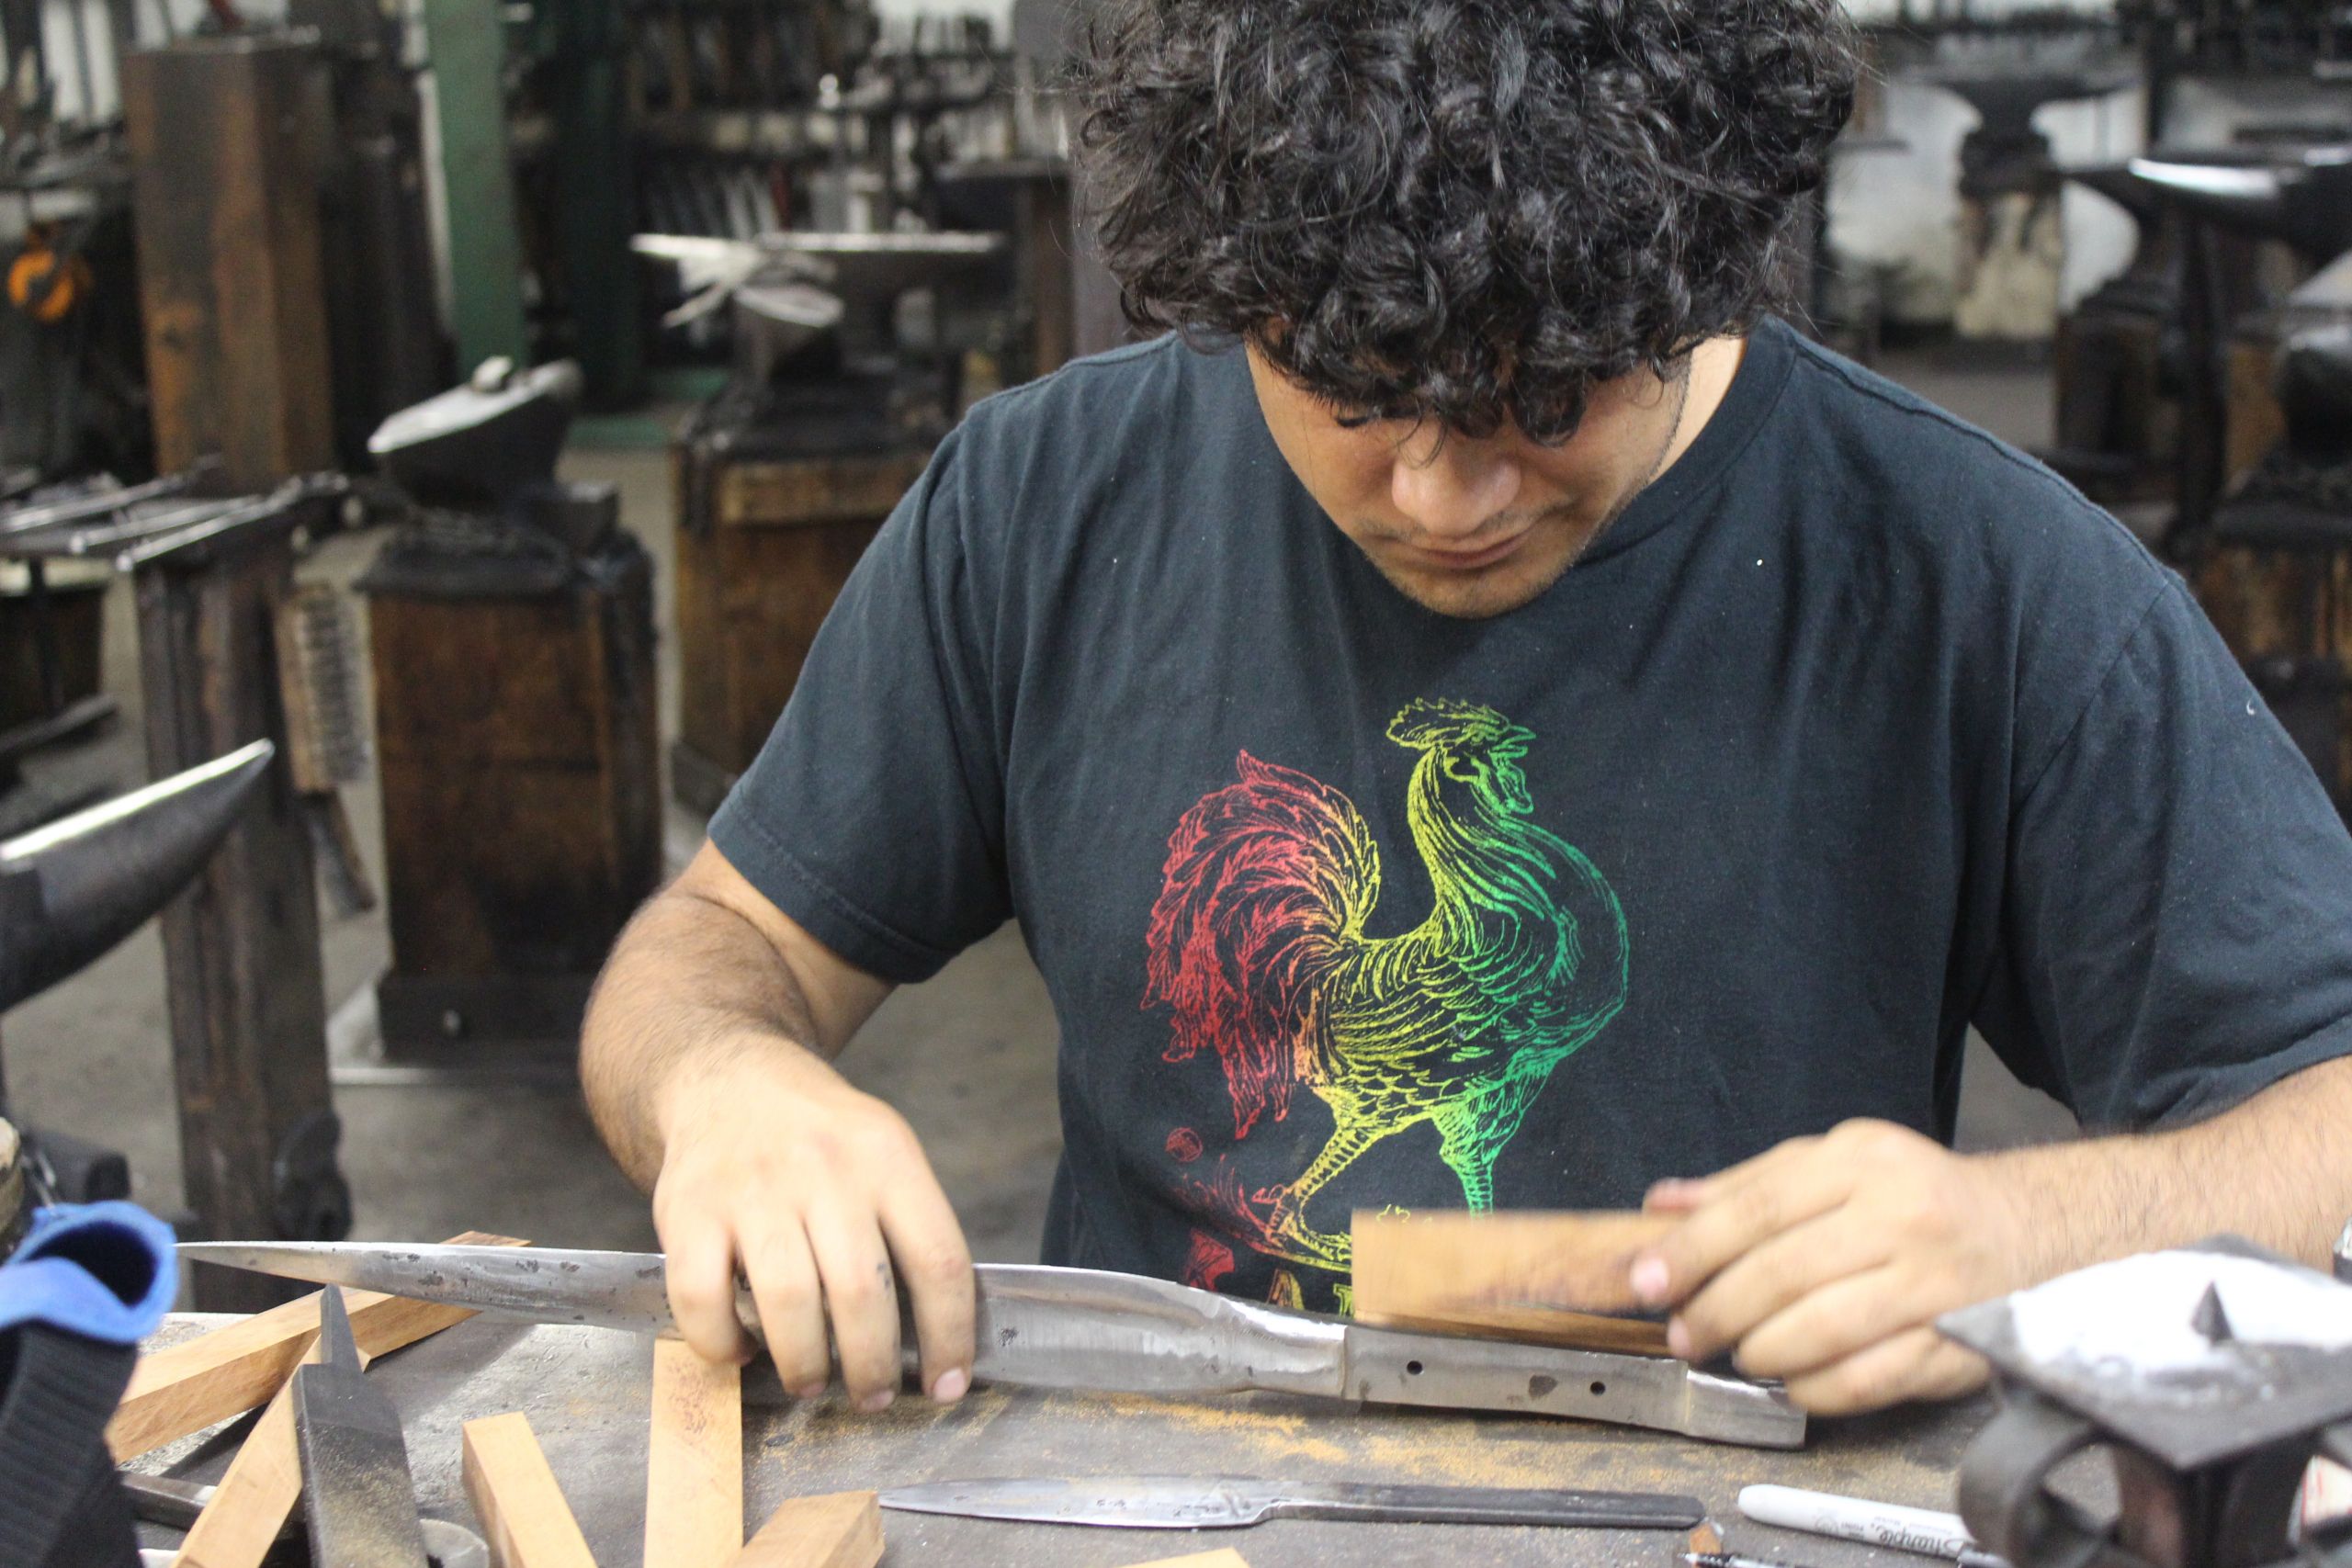
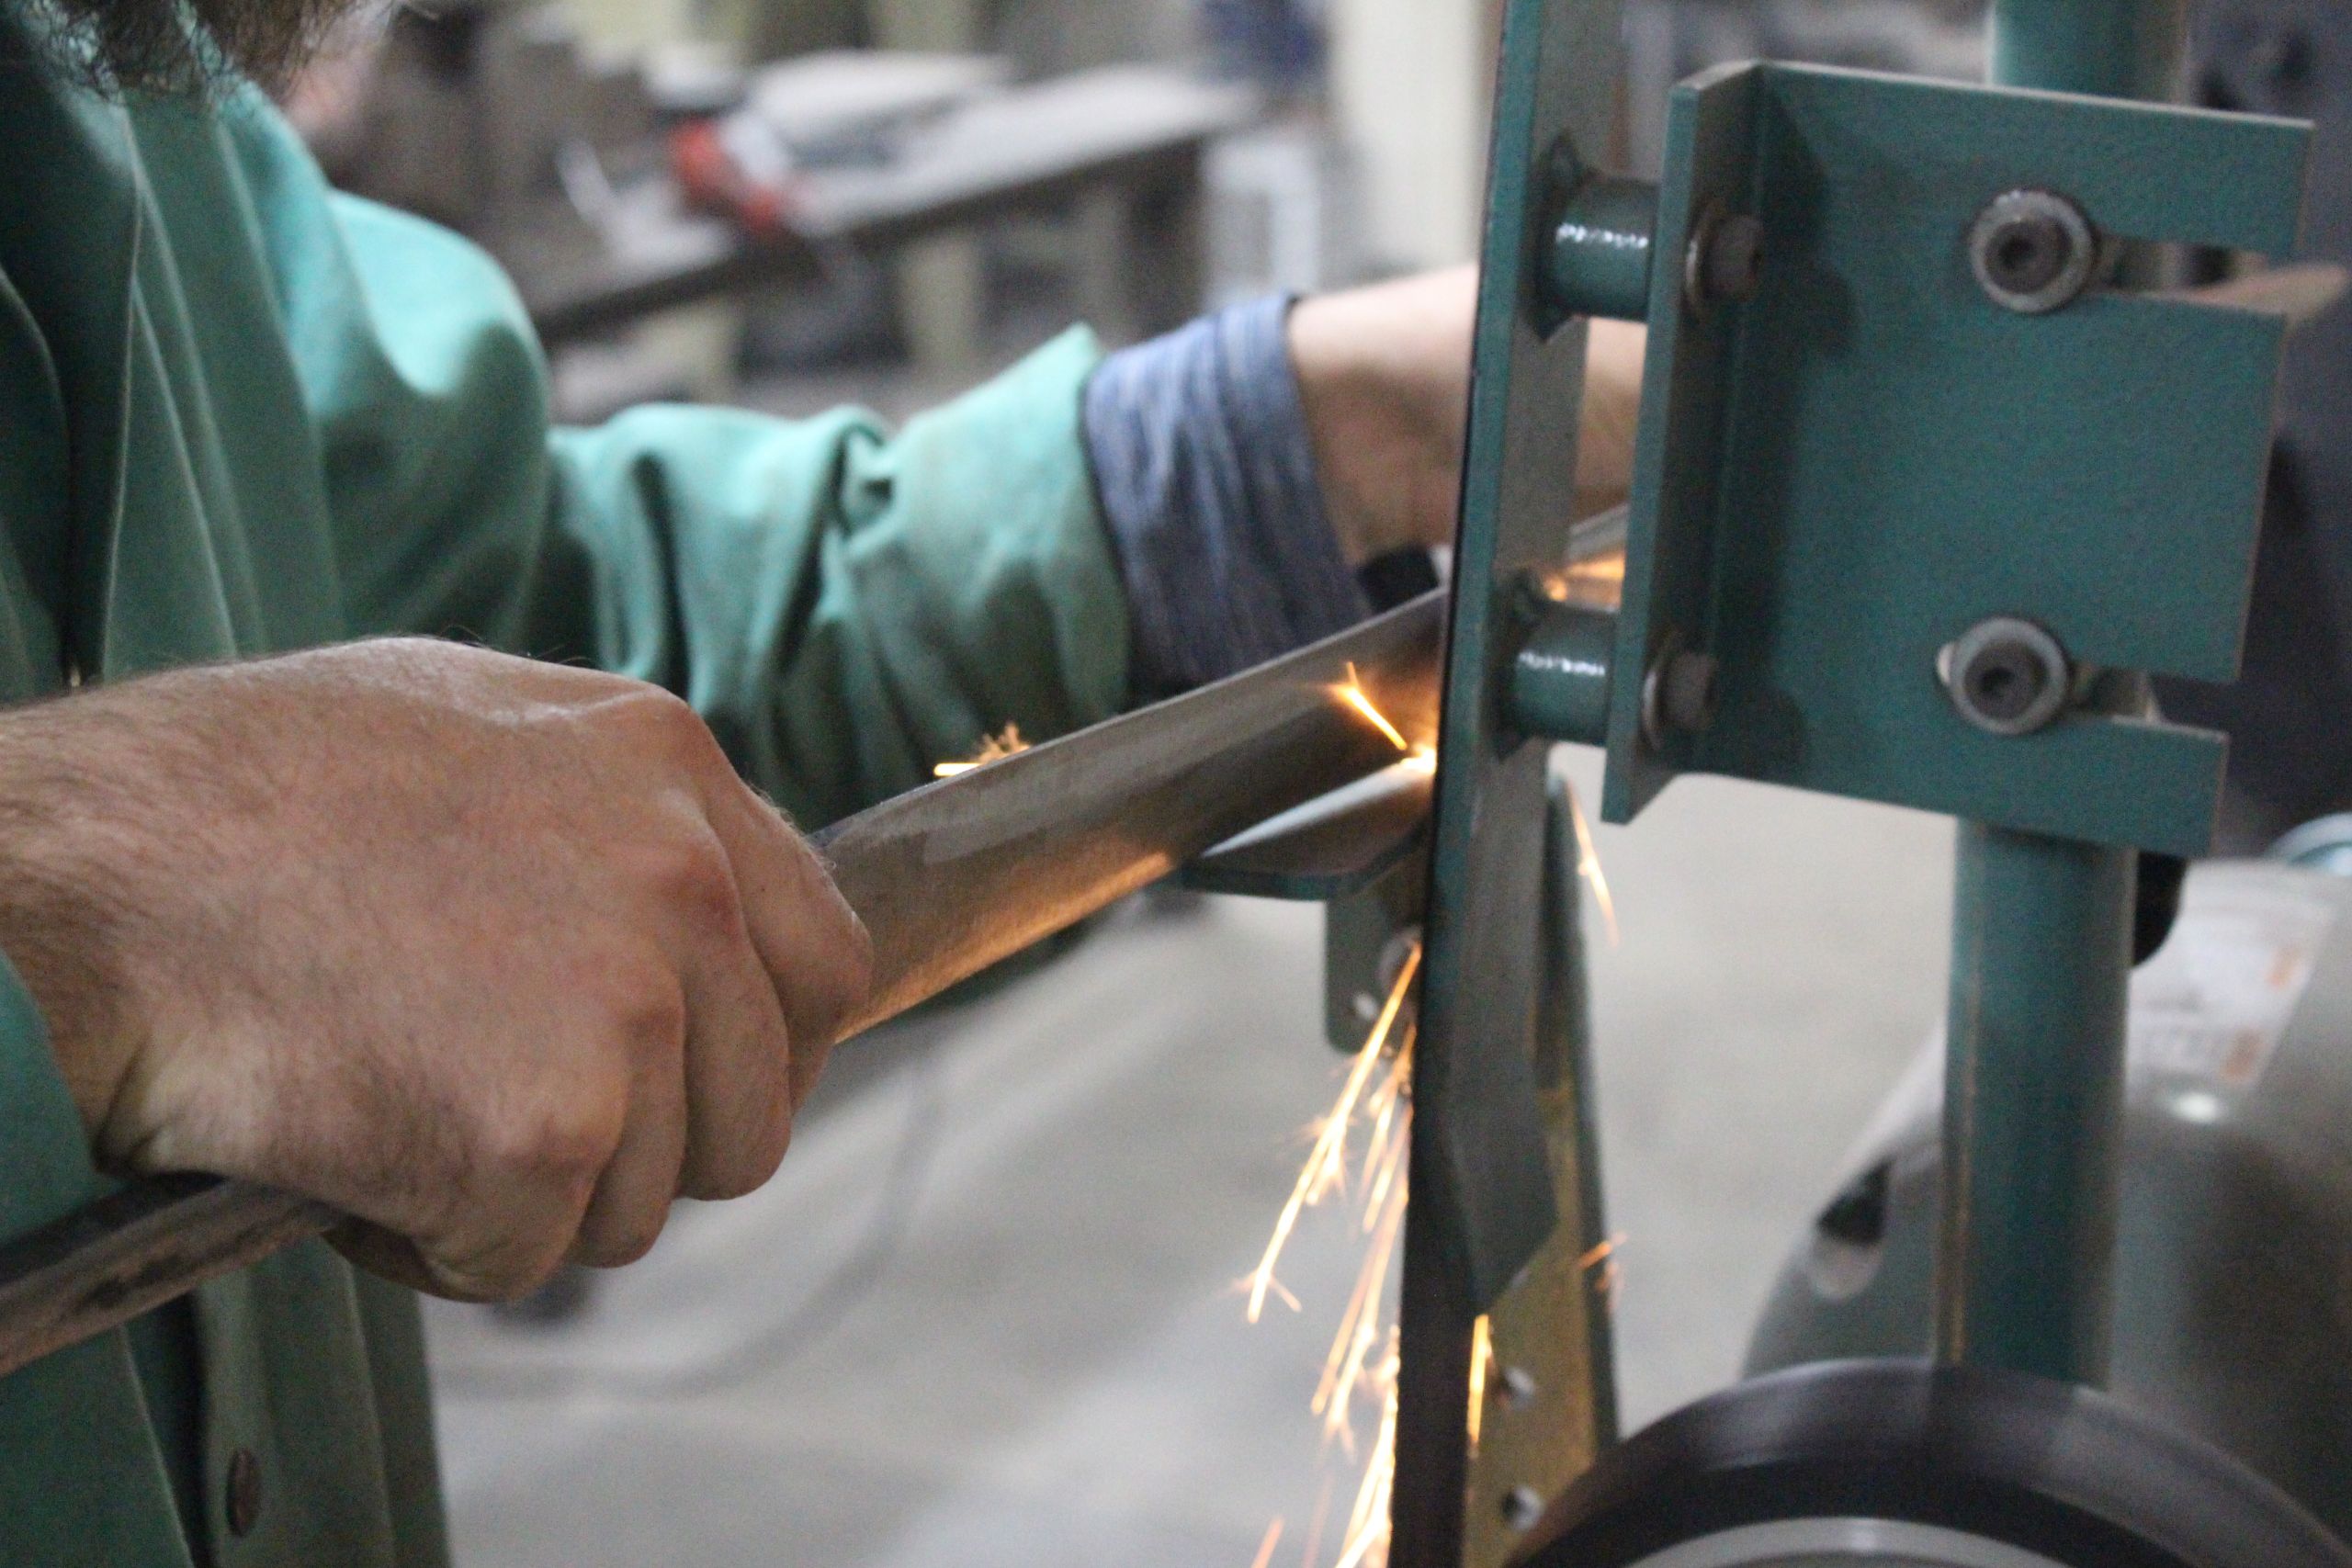
Sand the sword to smooth out the edges on a belt sander or by hand.
Step 8: Strengthen and sharpen the knife
Once the sword has been beveled, normalized, and sanded, reheat it and dip it in oil until it reaches room temperature. This process is known as quenching and it hardens the steel to strengthen your sword. Make sure you transfer the blade from the fire to the quenching as quickly as possible. If you are too slow, the sword blade will not harden properly.
Step 9: Reheat
Slowly reheat your quenched sword in a forge to a lower temperature. This will relax the brittleness and stress induced by the quenching process.
Step 10: Create the hilt
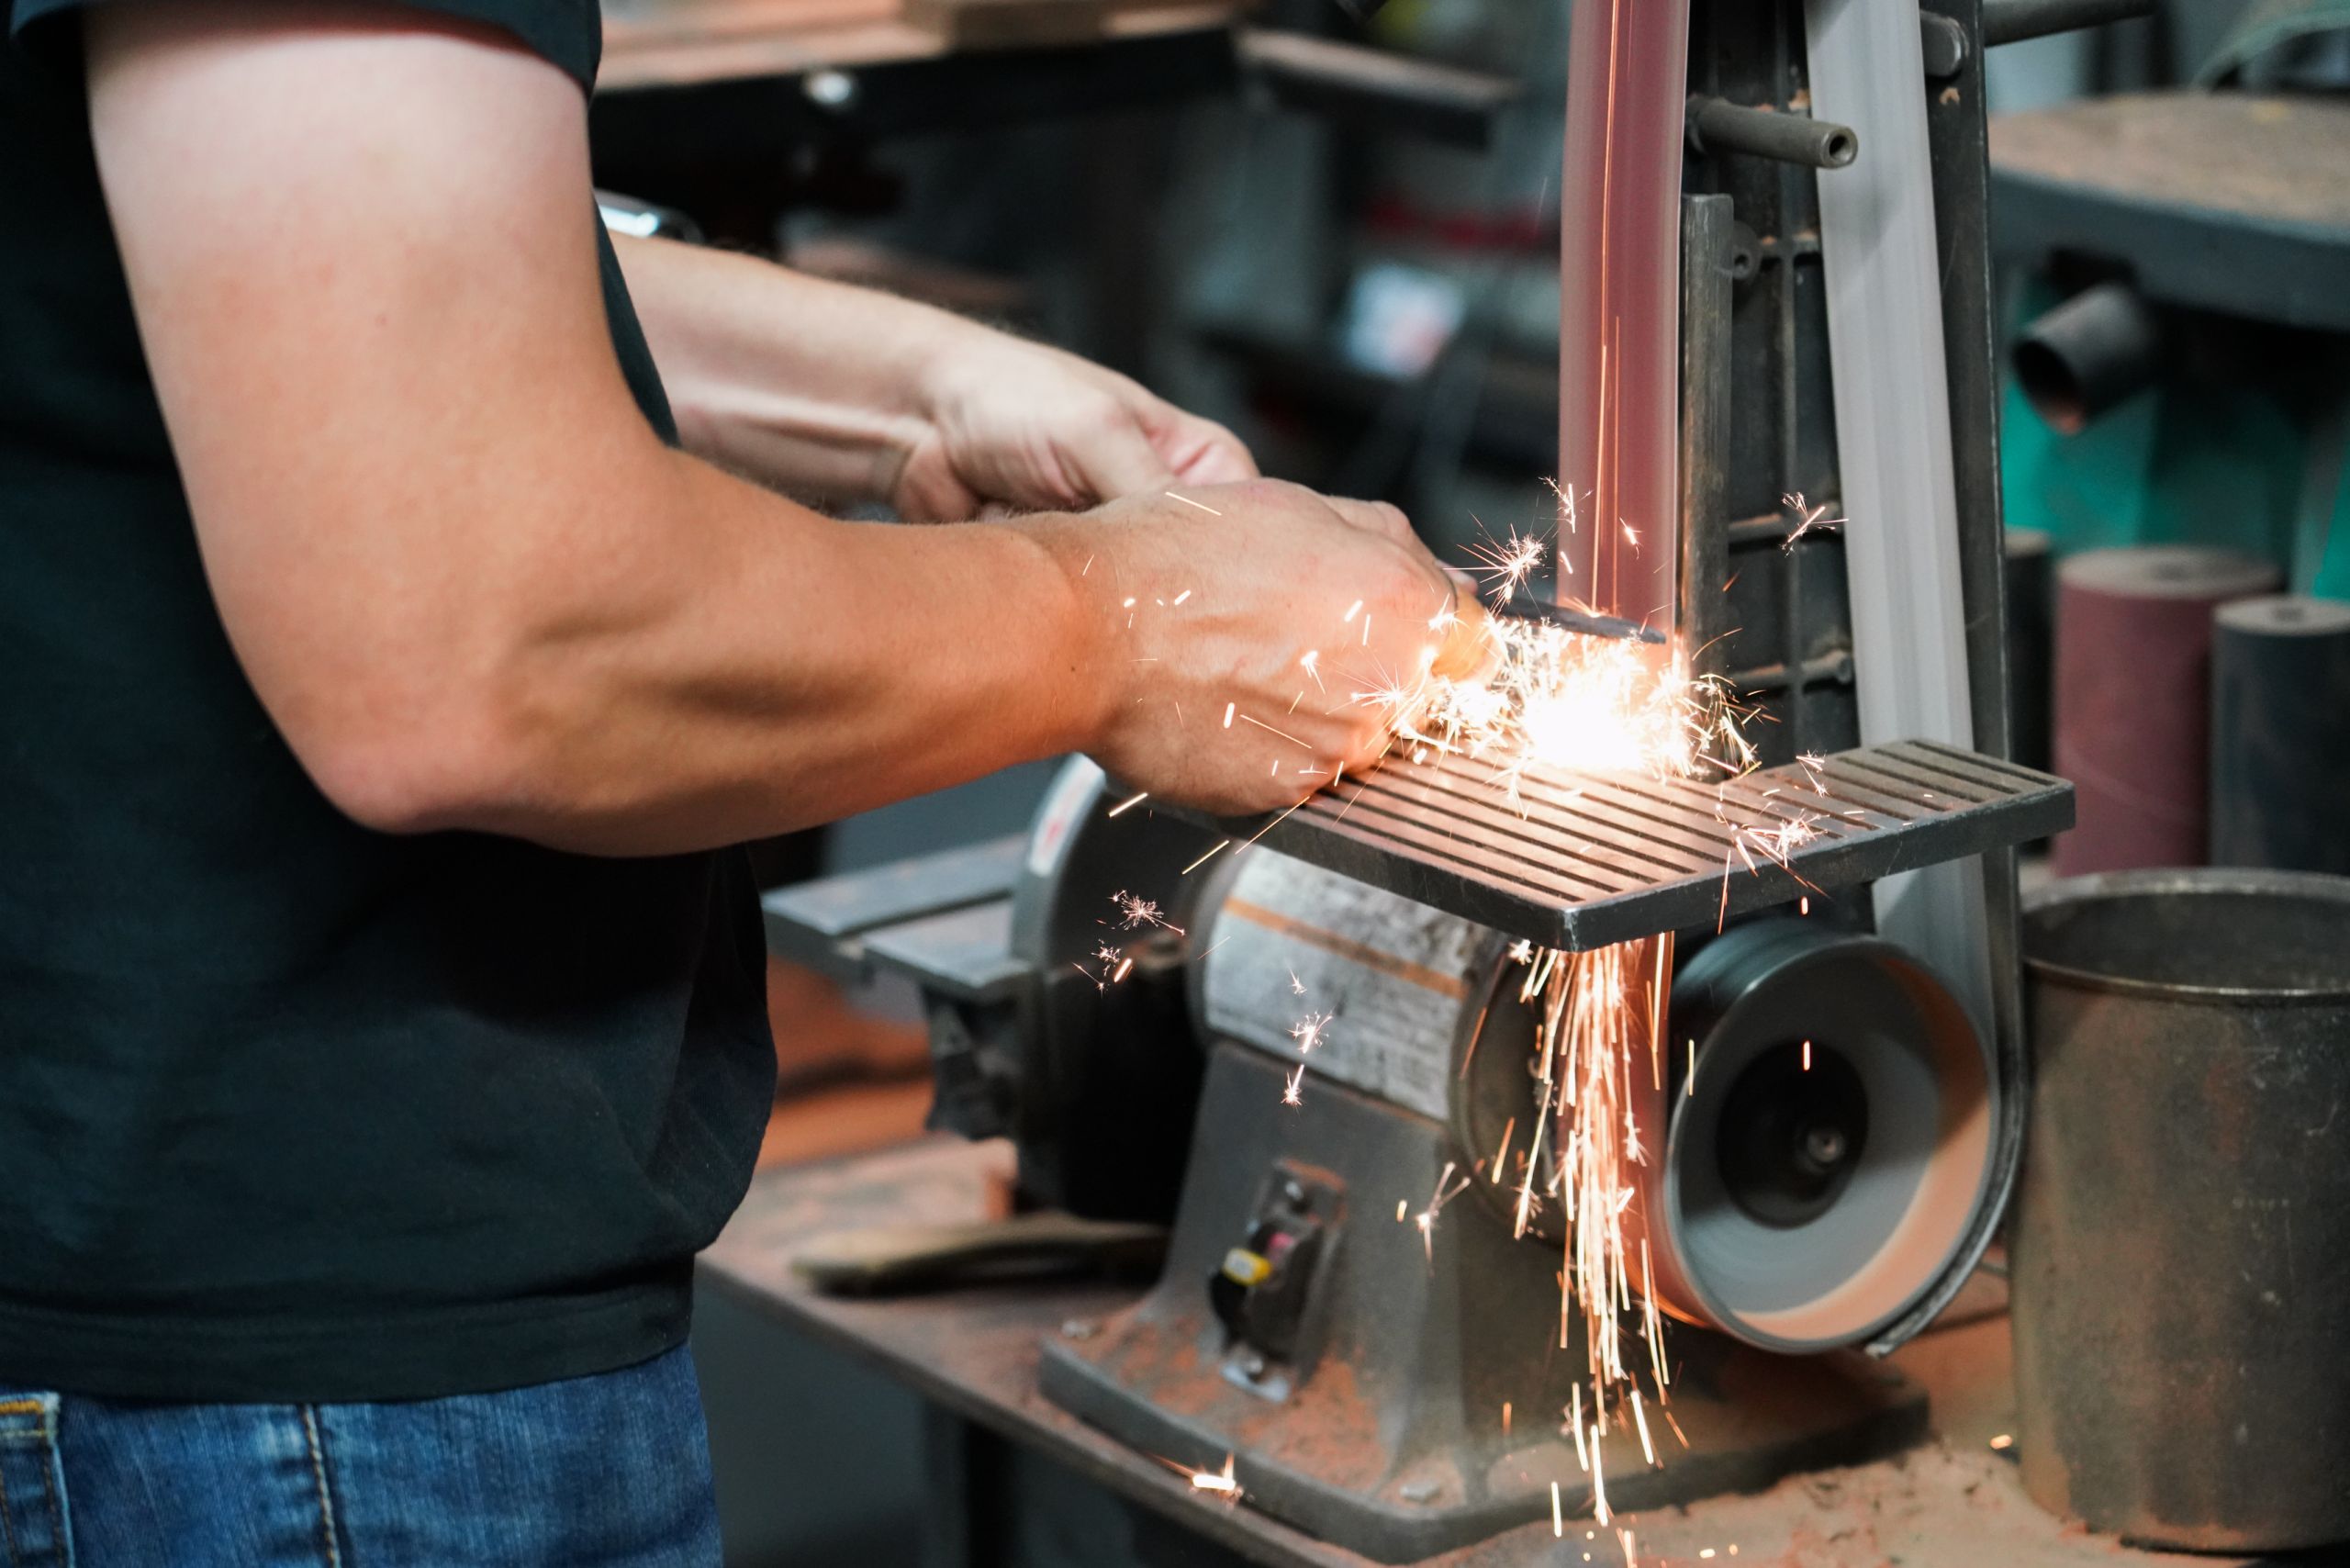
The hilt is another word for a sword handle. It is usually made from leather, wire, or wood, and is fastened to the blade to provide ease while holding the sword. The pommel is a large fitting at the top of the hilt, and is usually made of metal. It ensures that the sword will not slip out of your hand, and also provides a weighted equilibrium.
Step 11: Sharpen
With a fine file and whetstone carefully sharpen your sword blade until you are satisfied.
How to learn sword making
As a beginner blacksmith or bladesmith, we recommend first taking a class from a professional to make your own sword. There are public resources and organizations, such as the American Bladesmith Society, where you can connect to other bladesmiths, teachers, apprenticeships, and more. Once you have the fundamentals and safety essentials down, you may decide to build your own smithy at home.
Learn bladesmithing at The Crucible
The Crucible’s Blacksmithing Department offers in-person Bladesmithing classes in its smithy. These specialized classes focus on the forging techniques needed to produce knives, swords, and blades of all kinds, and are led by nationally renowned bladesmiths. In class, you will design your own blade, control the steel grain structure, how to harden and temper your blade, and construct a handle.
Before you take Bladesmithing, The Crucible requires you to take Blacksmithing II, or possess the equivalent knowledge learned in this class.
Sword making FAQs
Can you forge a sword at home?
Forging a sword is an advanced blacksmithing project and can be a huge undertaking for beginner blacksmiths. Like most forging processes, forging a sword requires patience, experience, and time. With the right tools and safety equipment, you can forge a sword at home. The easiest and least costly way to forge a sword at home is to use stock steel and a belt sander.
Can you make a sword without a forge?
Yes, you can make a sword without a forge. You will first cut out the sword’s shape on a long sheet of steel stock. Once the rough shape is cut, you will sharpen and smooth the edge on a belt sander. To make a simple handle, punch three holes at the edge of the blade, and attach two flat pieces of wood on either side of your blade. Sand down the wooden handle, and you have successfully made a sword without a forge!
How much does it cost to forge a sword?
The cost to forge a sword will depend on the resources that are available to you. If you plan to forge your own sword at home, you may need to build out a safe place to have a forge, anvil, and your other bladesmithing tools. The cost to build out your own smithy at home can range between $500 to $5,000, depending on the equipment and materials you choose to work with. You may also opt to take a public class with a professional bladesmith in an established smithy. The Crucible offers Bladesmithing classes that start at $600.
What is the difference between a knife and a sword?
The main difference between a knife and sword is the length of the blade. Typically, a sword blade exceeds 24 inches. Any smaller, and it is defined as a knife or a dagger.


