TextilesEarth
Beginners Guide to Indigo Dyeing
By Kristin Arzt
Beginners Guide to Indigo Dyeing
What is indigo dye?
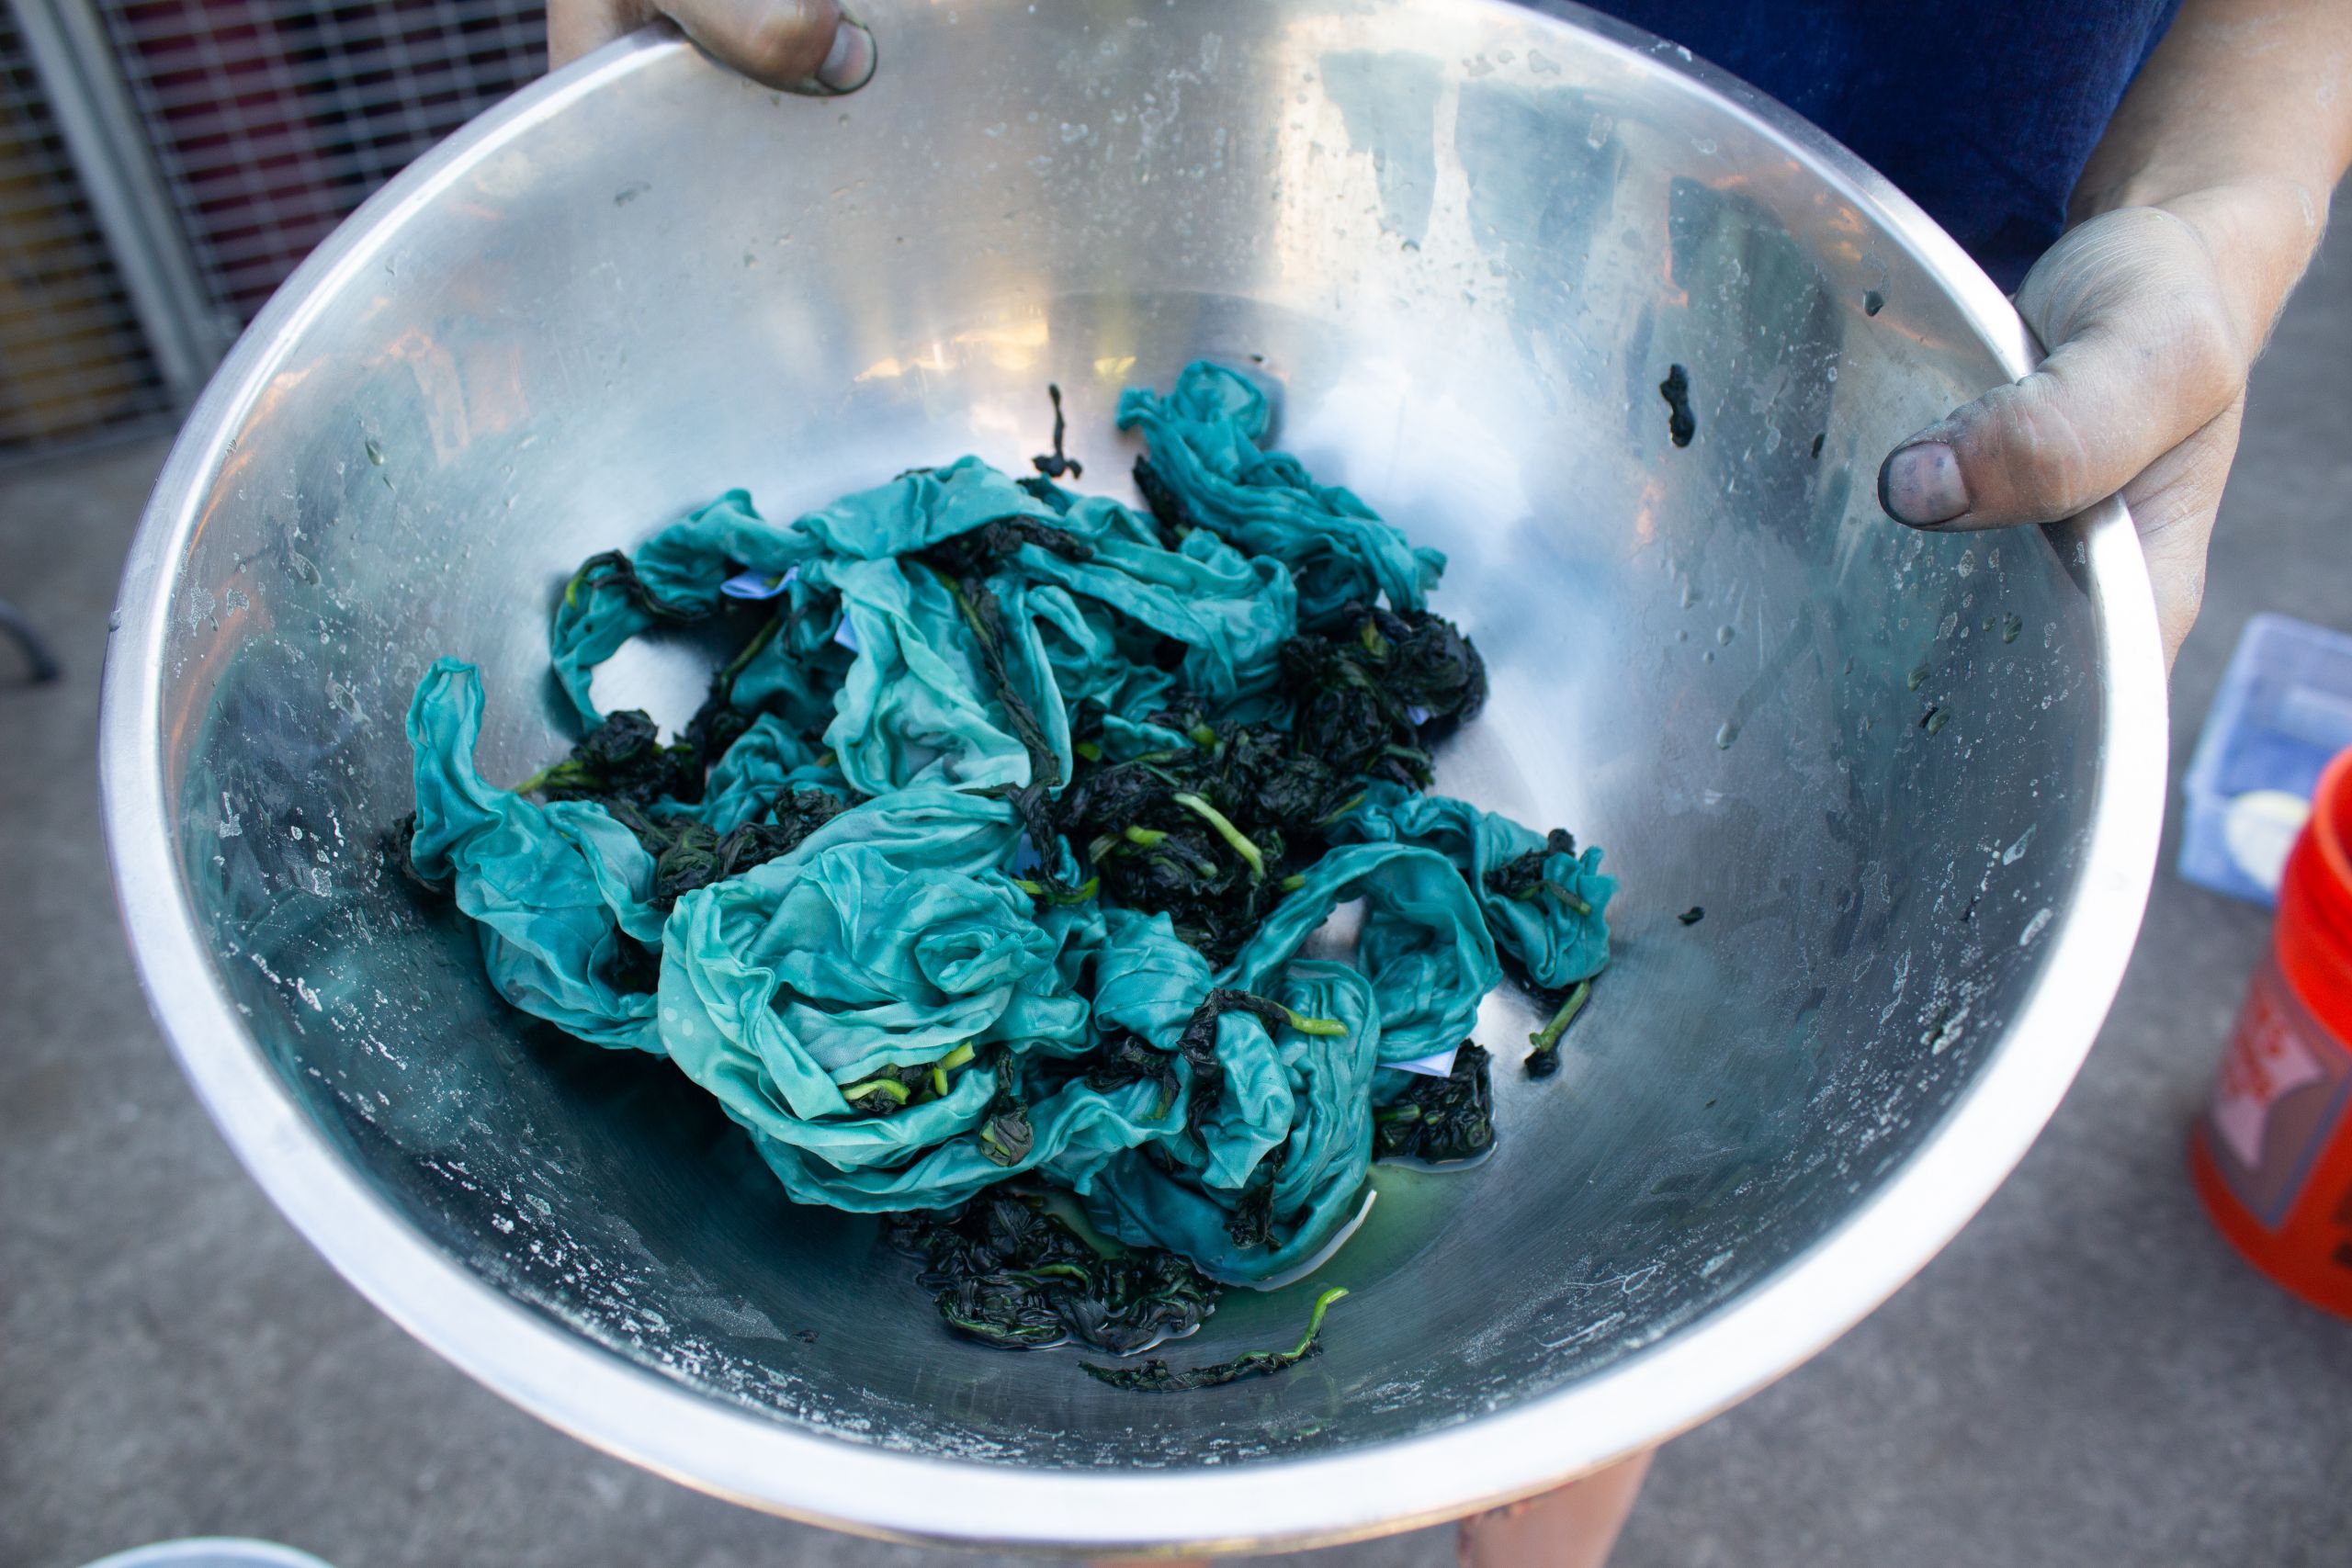
Indigo is a pigment extracted from the leaves of indigo-bearing plants and is the oldest natural source of blue dye in the world. Humans have used indigo to dye natural fibers for thousands of years, with traditions spanning continents and cultures. Indigo dye was common in ancient civilizations in Mesopotamia, Egypt, Britain, Mesoamerica, Peru, Iran, and West Africa. The oldest known indigo-dyed cloth was found in Peru and dates back 6,000 years.
Because of its high value in trade, indigo was often referred to as blue gold. It was a major export and cash crop in South Carolina in the 1700s, playing a major role in plantation slavery there, along with cotton and rice. In 1865, German chemist Adolf von Baeyer introduced synthetic indigo, which was created in a lab and much less expensive to produce than naturally-grown indigo pigment. Most indigo dye made today is synthetic, constituting several thousand tons each year.
Common terms for talking about indigo dye
Different types of indigo vats
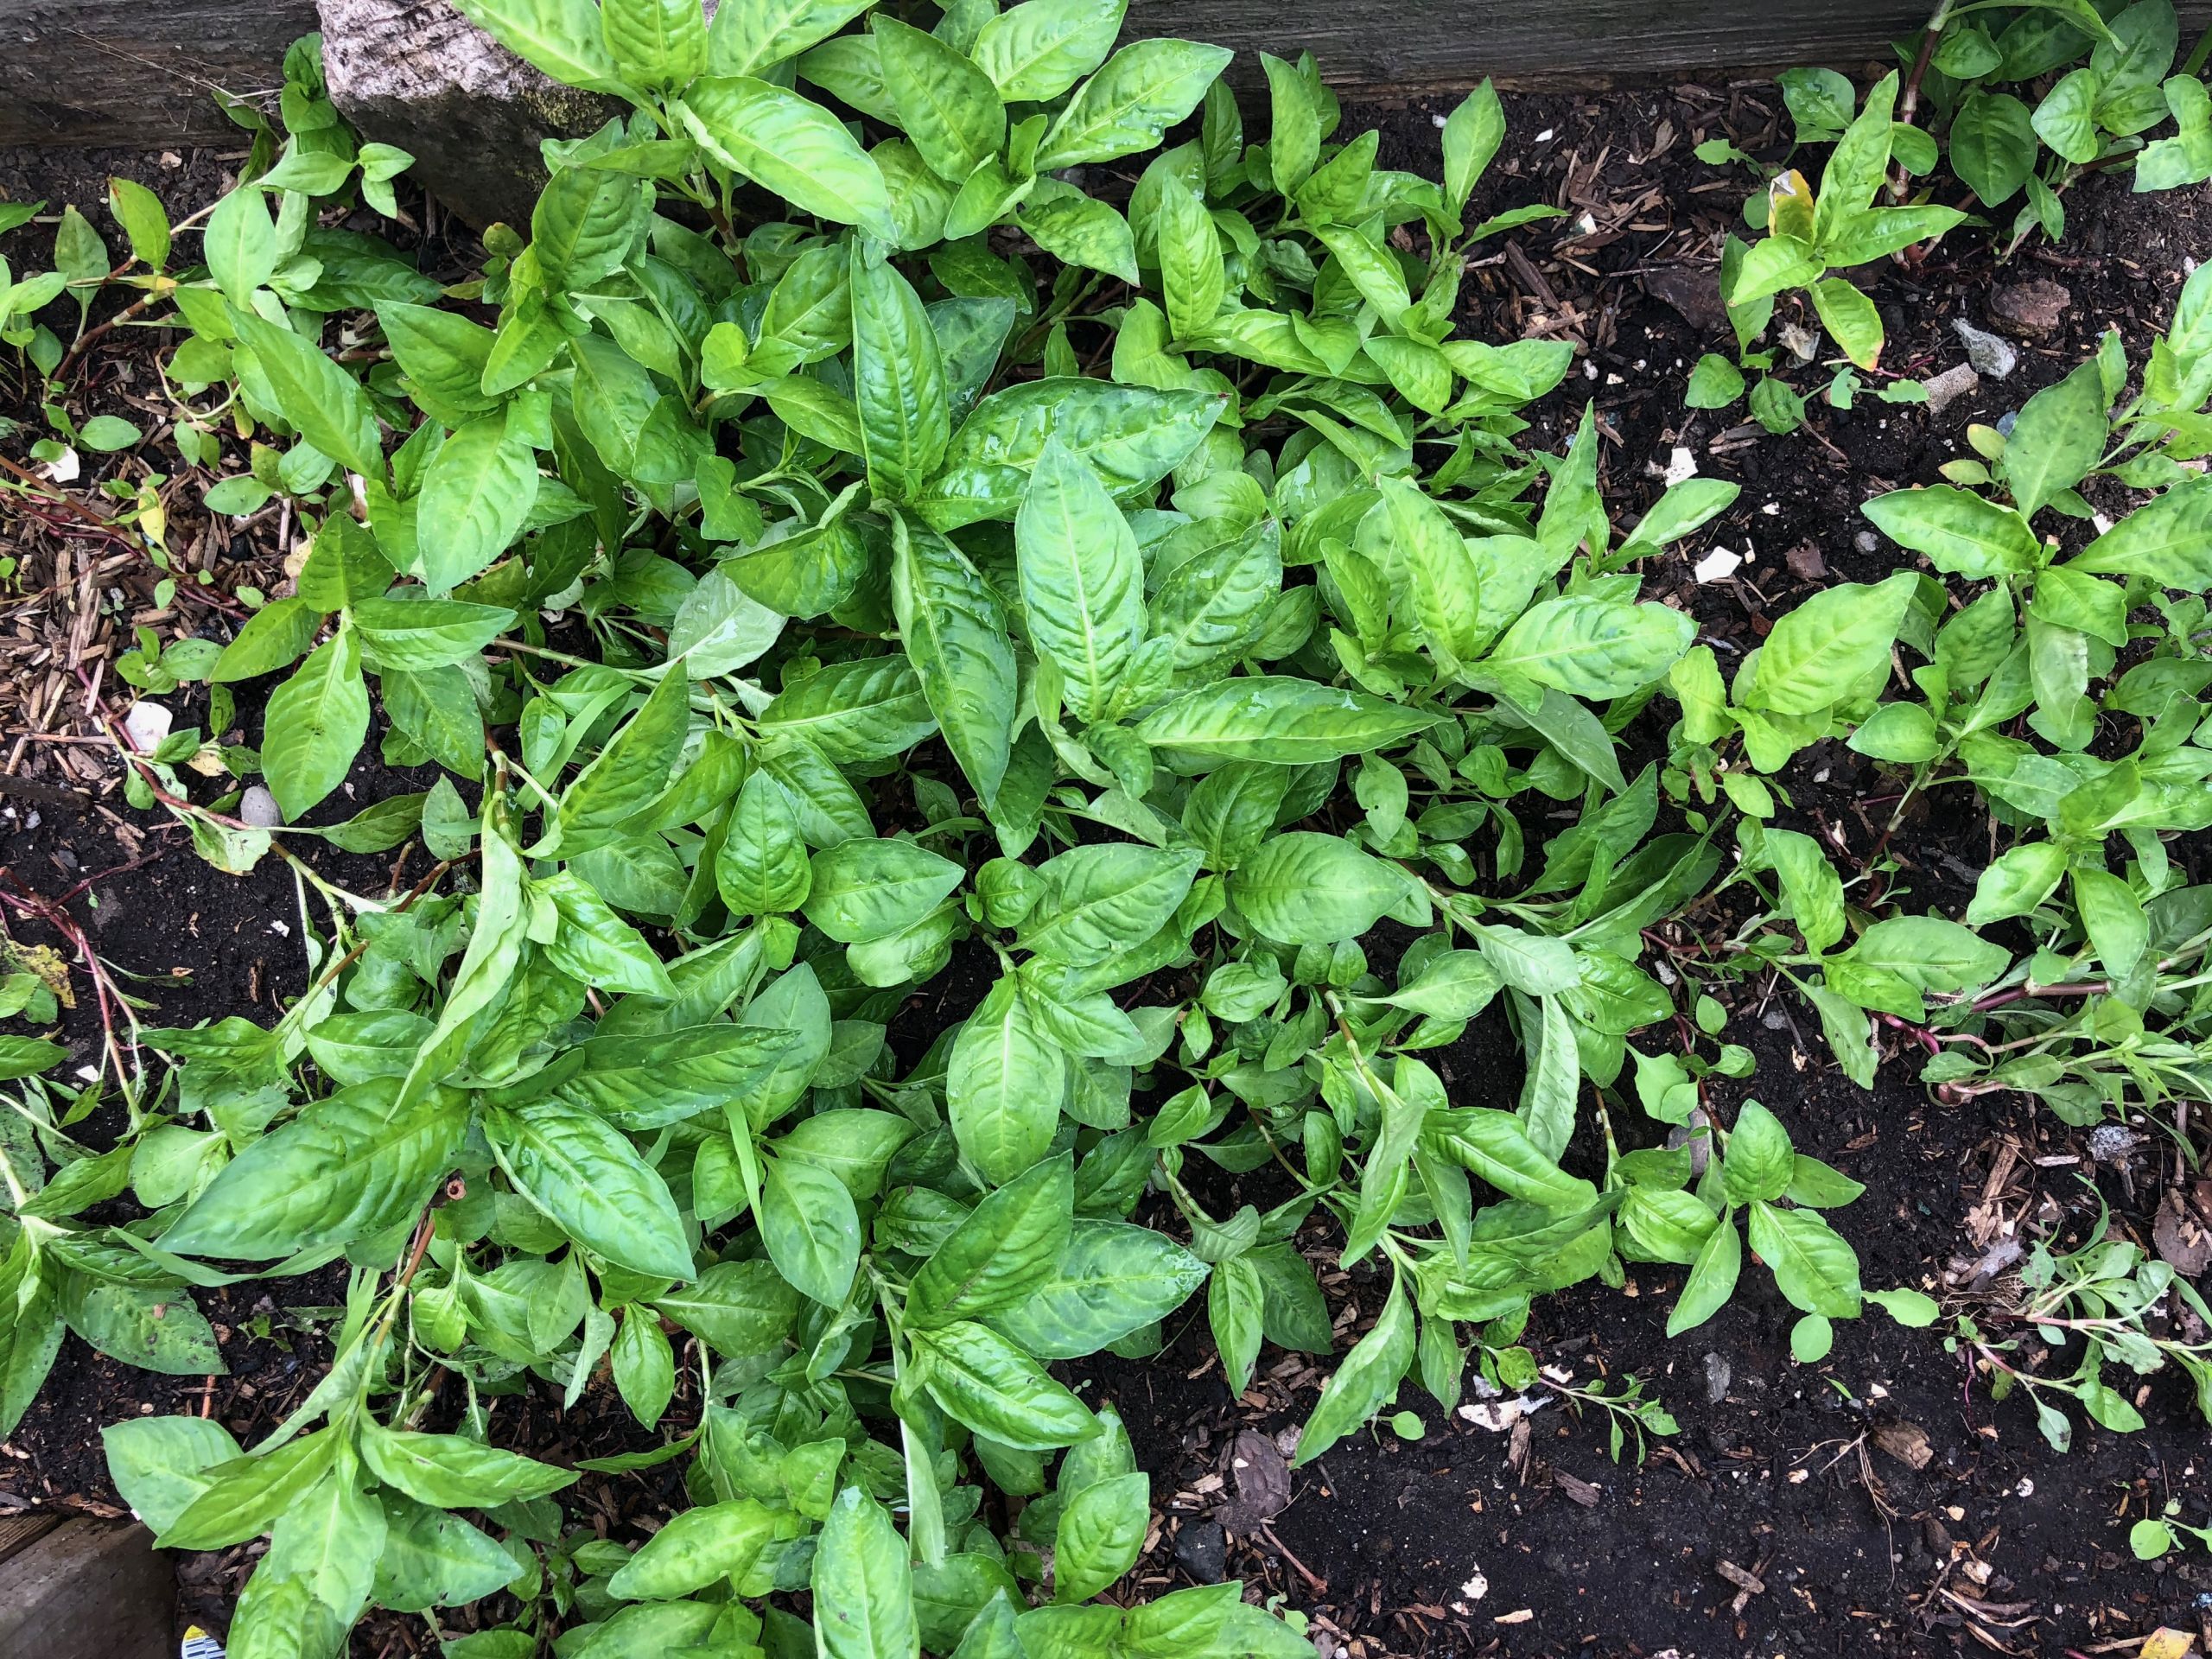
Indigo pigment is not soluble in water, and therefore the dyeing liquid must be devoid of oxygen or “reduced” for the pigment to bond to fiber. A common modern indigo vat is known as a “1-2-3” vat, the recipe developed by French botanist and chemist Michel Garcia. Each vat includes three ingredients: indigo pigment as the source of color, a component to elevate the pH, and a reducing agent. The ingredients are proportionally added based on their weight in powder form. An example of a recipe may be one part indigo pigment, two parts calcium hydroxide, and three parts fructose powder.
Here, we will cover the common types of “1-2-3” indigo vats, their ingredients, and their benefits. All of these recipes will achieve medium-deep blue results in a five-gallon bucket-sized indigo vat.
Fructose vat
Fructose vats, also known as sugar vats, use fructose powder as a reducing agent to remove oxygen from the dye liquid. A common recipe for a fructose indigo vat is 50 grams or one-part indigo pigment, 100 grams or two parts calcium hydroxide, and 150 grams or three parts fructose powder. Fructose vats dye both cellulose and protein fibers well. These indigo vats reduce and are ready to work with very quickly, within 24 hours. They require a bit more care over time than other indigo vats. They may go dormant in cold temperatures and like to be fed additional fructose regularly to stay in reduction.
- One part indigo pigment
- Two parts calcium hydroxide
- Three parts fructose powder
- Good for cellulose and protein fibers
Henna Vat
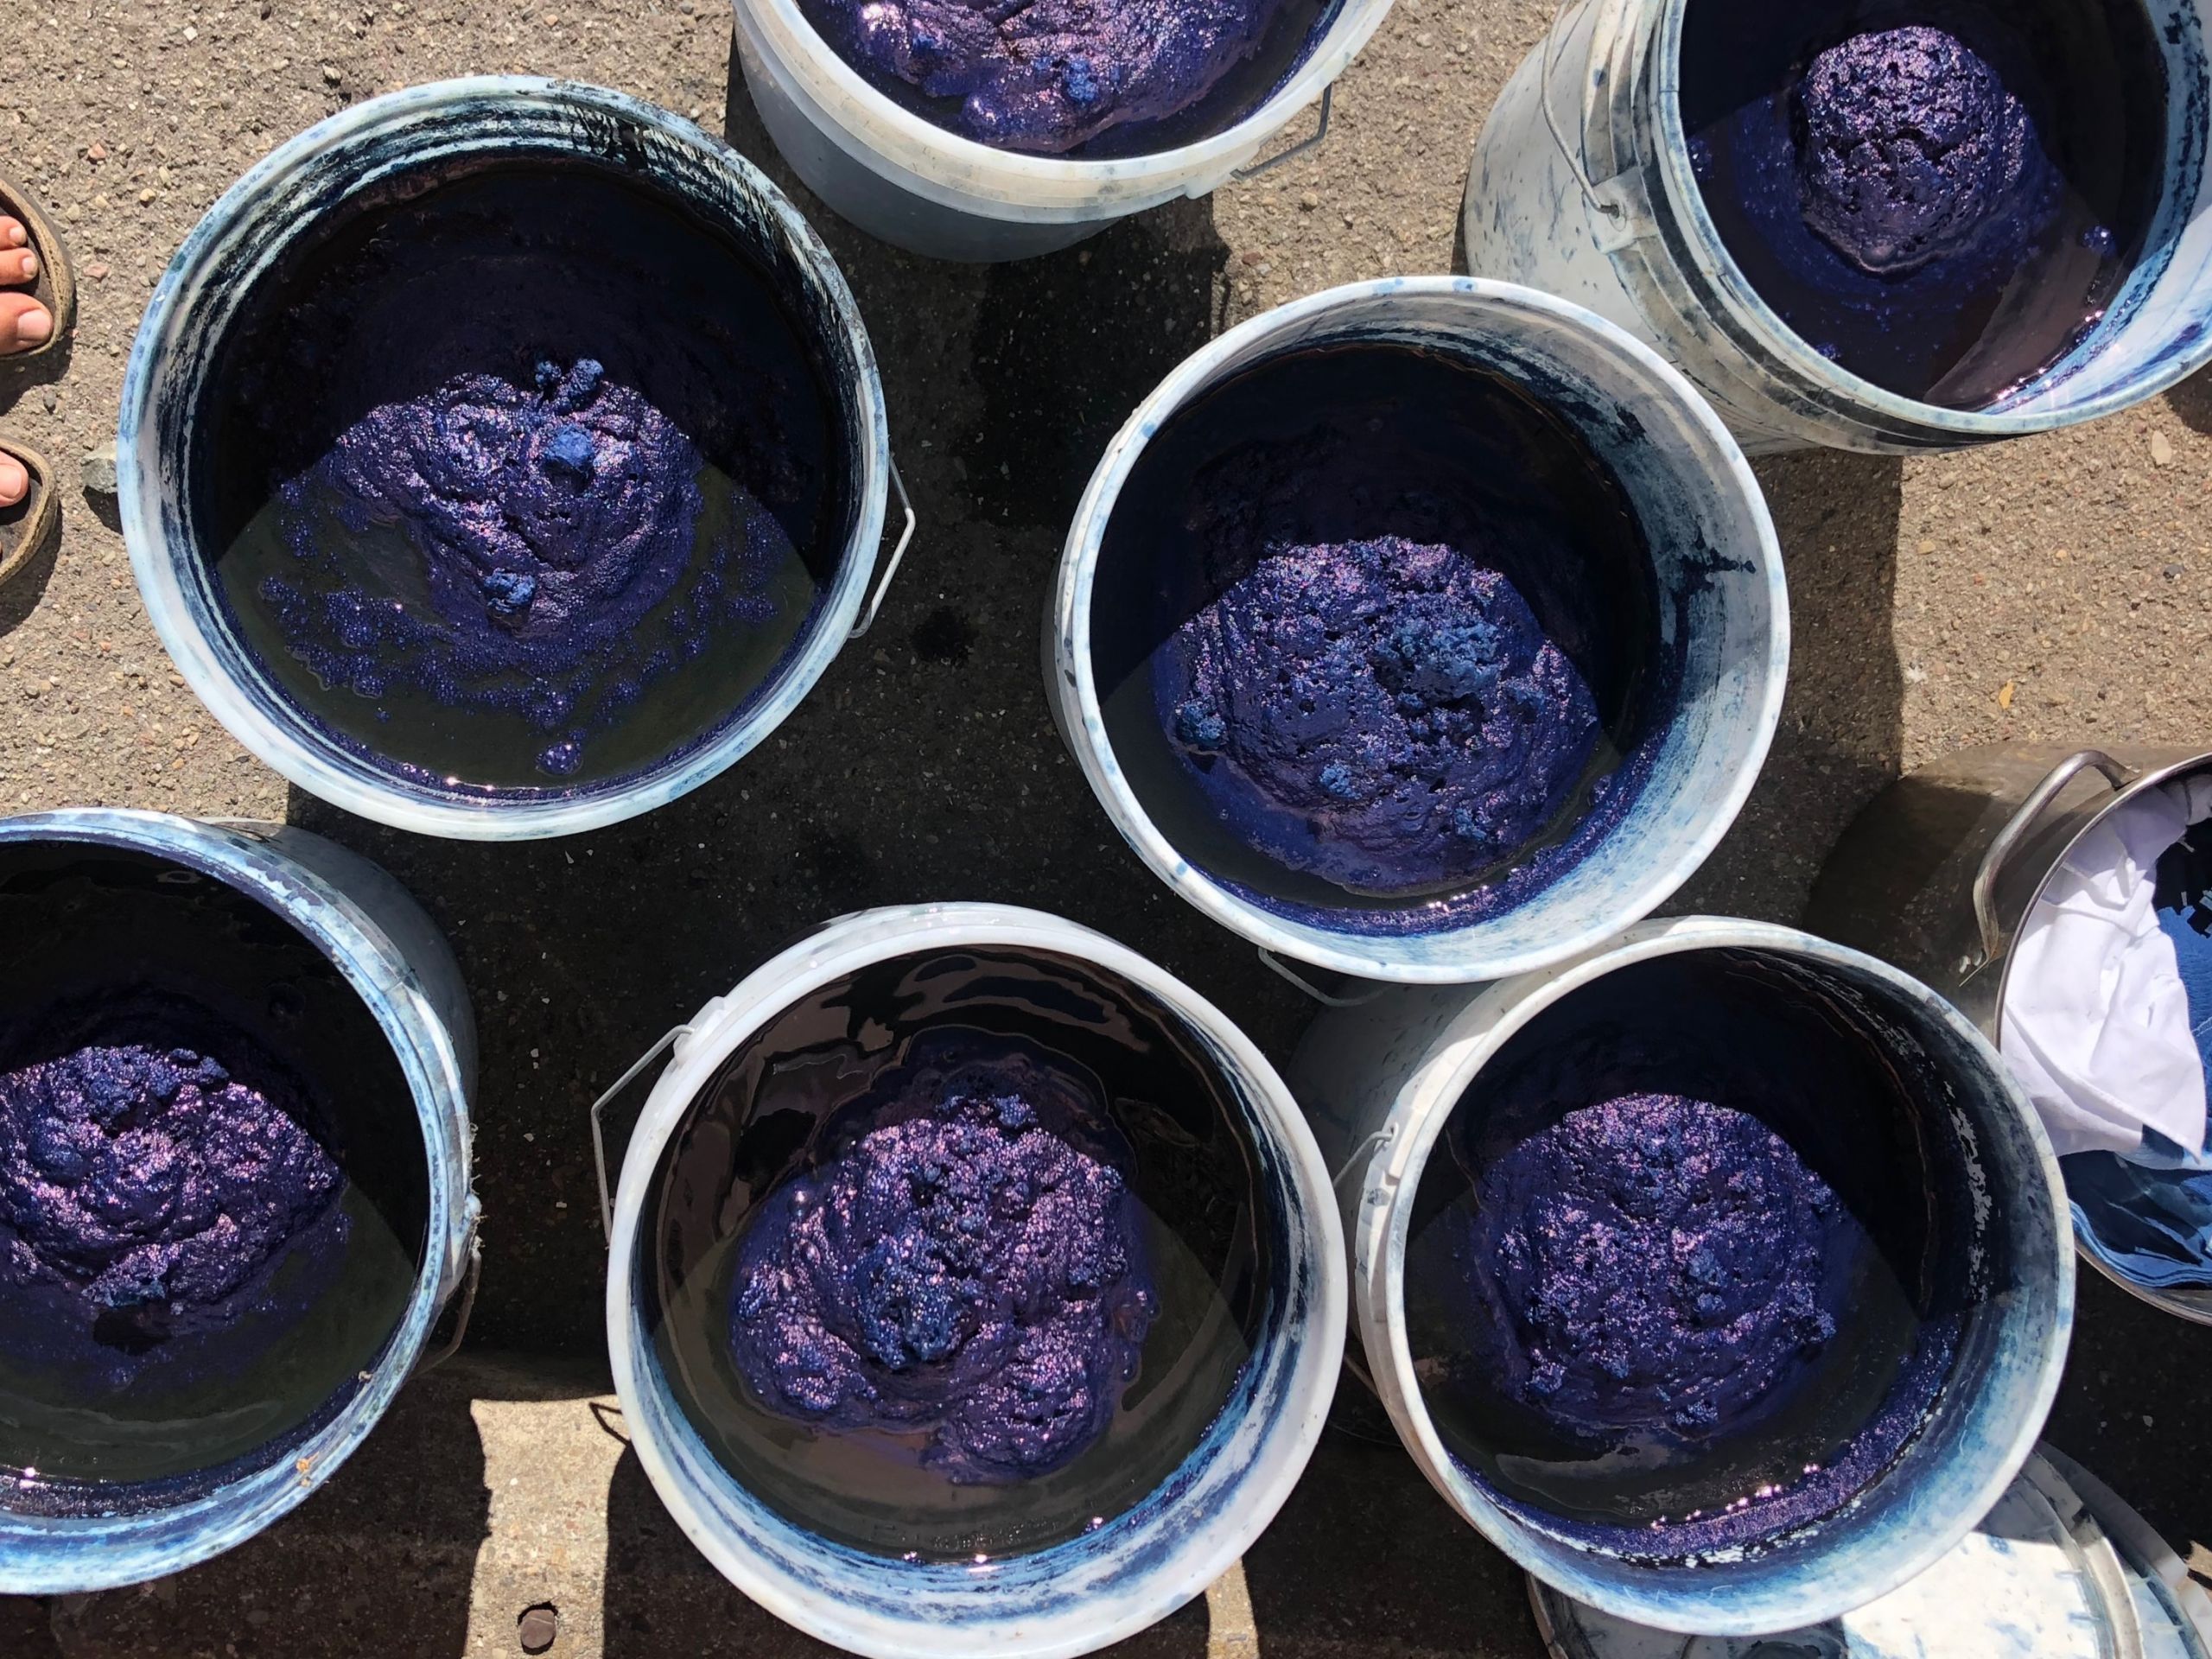
Henna vats are chemically similar to fructose vats and use henna powder as a reducing agent. A common recipe for a henna indigo vat is 50 grams or one part indigo pigment, 100 grams or two parts calcium hydroxide, and 150 grams or three parts henna powder. Henna vats dye both cellulose and protein fibers well. Henna is a complex carbohydrate, so it sustains the indigo vat for longer than a fructose vat. These vats are less fussy in cold weather and do not require as much ongoing care as the fructose vat. The one downside is there is much more sediment build-up from the henna powder, leading to less space for you to work in the dye liquid.
- One part indigo pigment
- Two parts calcium hydroxide
- Three parts henna powder
- Good for cellulose and protein fibers
Iron vat
Iron vats, also known as ferrous vats, use ferrous sulfate as a reducing agent. A common recipe for an iron indigo vat would be 50 grams or one part indigo pigment, 100 grams or two parts ferrous sulfate, and 150 grams calcium hydroxide or three parts calcium hydroxide. Iron vats are more alkaline than other types of indigo because of the increased amount of calcium hydroxide. It is imperative that you wear gloves when working in an iron vat. It is recommended to dye only cellulose fibers, such as cotton and linen, in iron vats because the high alkalinity can be slightly corrosive to protein fibers, such as silk or wool.
- One part indigo pigment
- Two parts ferrous sulfate
- Three parts calcium hydroxide
- Good for cellulose fibers
The basic indigo dyeing process
Indigo is a natural dye and is a fun activity to try on your own, with a group of friends, or share with your family. It is a process that combines creativity, nature, and chemistry.
When you are dyeing with indigo, work slowly in the vat to avoid splashing and dripping. Avoid dropping the fabric to the bottom of your vat, where the sediment is. This can kick up the fine particles and give you murky results.
Step 1: Gather your materials
Step 2: Mix your vat
One to two days before you plan to dye in your indigo vat, bring about 4 gallons of water to a simmer and transfer it to a 5-gallon bucket. The hotter your water is, the faster your vat will reduce and be ready to use. Hydrate your indigo pigment by adding it to a small sealed container with a few marbles and warm water and shake for about 30 seconds. Add your indigo pigment, calcium hydroxide, and reducing agent to the hot water.
With a stirring stick, stir the liquid in the bucket in one direction in a circle creating a vortex. Continue for about 30 seconds, then stop with your stick in place, bringing the “indigo flower” to the center. Cover your vat with a lid when it is not in use or being stirred. Let it sit for 24-48 hours before you dye in it.
Step 3: Check your vat
Your indigo vat is ready for dyeing when the liquid of the vat is amber yellow. You can use a spoon to check the color of the liquid. If you have pH test strips on hand, your vat should read between pH 10-12.
Step 4: Prepare your fabric
Before you dye in your vat, pre-wet your fabric by soaking it in a bucket of water. Squeeze out excess water from the fabric so it is not dripping. Indigo dyeing damp fabric ensures that the dye will access all areas of the fiber. Dyeing with dry material introduces unnecessary oxygen into the vat.
Step 5: Dyeing in your vat
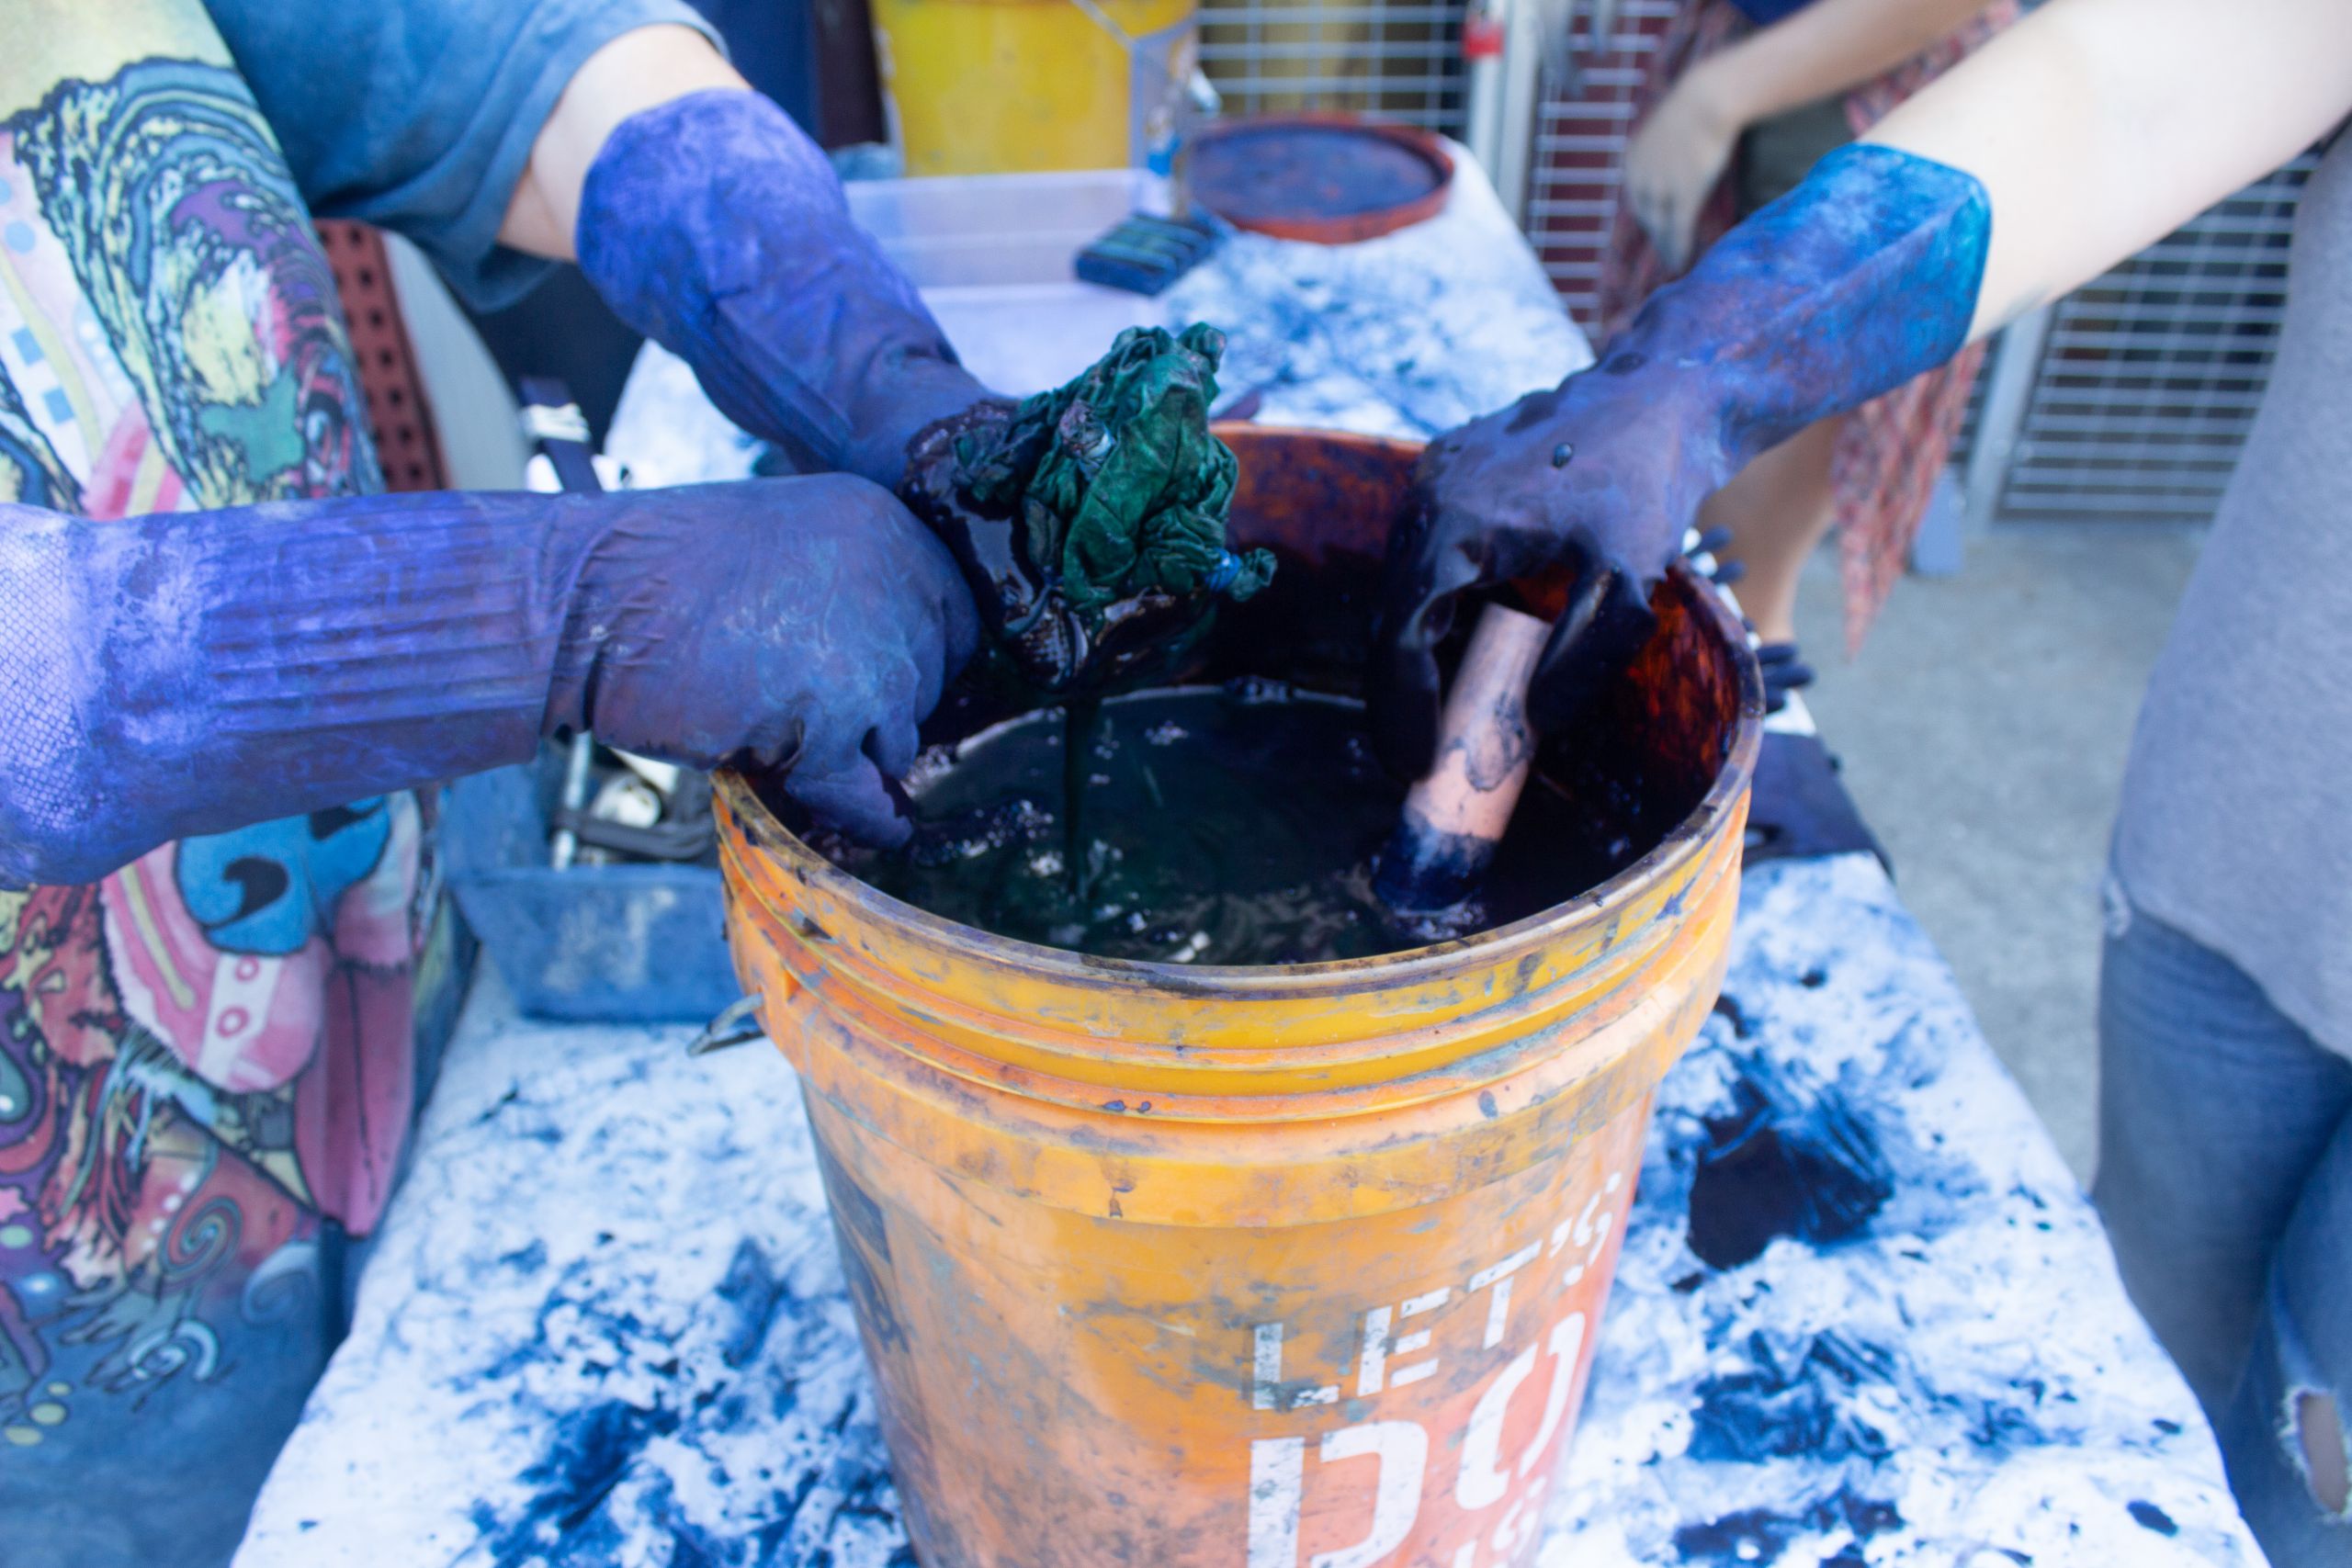
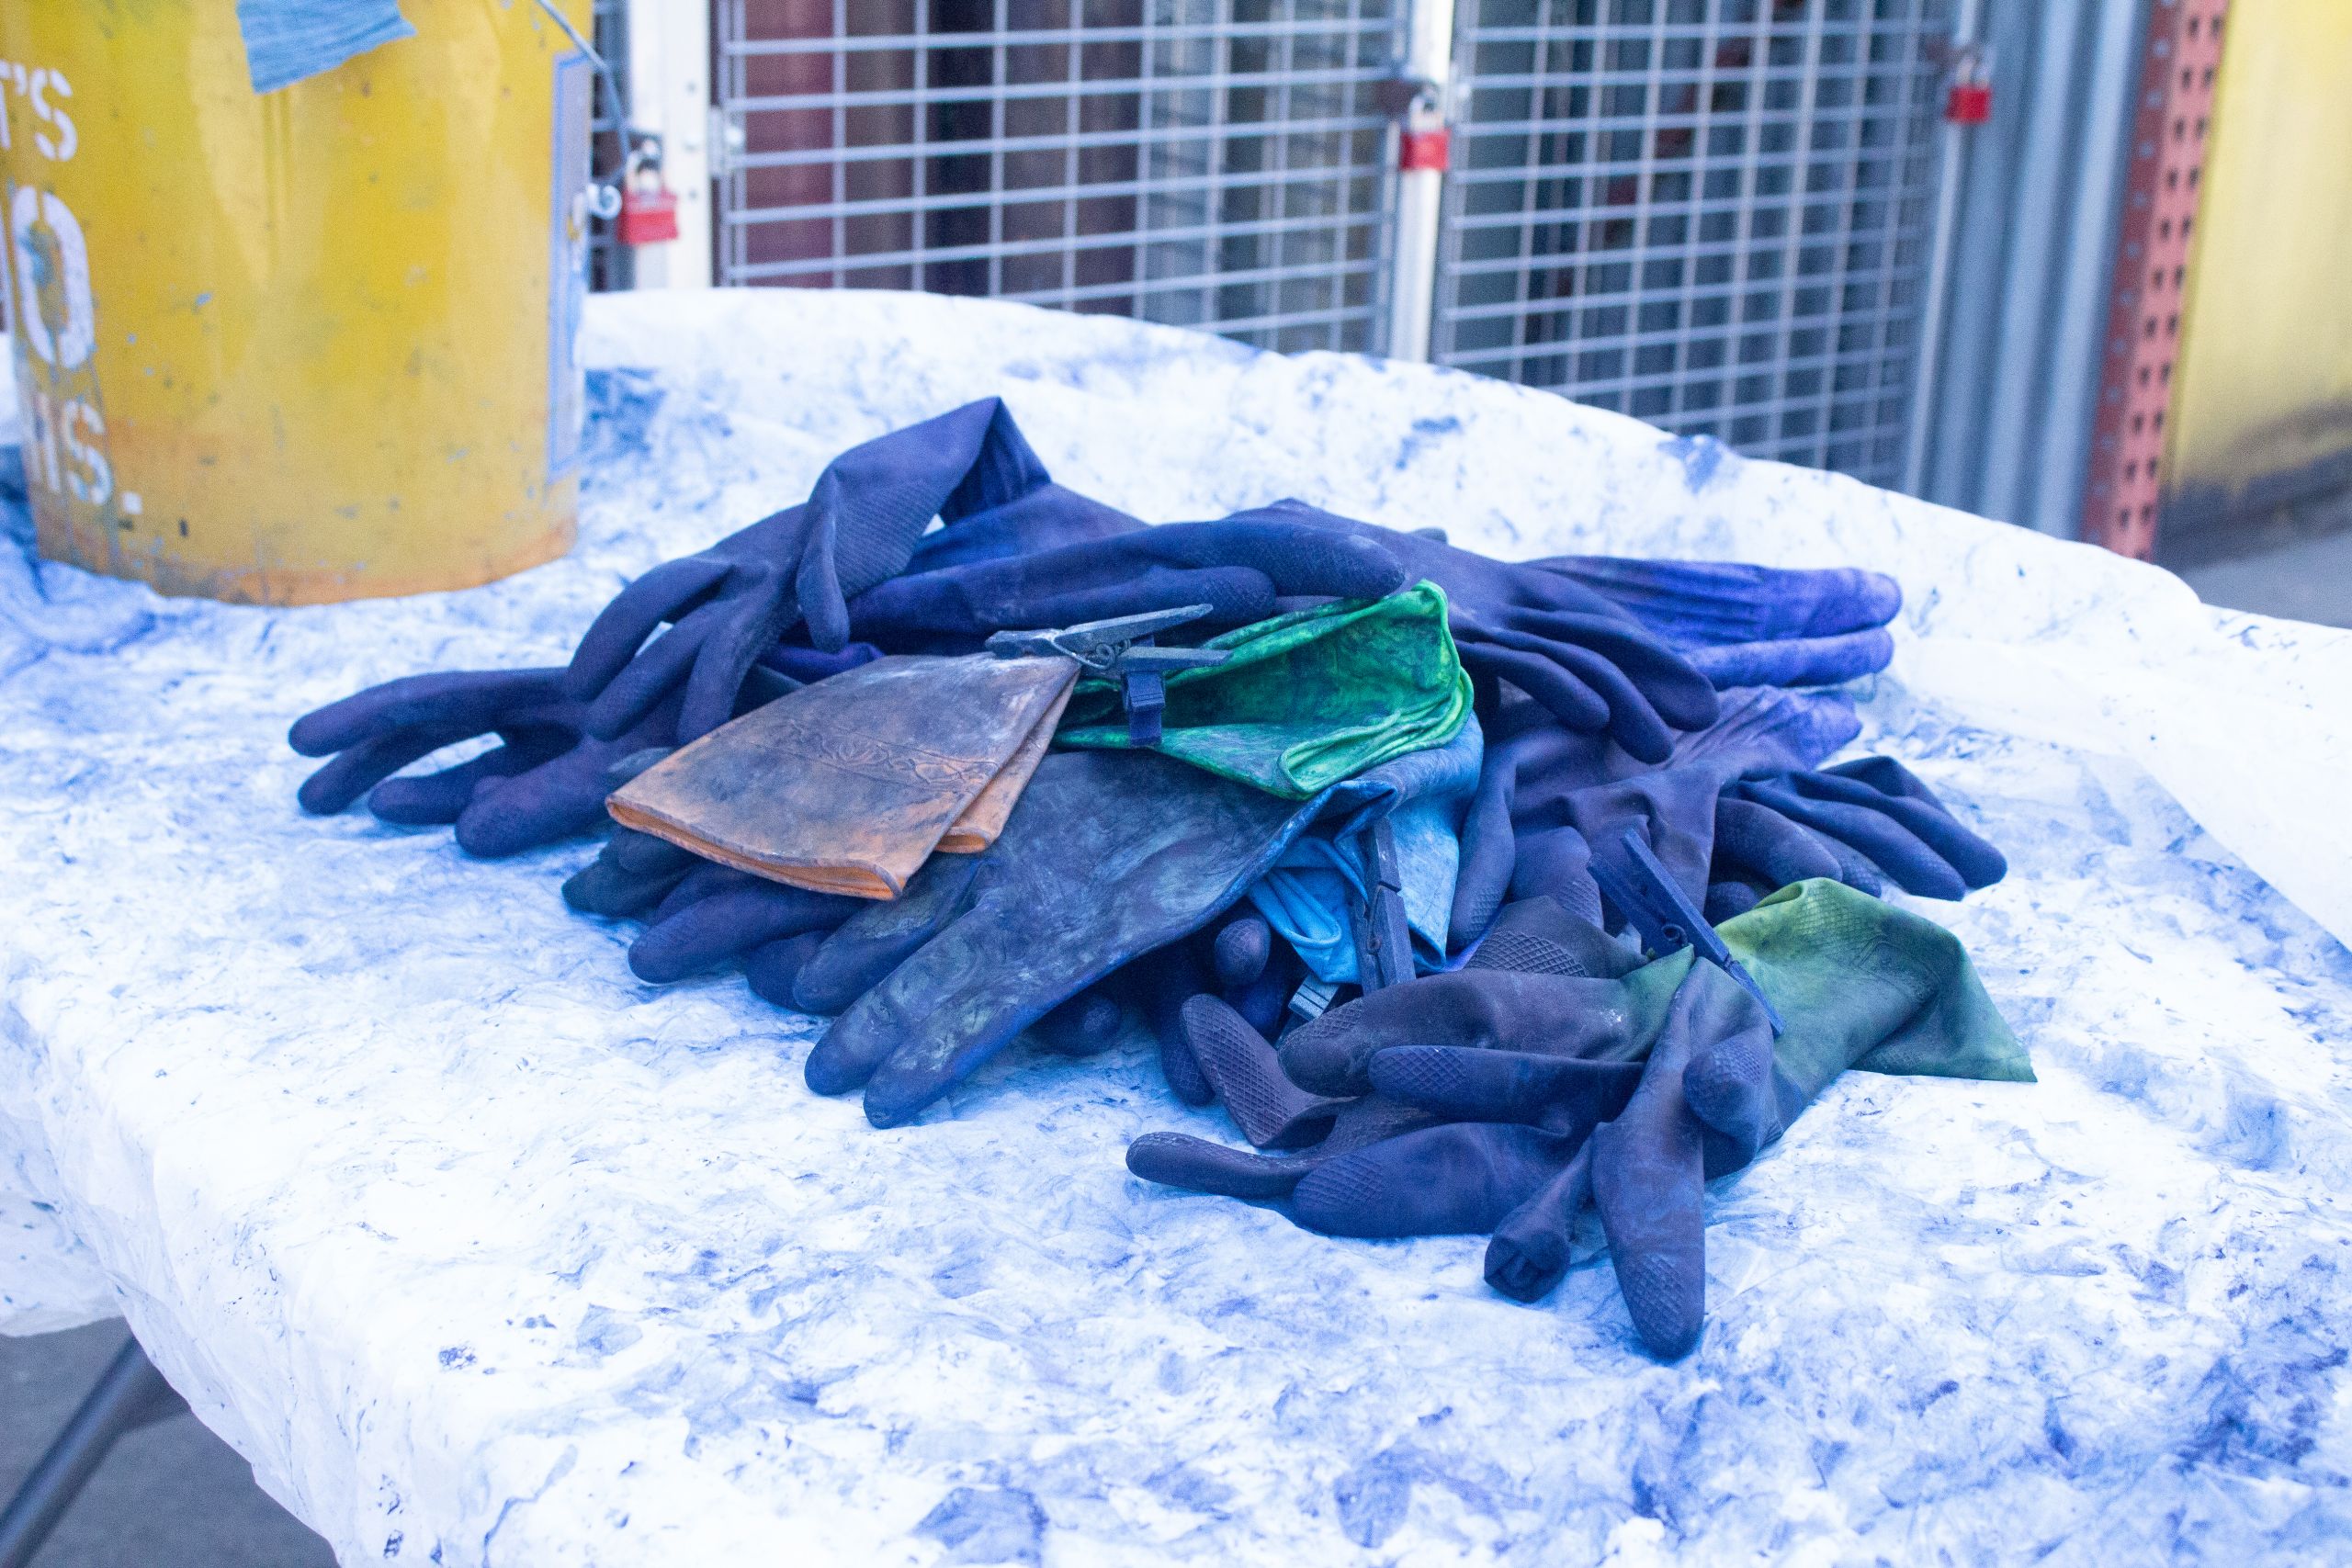
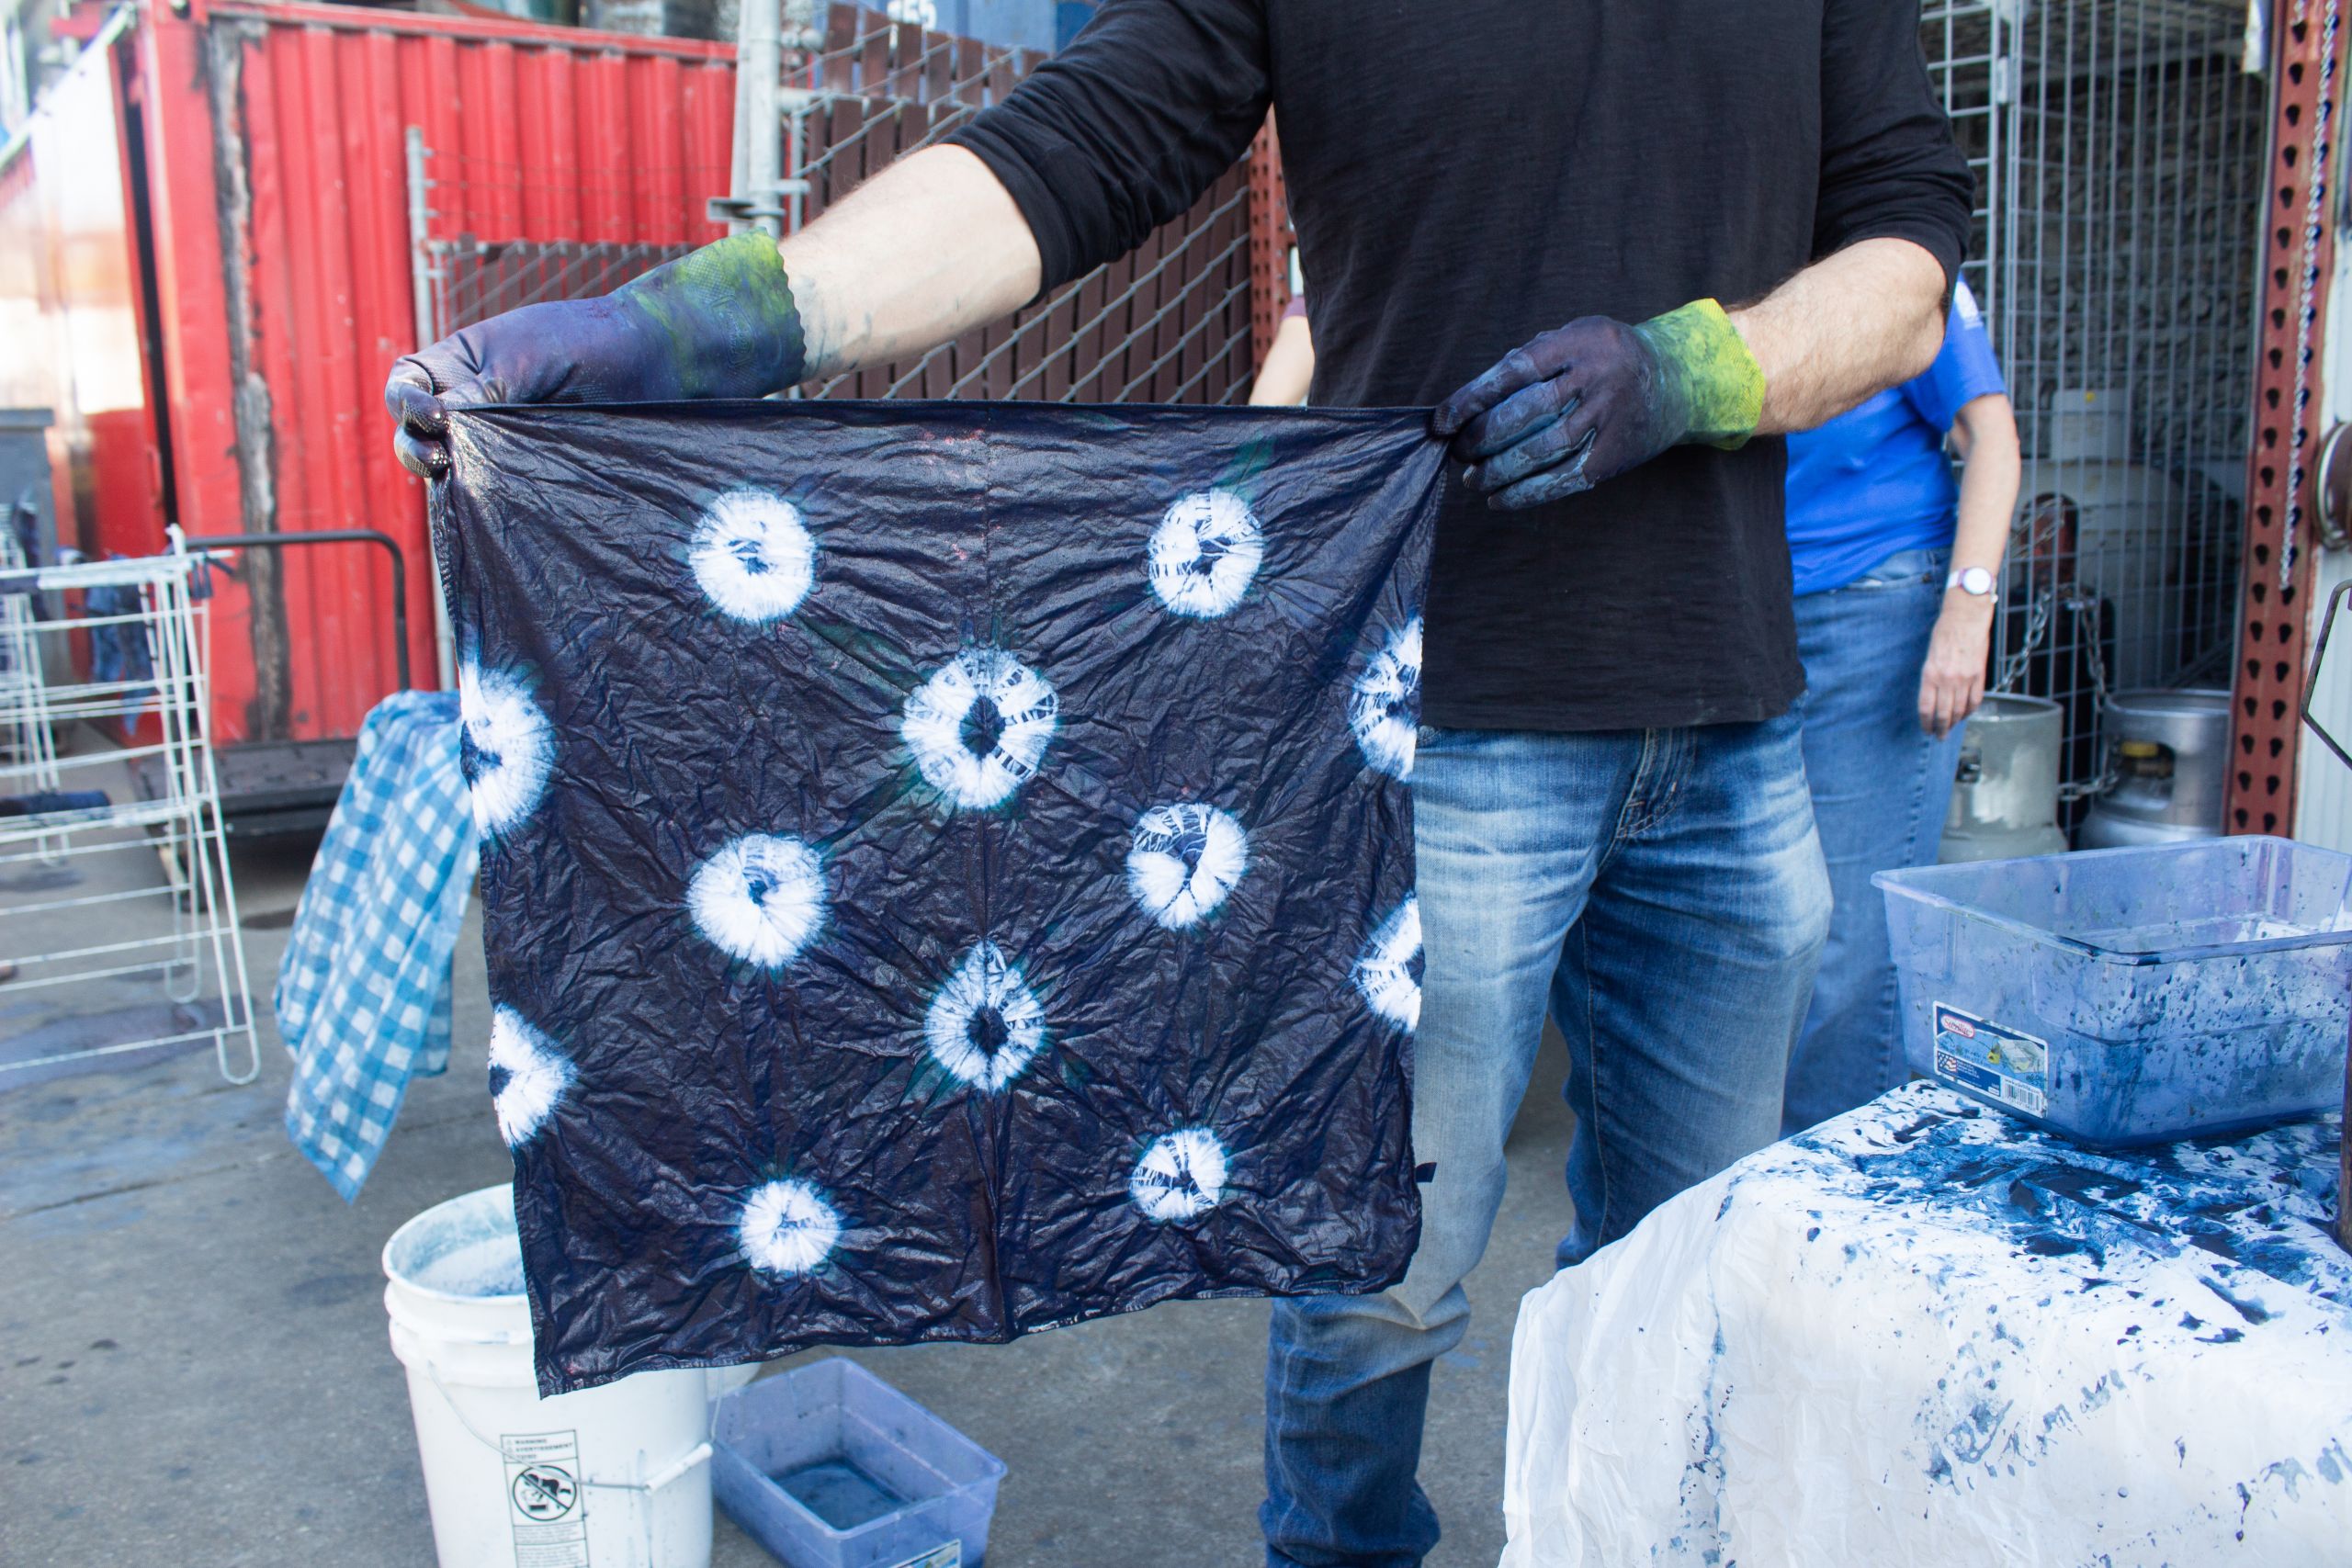
Make sure you have your gloves handy! Slowly lower your fabric into the vat. Massage it below the surface of the liquid for about 5 minutes. Before you remove your fabric from the vat, squeeze out any excess dye below the surface of the liquid to prevent unnecessary dripping. You’ll notice your fabric is green when it comes out of the vat! That brings us to our next step: oxidation.
Step 6: Oxidize your fabric
Let your fiber oxidize in the air for 15 minutes. When it is fully oxidized, it will appear totally blue. You may repeat this process of dipping and oxidizing as many times as you like to build color.
Step 7: Wash your fabric
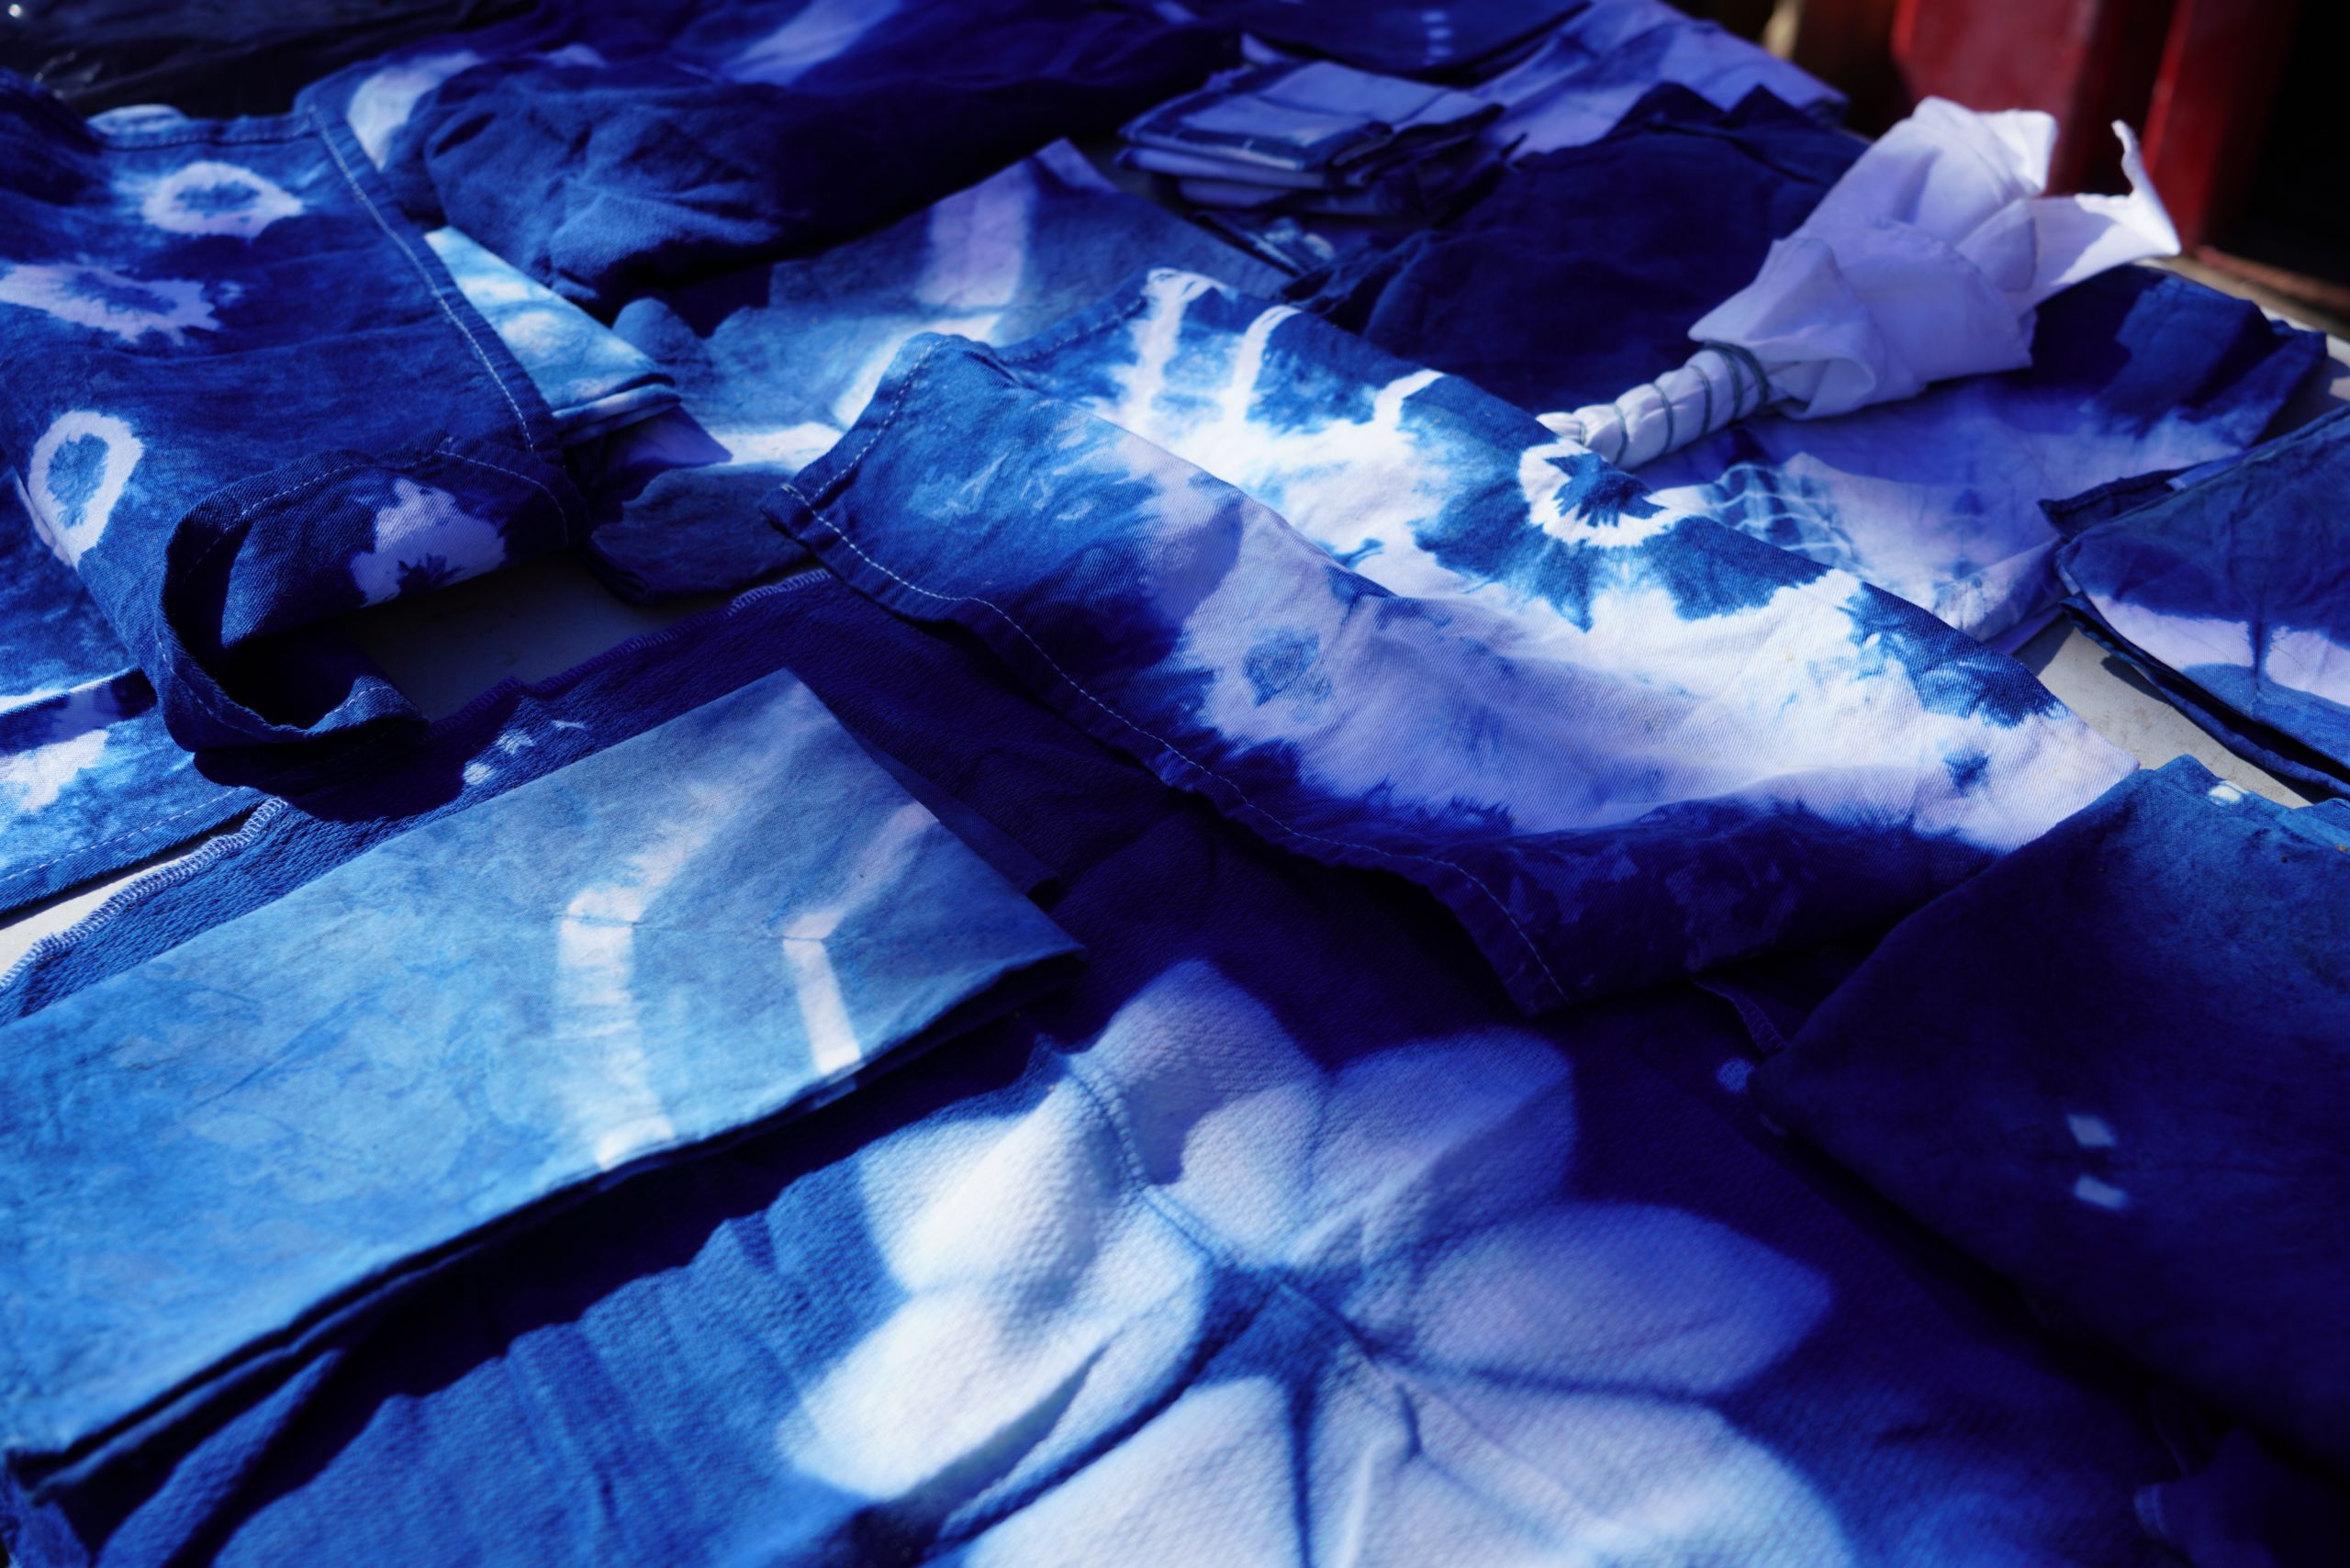
Rinse and neutralize your indigo dyed fabric. Start by rinsing it under running water until the water runs clear. Then, fill a bucket with water and about a half cup of white vinegar. Stir your rinsed fabric into the bucket and let it soak for about one hour. This neutralizes the fabric from the alkaline indigo dye and brightens the dye results.
Learning how to dye with indigo
There are many options when learning to dye with indigo. You can procure the ingredients yourself from retailers like Botanical Colors, or purchase an easy, pre-measured kit, and simply use this guide as a step-by-step. You may also be interested in taking an online class or learning in an in-person class from an experienced indigo dyer.
Learn indigo dyeing at The Crucible
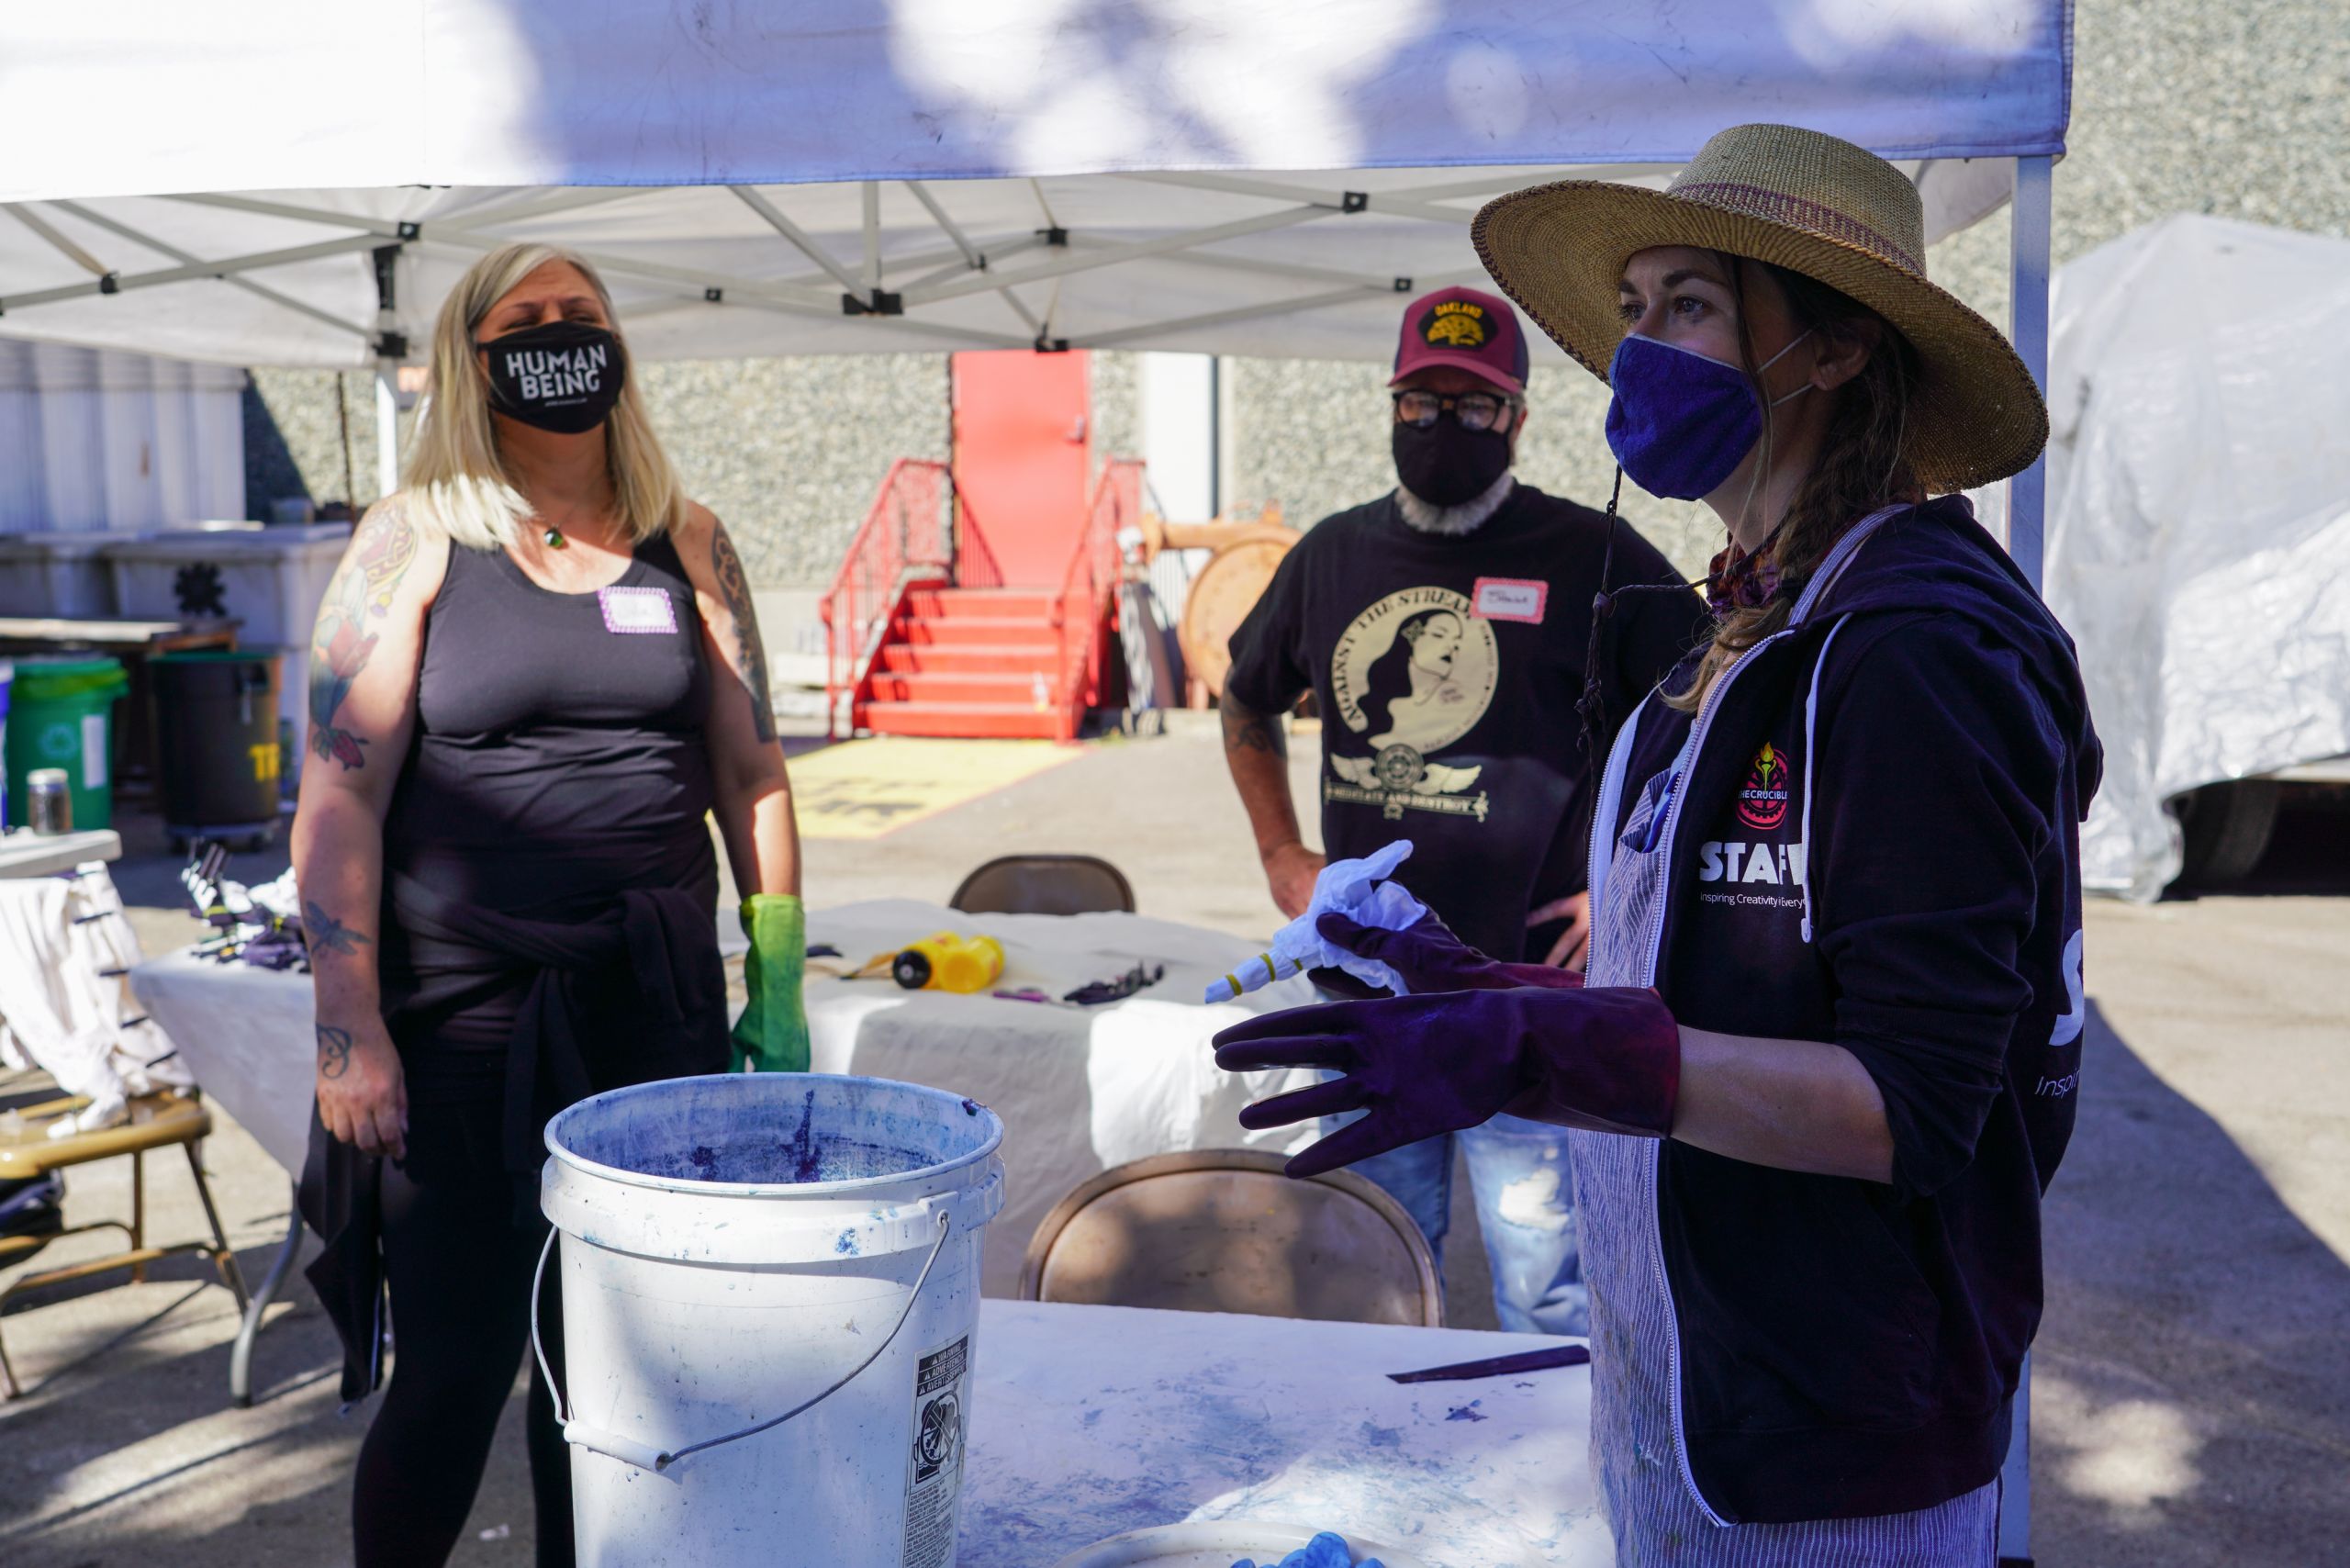
The Crucible offers in-person indigo dyeing classes that teach you how to work with natural indigo dye and resist techniques. In class, you will learn folding, tying, and binding techniques to create unique patterns on fabric. See when Indigo Dyeing and Shibori is offered in our Leather, Textiles, and Fine Arts Department.
Indigo dyeing FAQs
Can I indigo dye at home?
Yes! You can easily indigo dye at home. It is nice to have an outdoor space where you can drip and make a bit of a mess, but you can also dye indoors with a dropcloth or tablecloth to protect any surfaces. Make sure you always wear a mask when you are measuring out fine powders like calcium hydroxide and ferrous sulfate, and do so away from kids and pets.
What are the different types of indigo dyeing?
There are many different types of indigo vats that you can work with, and the type you choose will depend on what best suits your project and where you are dyeing. If you want to dye silk, which is a protein fiber, you will likely want to work with a fructose vat instead of an iron vat because iron can be corrosive on protein fibers. If you are dyeing outdoors in a cold place, an iron vat will last longer than a fructose or henna vat, because it works well in cold temperatures.
What equipment do you need to indigo dye?
You do not need advanced equipment to start indigo dyeing. In fact, it may already be at your house! You simply need a sink, access to hot water, and a bucket to get started. While you don’t need specific equipment, you do need specific materials in order to make a vat and dye, like indigo pigment, a reducing agent to remove the oxygen from the vat environment, and an alkaline ingredient to elevate the pH.
What fabric works best with indigo?
Indigo dye works best with natural fibers, like silk, wool, cotton, linen, and hemp. If your fabric is a synthetic blend, it will result in a paler shade of blue.
How do you take care of an indigo vat?
Keep your indigo vat’s pH between 10-12 and avoid adding excess oxygen when you are dyeing fabric. If you have a fructose or henna vat, keep it warm by bringing it inside at night or adding a bit of boiling water. You may also want to feed your vat by adding a tablespoon of fructose or henna powder and giving it a good stir. Iron vats do not need to be fed, but should be stirred every other day.


